Free worldwide shipping
Free returns
Carbon neutral
Secure payments
| Recommended Uses For Product | Garden sprayer, Pest Control |
|---|---|
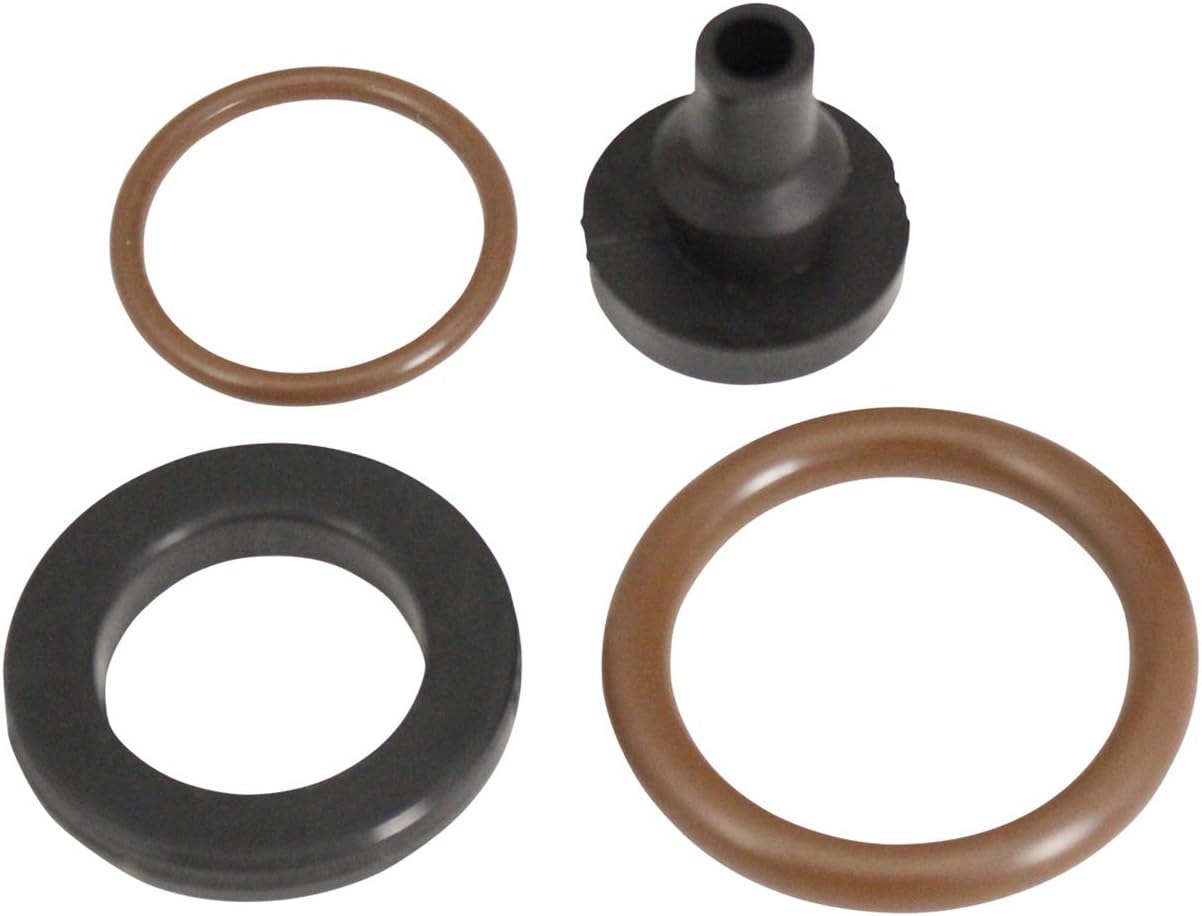
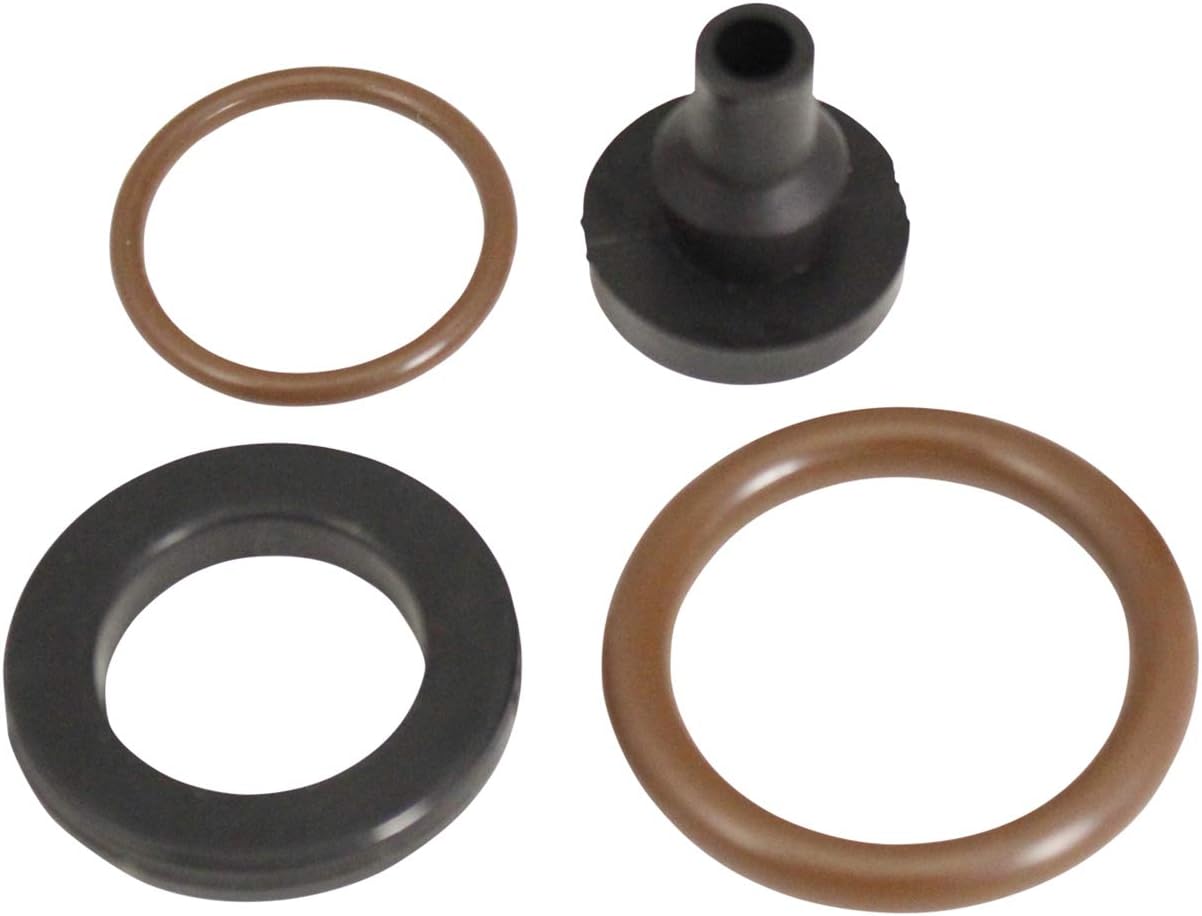
| Included Components | Viton Pump Service Kit for 4 Gallon Backpack Sprayer |
| Model Name | Smith Performance Sprayers Viton Pump Service Kit 182656 |
| Model Number | 182656 |
| UPC | 841688004481 |
| Global Trade Identification Number | 00841688004481 |
| Unit Count | 1 Count |
| Item Type Name | Viton Backpack Sprayer Pump Service Kit |
| Manufacturer | Smith Performance Sprayers |
| Manufacturer Part Number | 182656 |
| Tank Volume | 4 gallons |
| Color | Black, Brown |
| Style Name | Backpack |
| Power Source | Manual |
| Material Type | Viton |
| Material | Viton |
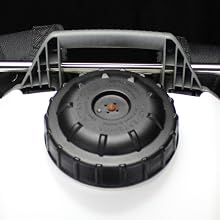
Unscrew cap from tank.
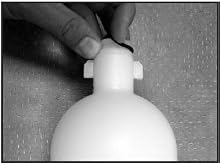
Remove filter basket. Then reach into the tank and turn the pressure chamber 1/4 turn
counterclockwise to unlock the chamber from the pump. Then remove chamber from tank.
Remove and replace o-ring, then lubricate with petroleum jelly.
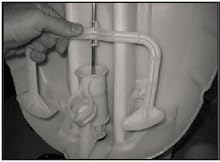
Unsnap agitator from piston rod. Remove from tank.
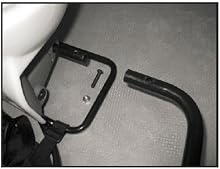
Position pump handle to the furthest downward position, then remove.
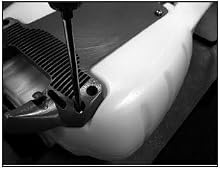
Disassemble carry handle by removing the (6) screws.
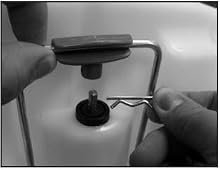
Remove cotter pin and lift pivot clip off of the piston rod.
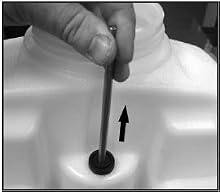
Pull upward to slide piston rod out of pump.
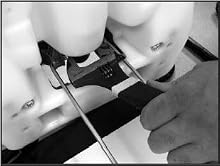
While holding onto the pump, use an adjustable wrench to unthread pump nut from pump. Remove nut, hose and barb assembly.
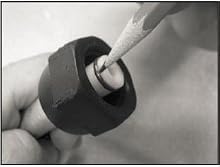
Inspect (2) o-rings on barb assembly. If damaged, replace hose assembly.
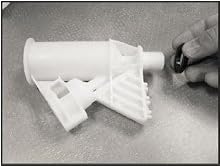
Remove pump out of tank. Remove and replace gasket.
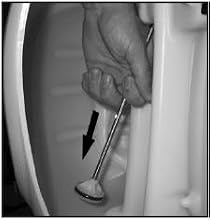
Slide piston rod assembly down and out of grommet and remove from tank.
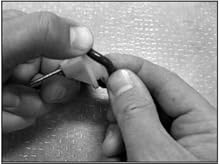
Carefully remove, replace, and lubricate (with petroleum jelly) the piston o-ring.
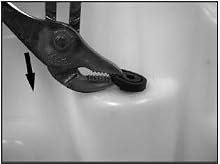
Remove grommet from tank using pliers to grasp the head of the grommet while flexing the grommet out of the hole in the tank. Press or tap new grommet into tank. Lubricate hole in grommet with petroleum jelly.
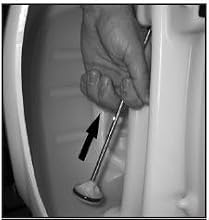
Insert piston rod assembly into tank and through grommet.
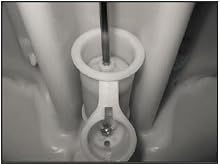
Reassemble pump with gasket into tank (pay close attention to the orientation above). Tighten pump nut securely with adjustable wrench while holding pump to maintain correct orientation. Push piston assembly into pump.
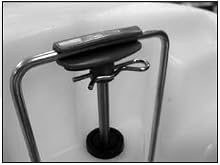
Attach pivot clip to piston rod and insert hitch pin. Note orientation of piston rod must match the pivot clip.
Reassemble carry handle onto tank. Tighten all (6) screws.
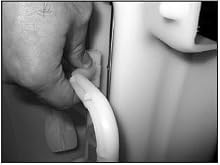
To reinstall the agitator, line the notch up on the agitator with the swedge on piston rod and snap into place.
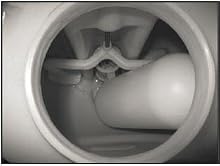
Reinstall pressure chamber into the pump by aligning the tabs on the chamber with the slots in the pump. Push firmly into pump and turn clockwise until pump stops.
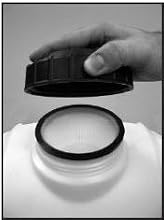
Reinstall the strainer and tank cap.
loading