












Free worldwide shipping
Free returns
Carbon neutral
Secure payments
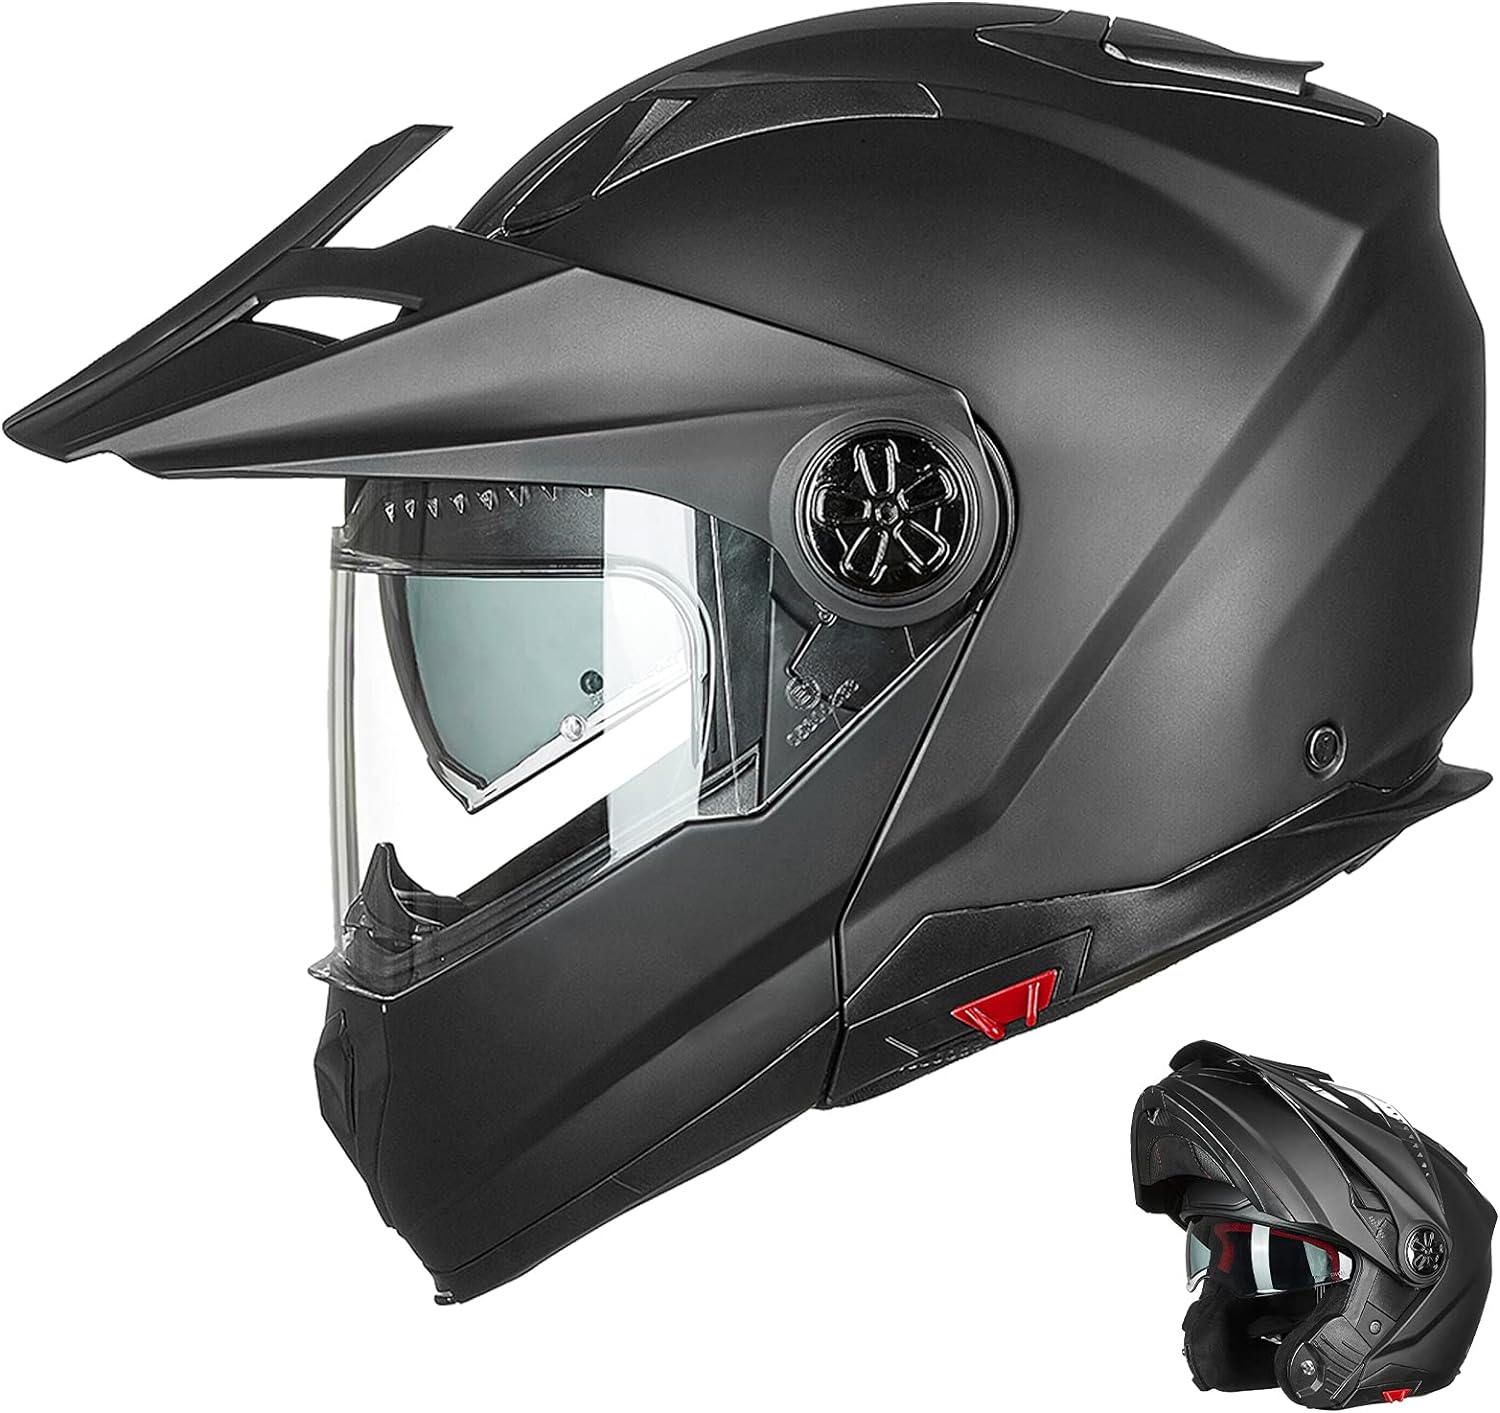
| Color | Matte Black |
|---|---|
| Shape | Oval |
| Material | Acrylonitrile Butadiene Styrene (ABS) |
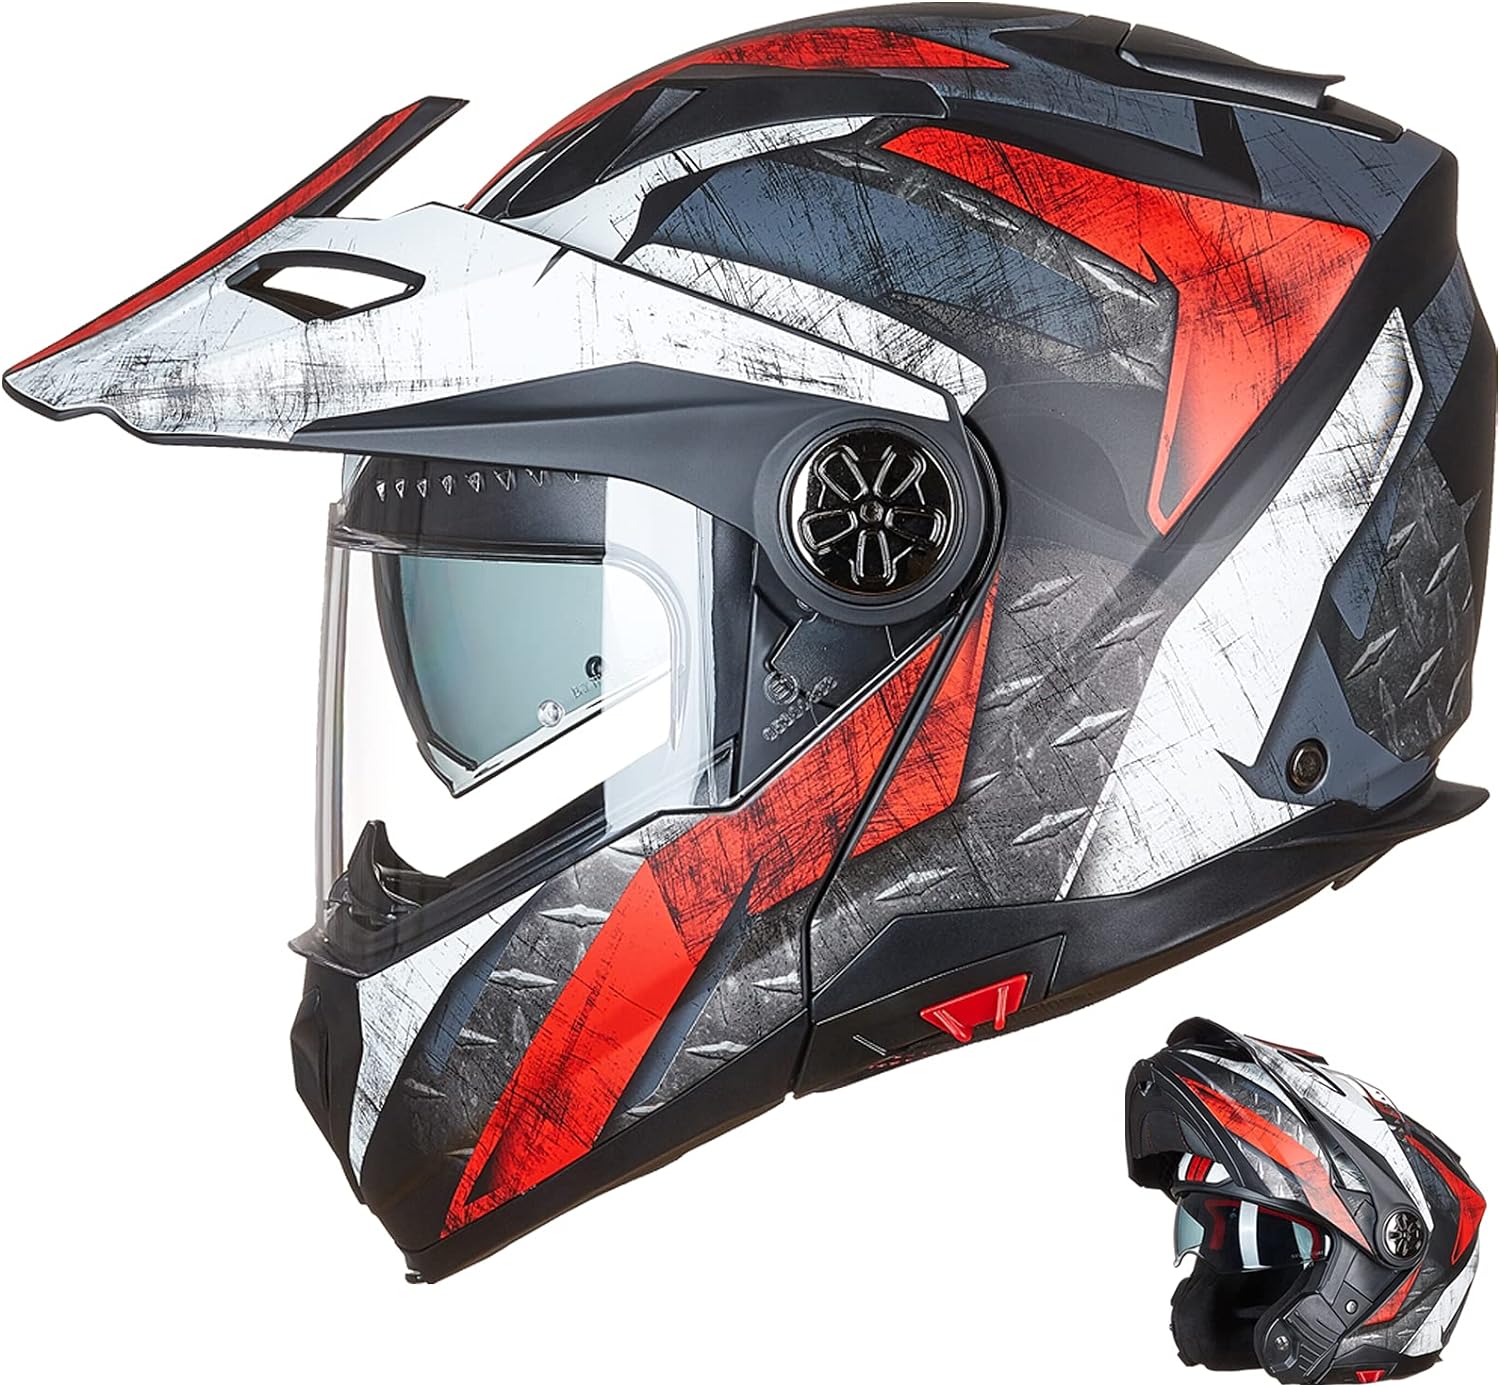
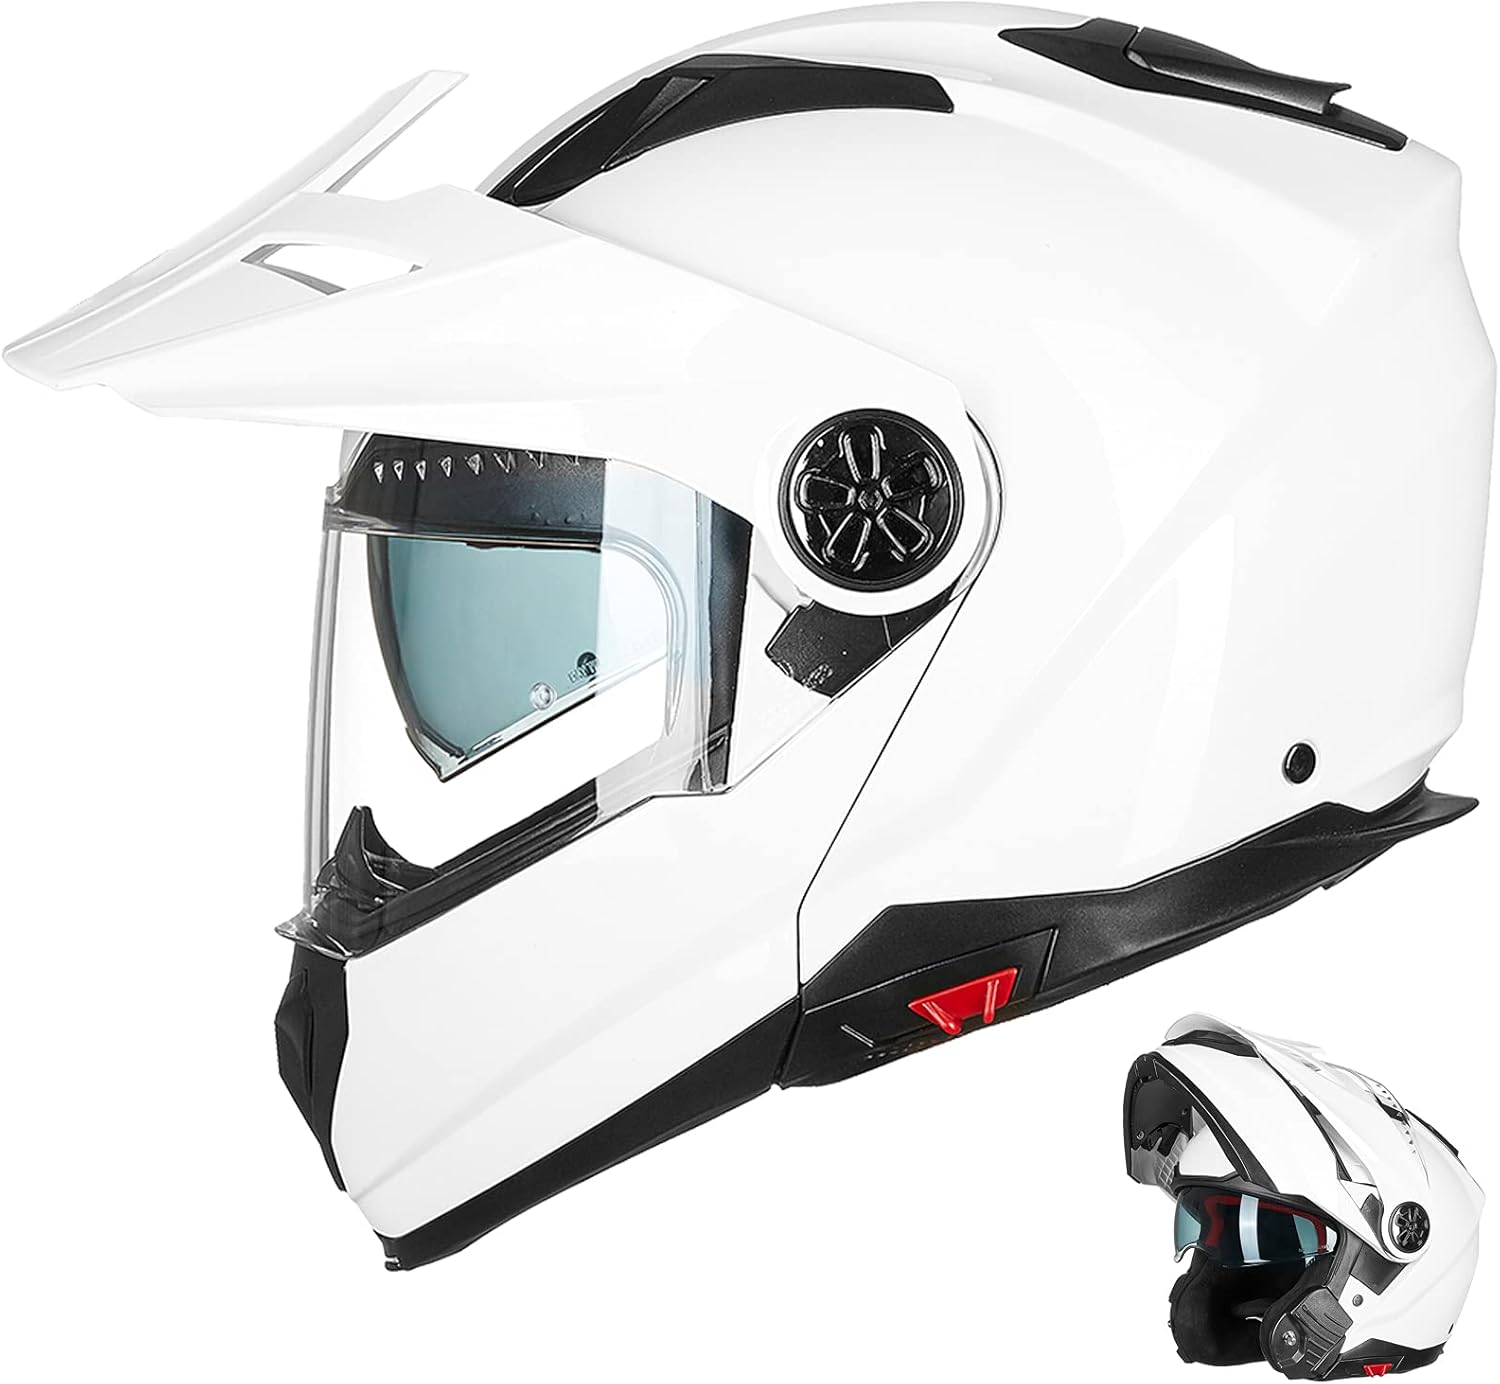
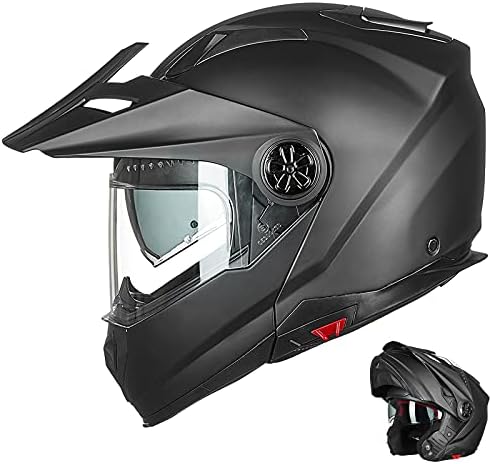
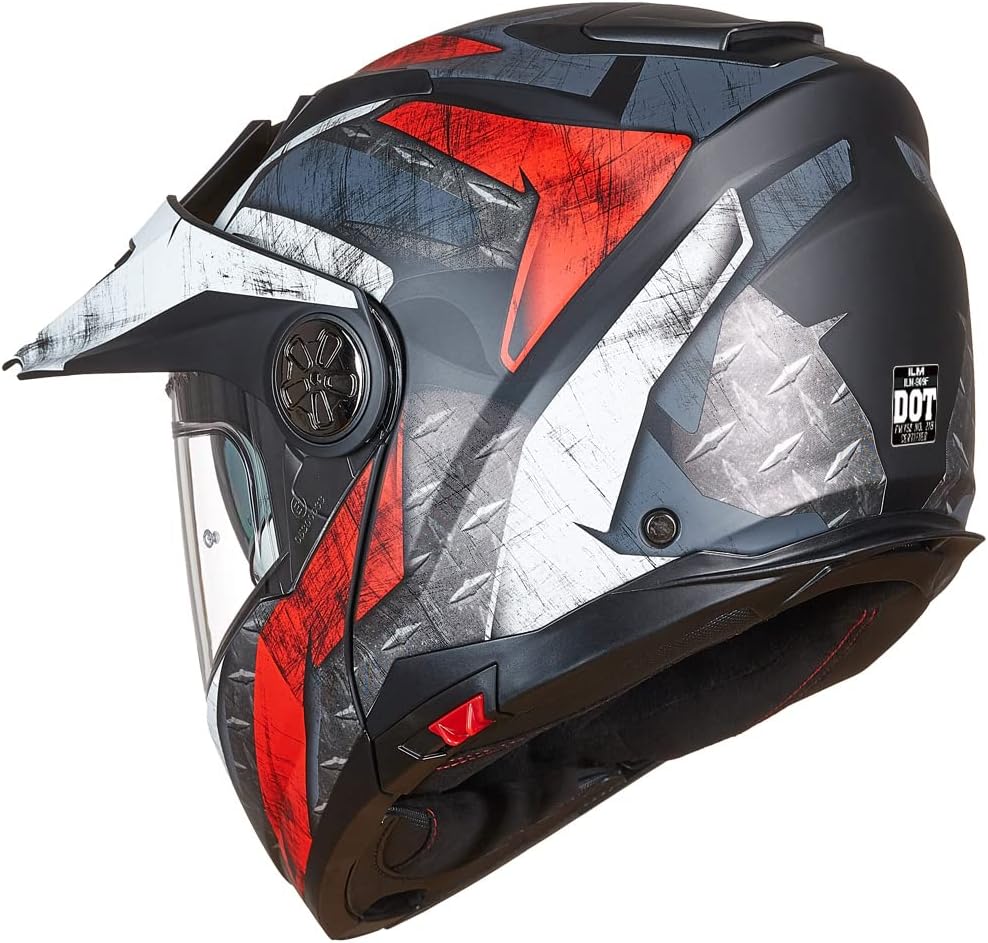
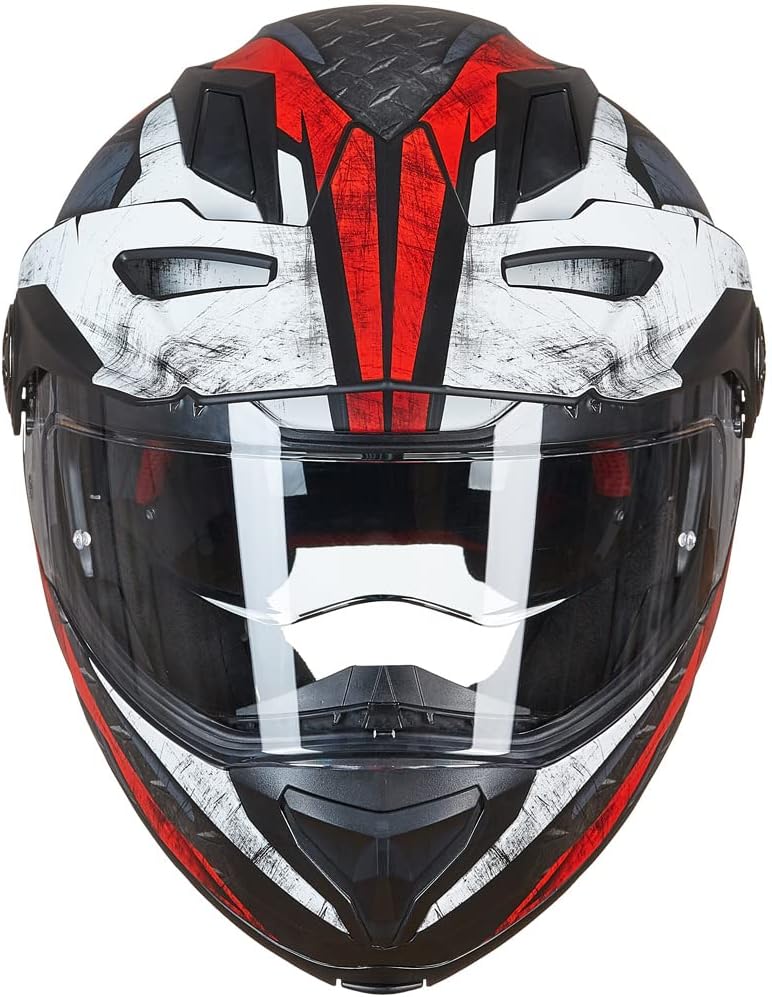
| Model Name | ILM Motorcycle Full Face |
| Shell Type | Hard |
| Sport Type | Motorcycling |
| Style Name | Multi-style |
| Item Weight | 2.54 kg |
| Manufacturer | ILM |
| Model Number | FBA-909F |
| Material Type | Acrylonitrile Butadiene Styrene (ABS) |
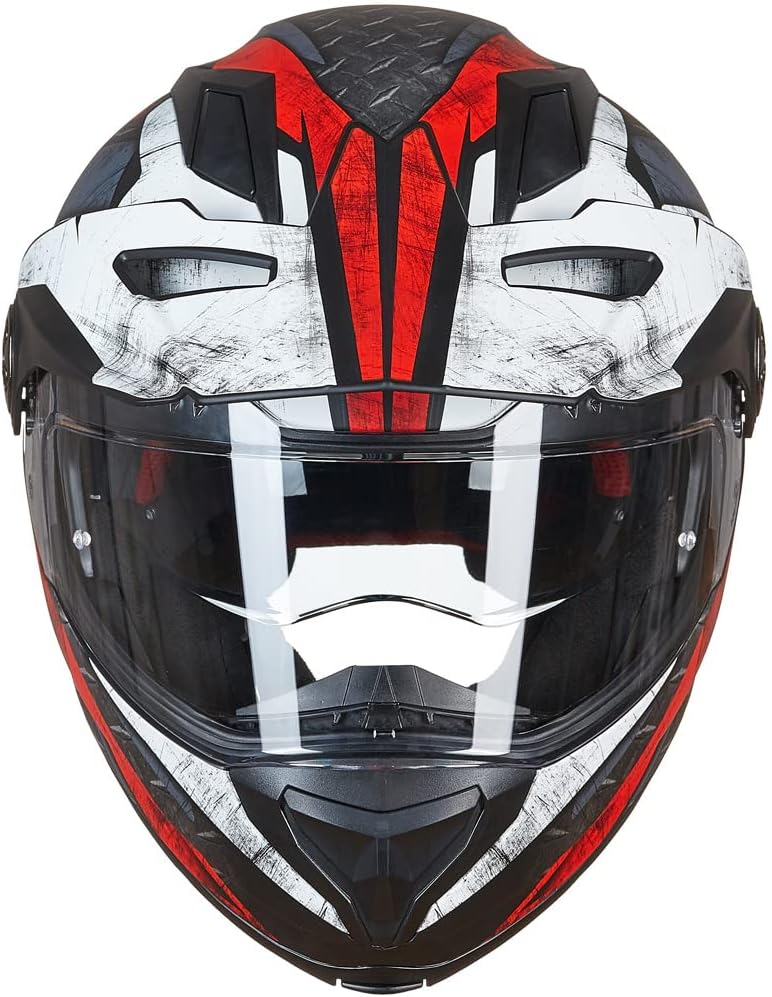
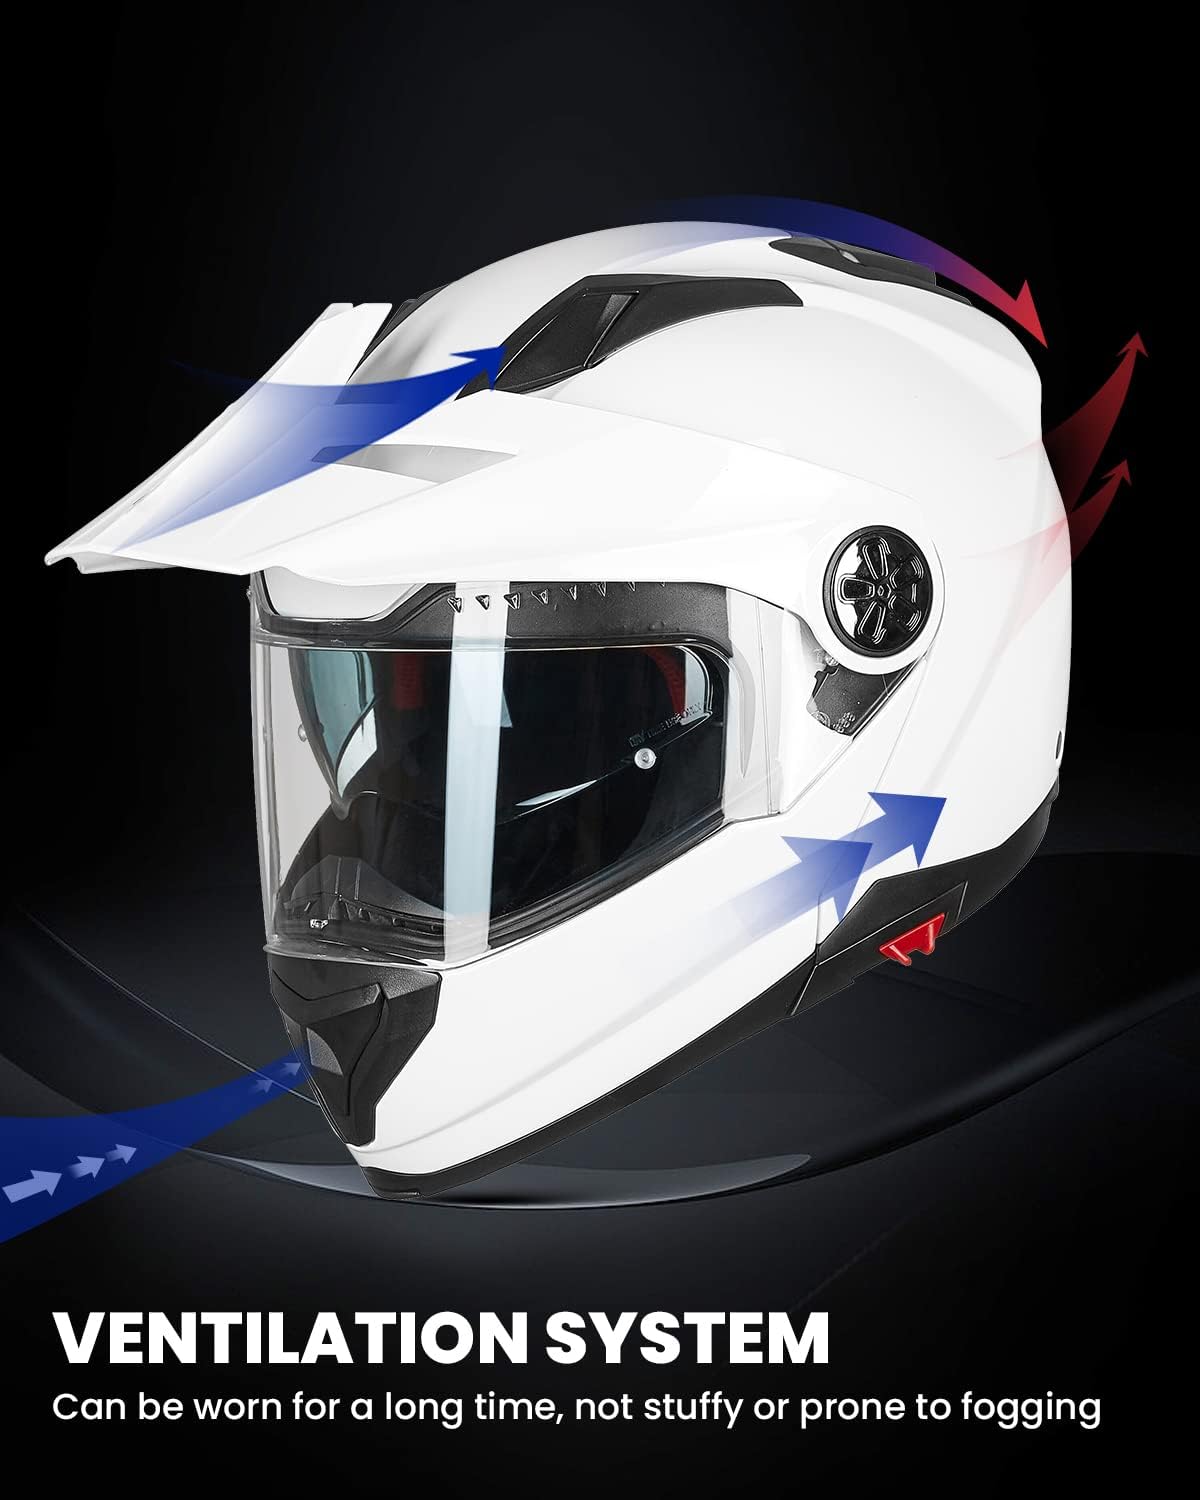
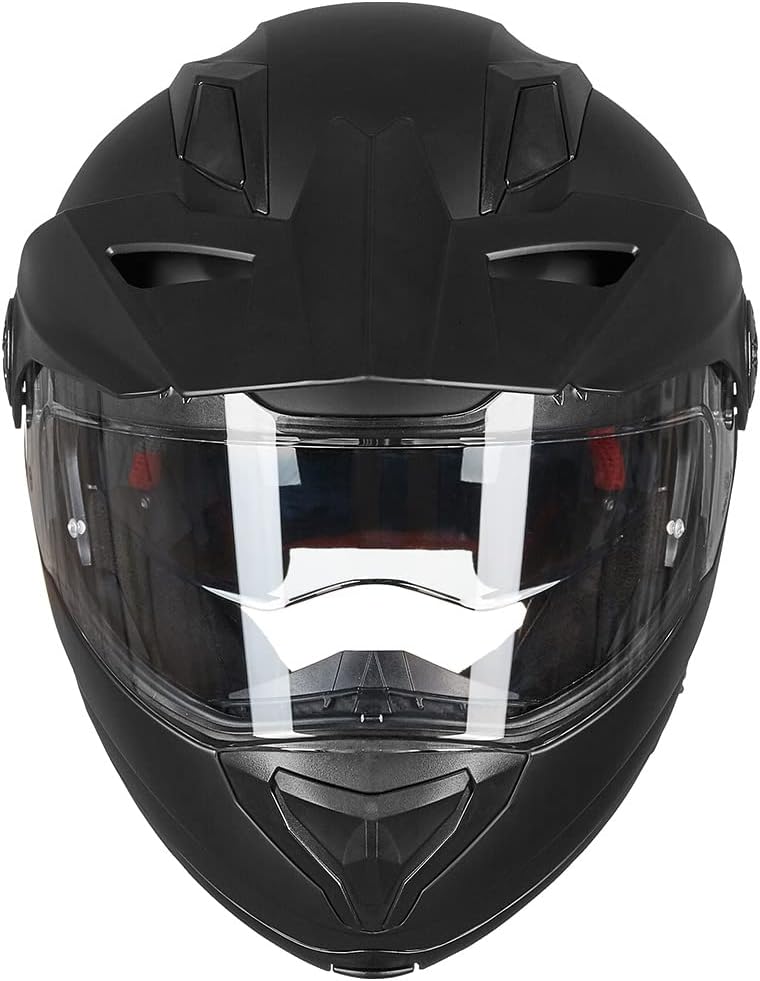
| Number Of Vents | 3 |
| Number of Items | 1 |
| Certificate Type | DOT |
| Specification Met | DOT |
| Included Components | 1 x Helmet with Clear Visor,1 x Visor Base( A pair of Black Piece),1 x Pinlock Insert,1 x Helmet Bag,1 x 4mm Hex-L Key, Motorctcle Helmet |
| Warranty Description | 5 Year Manufacturer |
| Manufacturer Part Number | FBA-909F-MB-S |
| Compatible With Vehicle Type | ATV, Snowmobile |
| Compatible with Vehicle Type | ATV, Snowmobile |
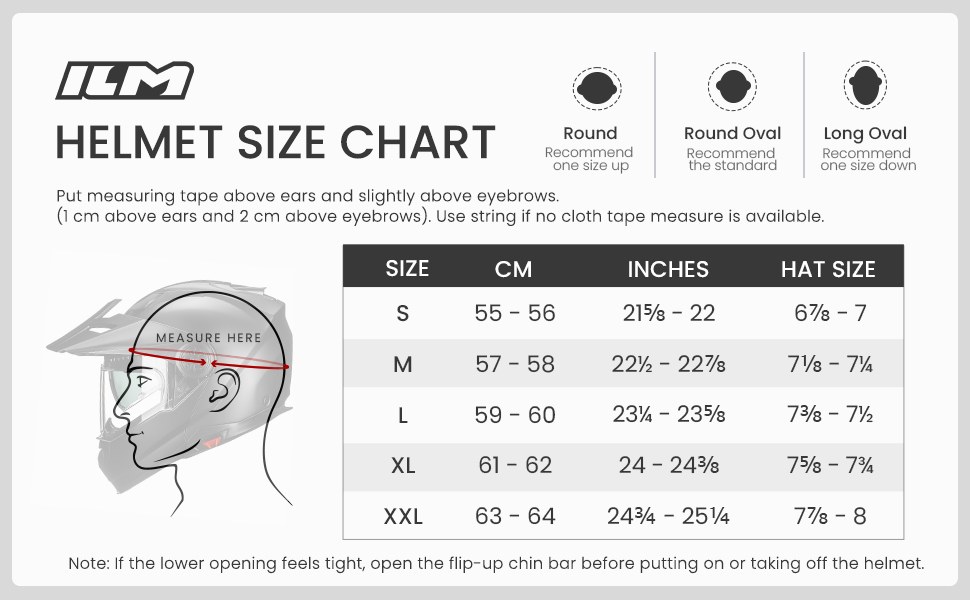
Helmet Sizing & Fit Guide
Difficulty Putting the Helmet On or Taking It Off?
I Think My Helmet Is Too Tight.
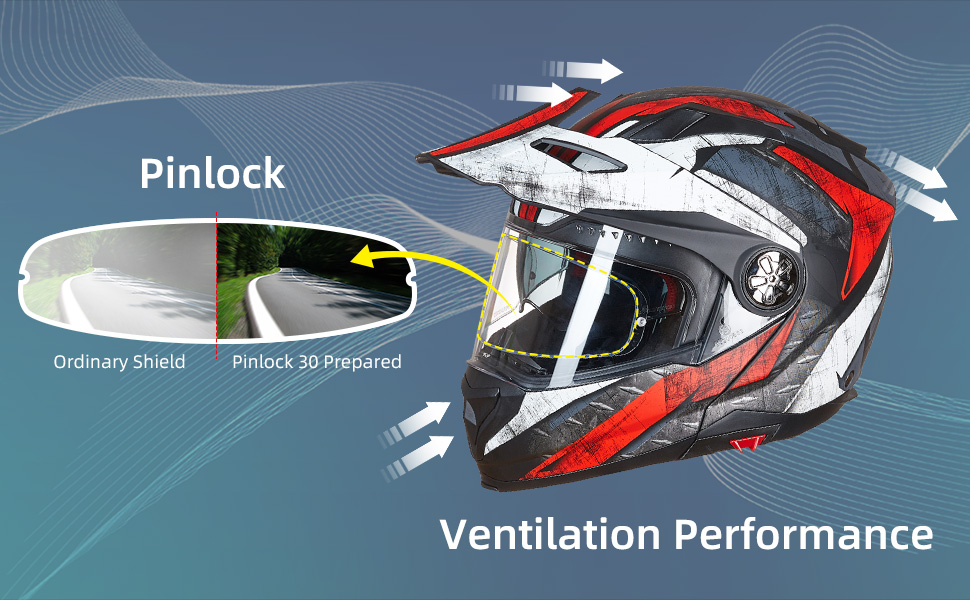
Package Includes:
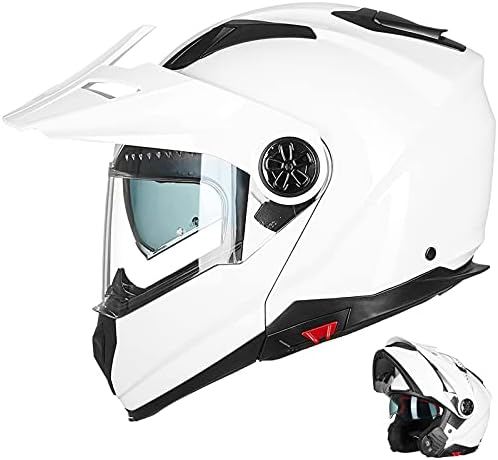
1 x Helmet with Clear Visor
1 x Visor Base( A pair of Black Piece)
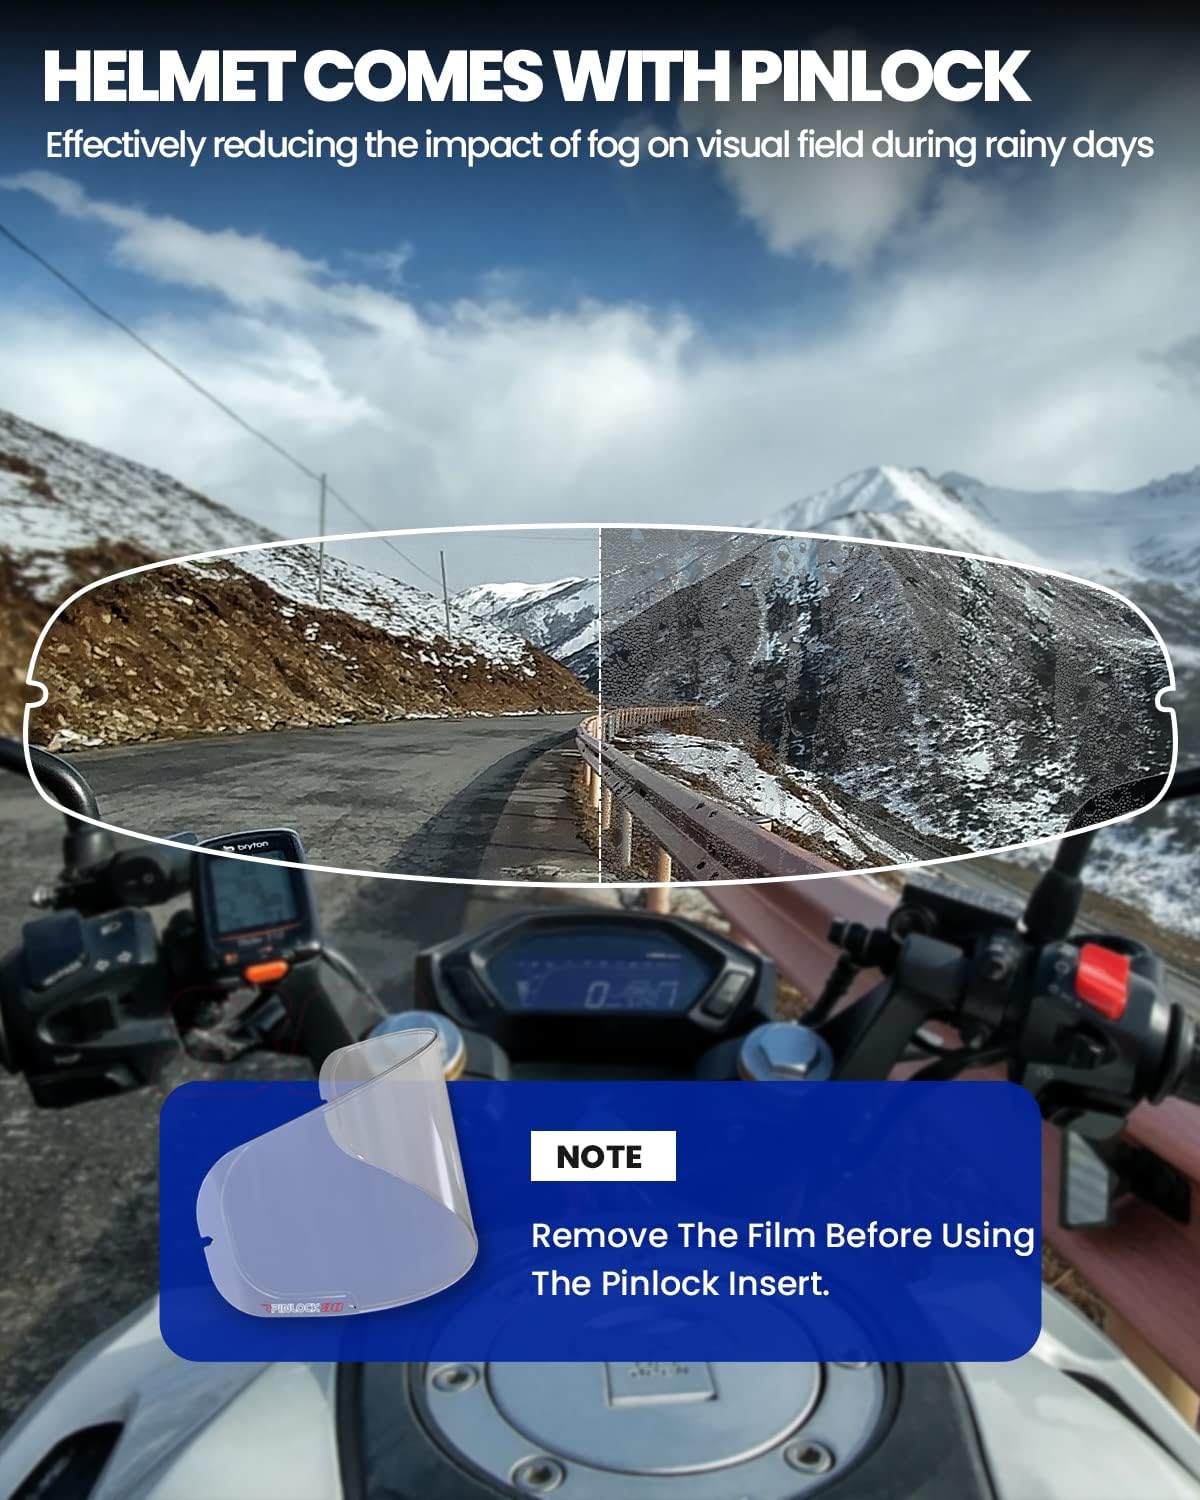
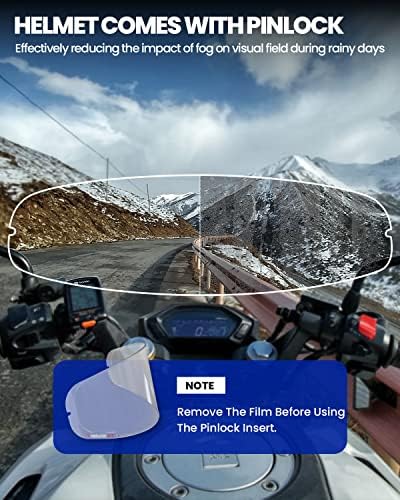
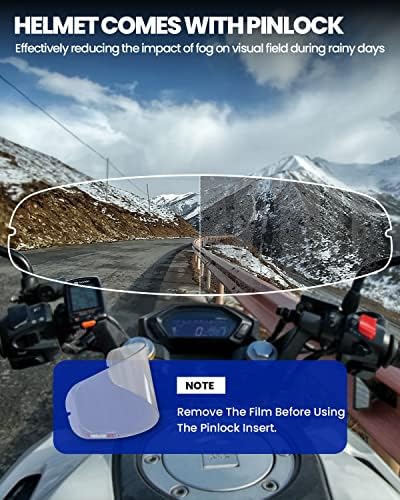
1 x Pinlock Insert
1 x Helmet Bag
1 x 4mm Hex-L Key
Note:
Extra Pinlock visor available for you to purchase as for standby. (You can search B08LQCPJZ7 in Amazon search bar)
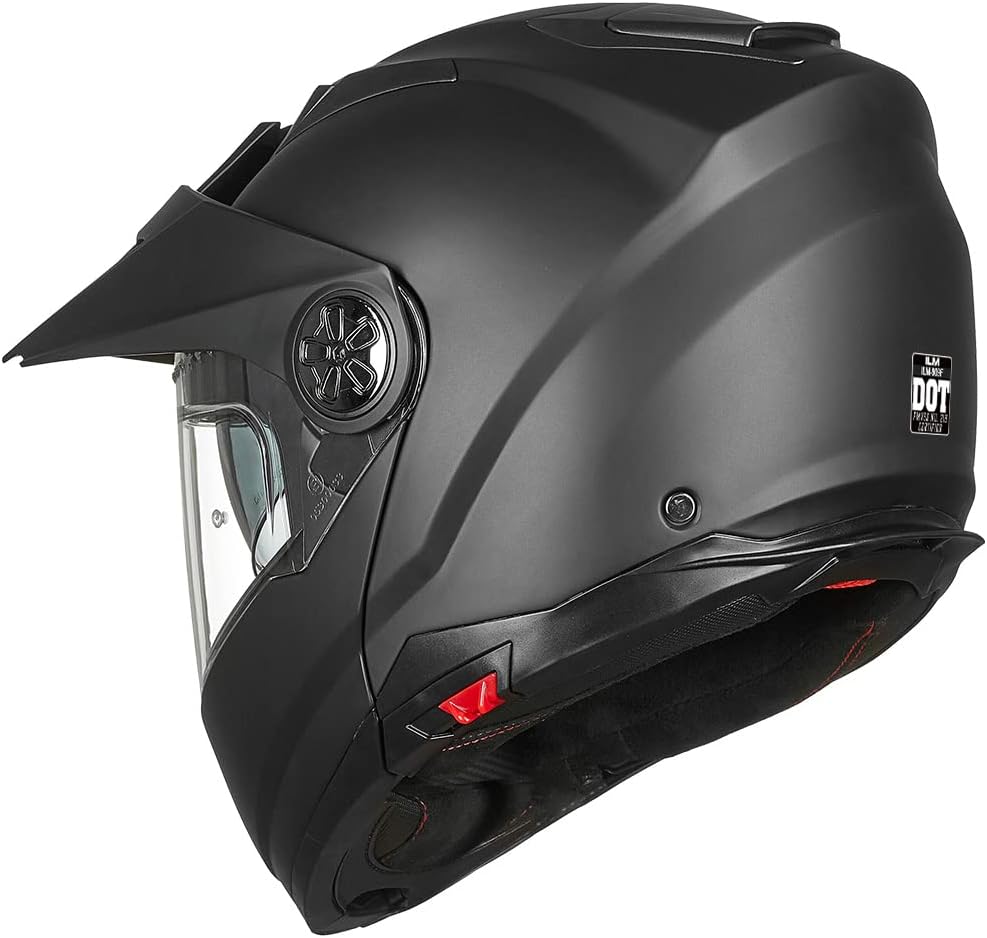
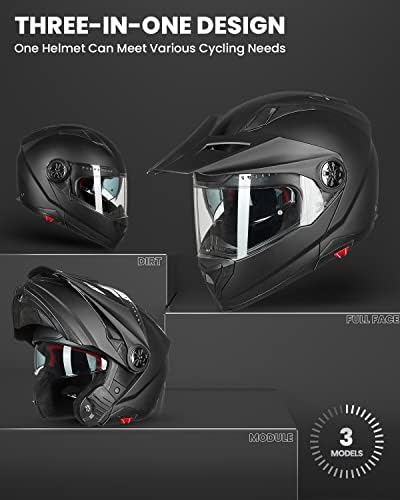
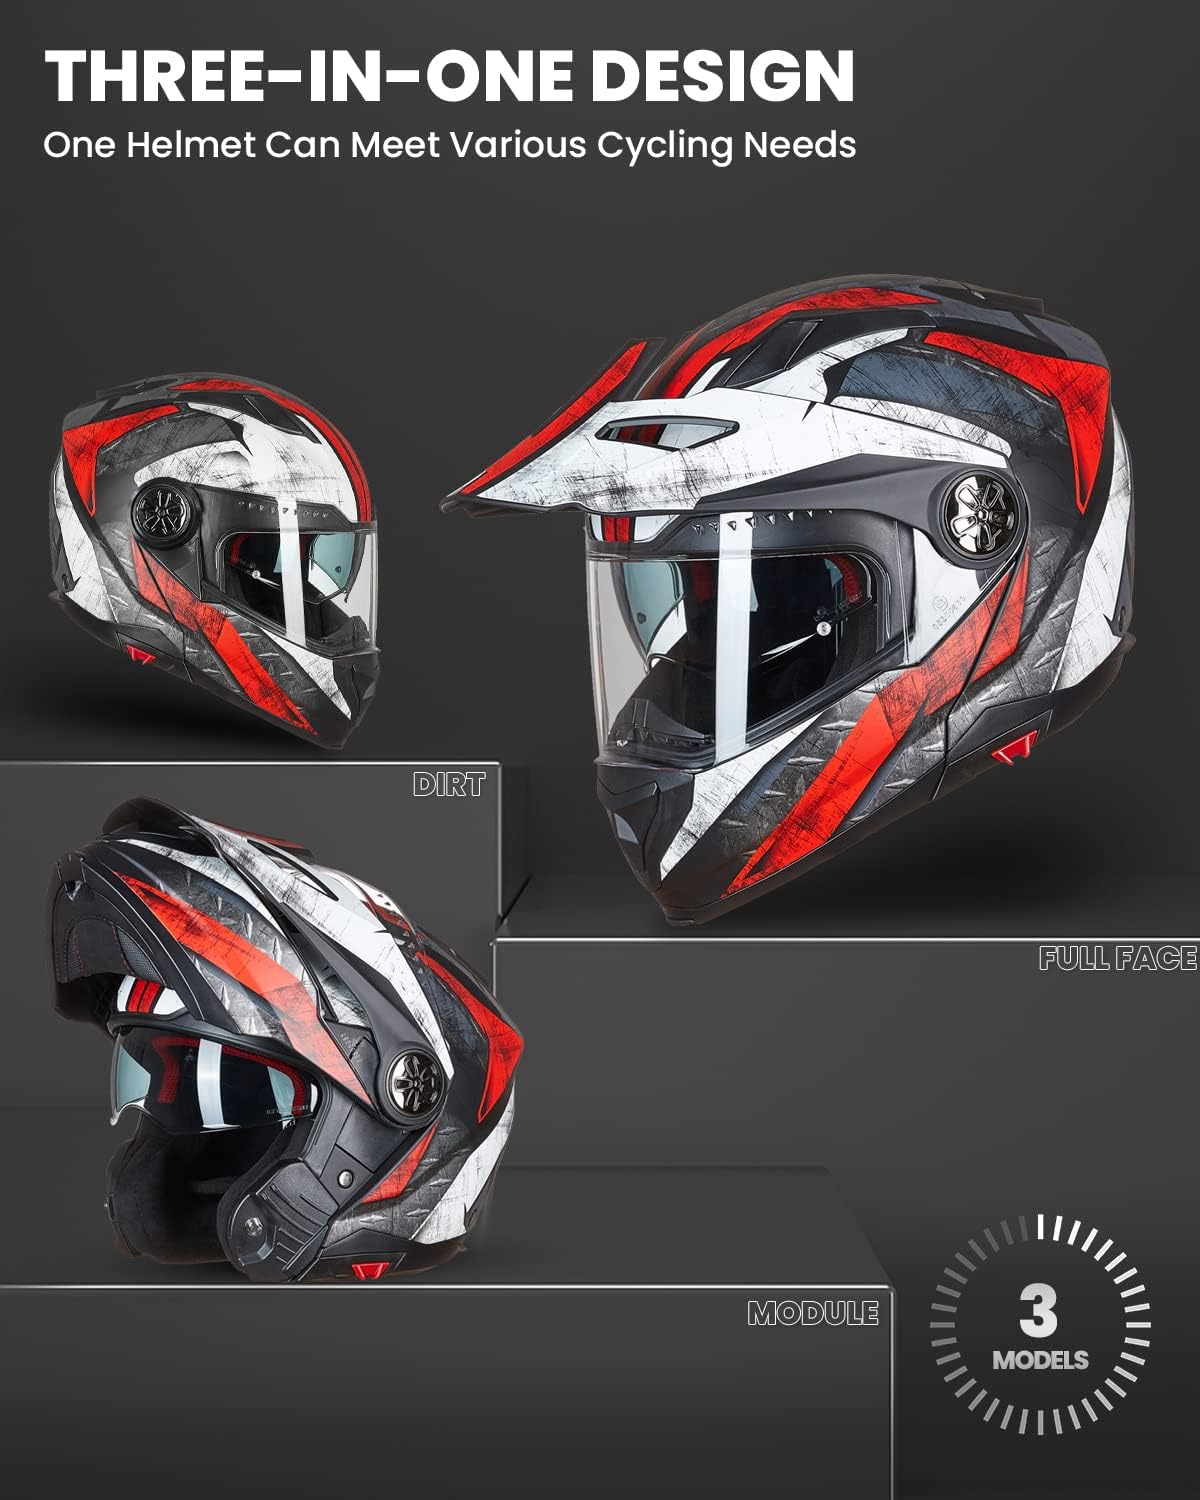
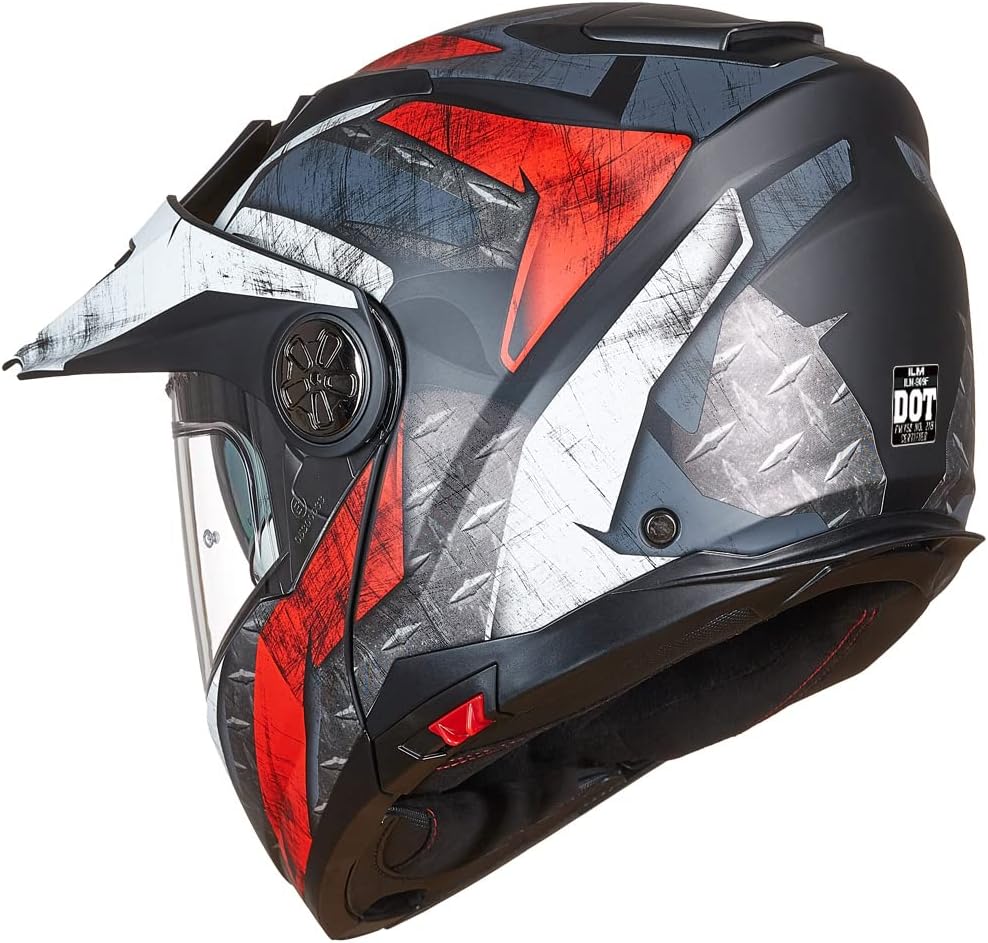
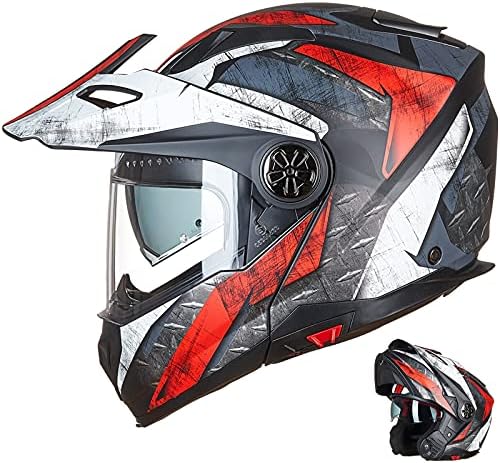
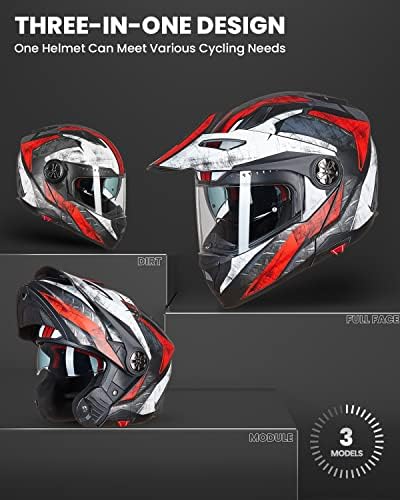
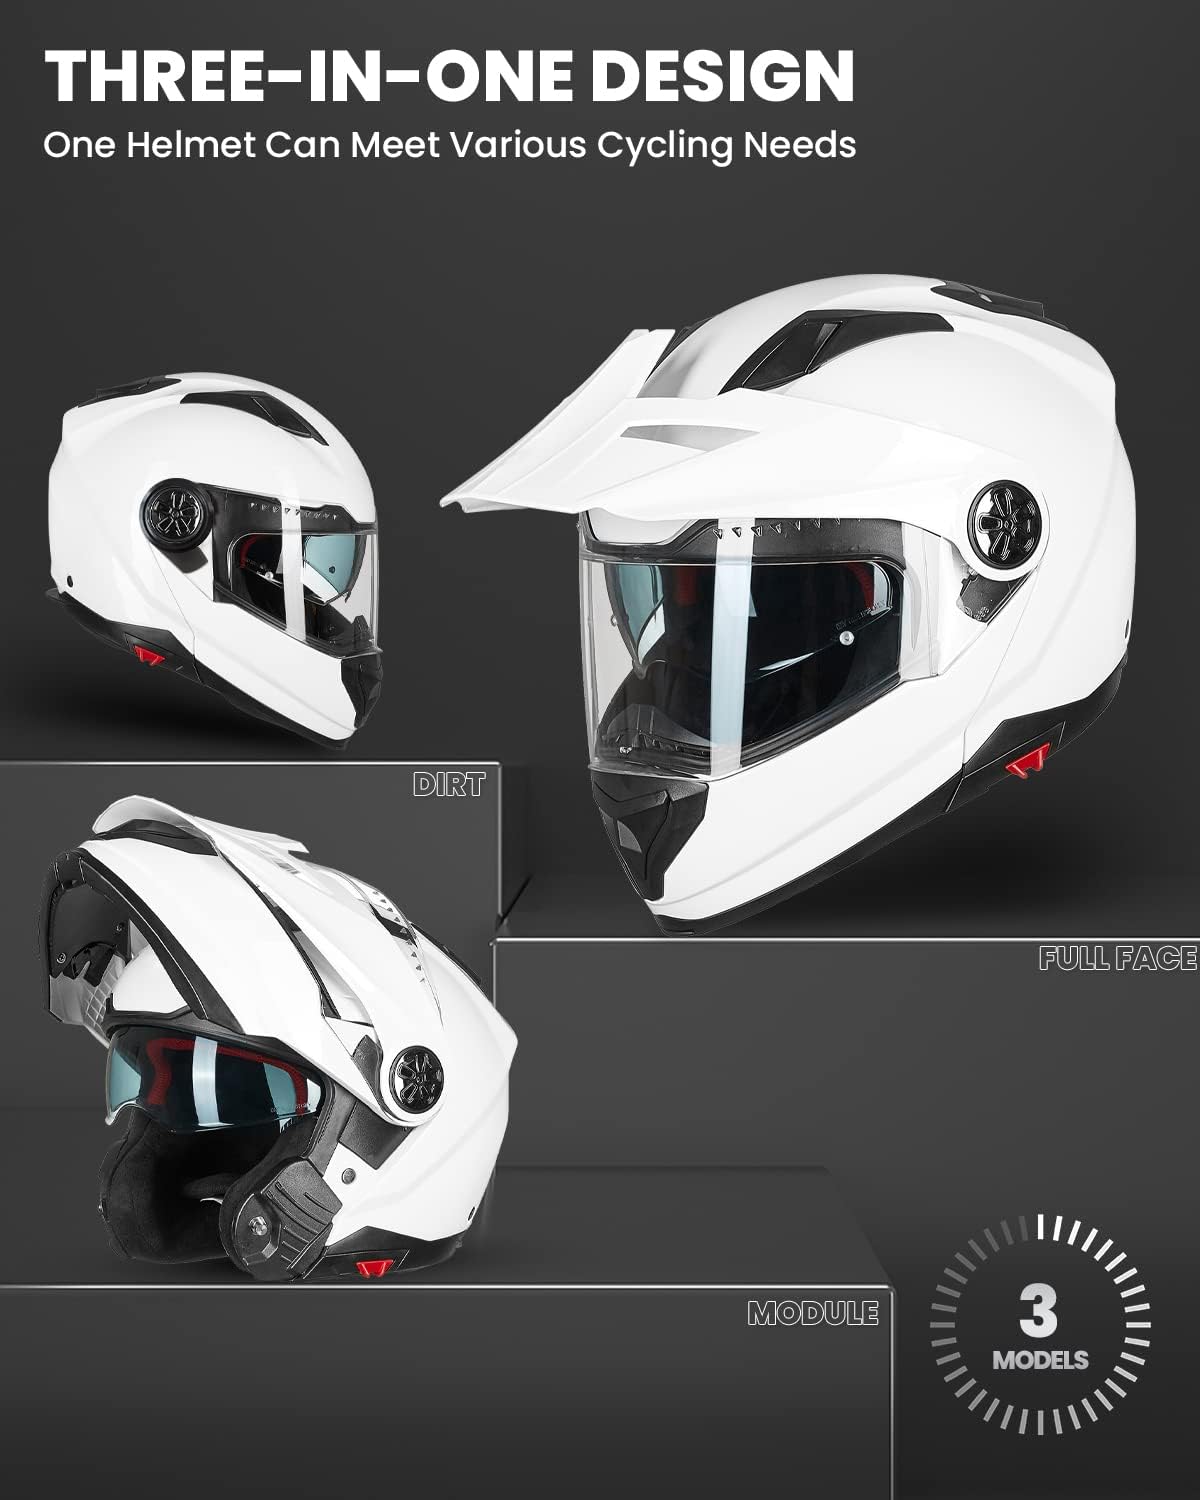
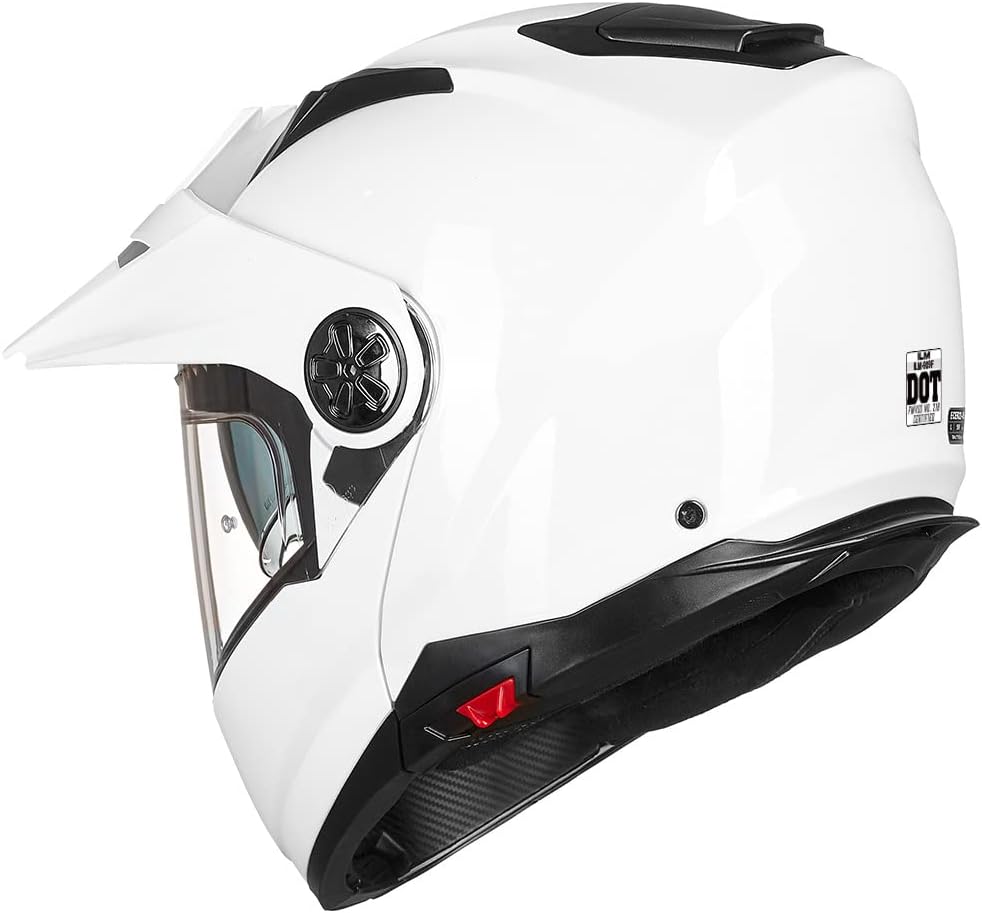
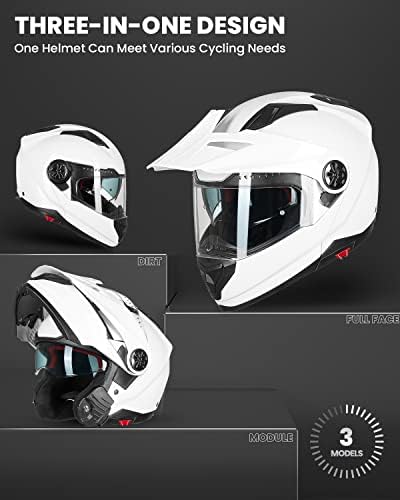
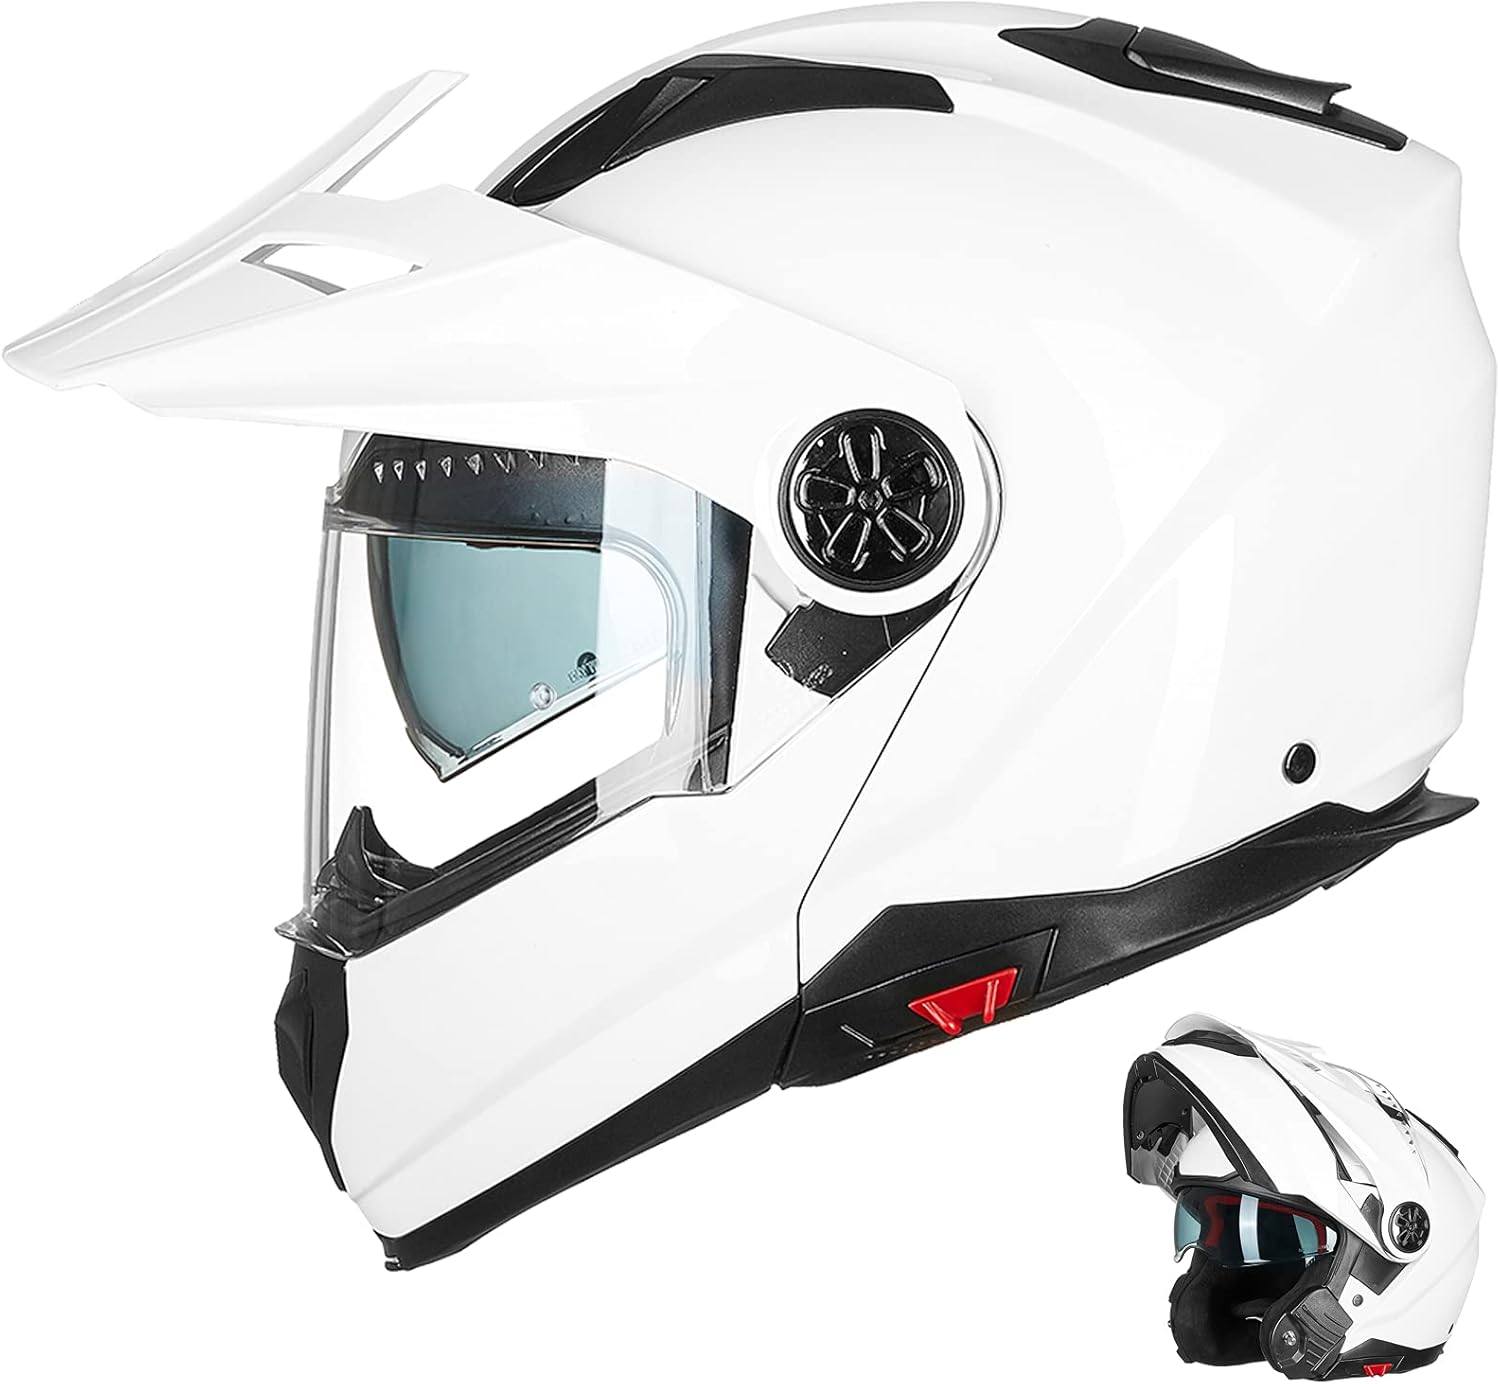
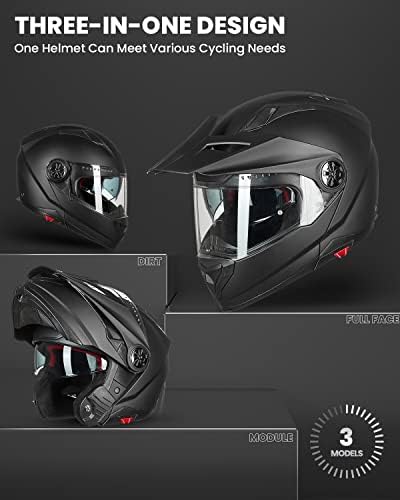
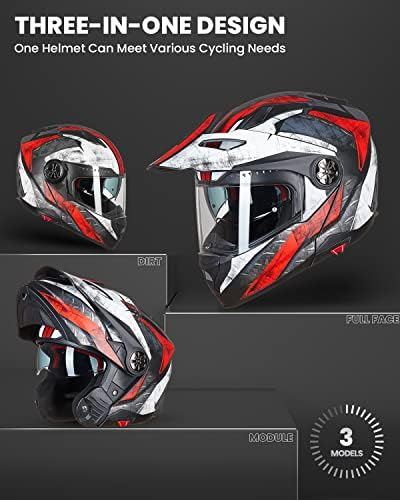
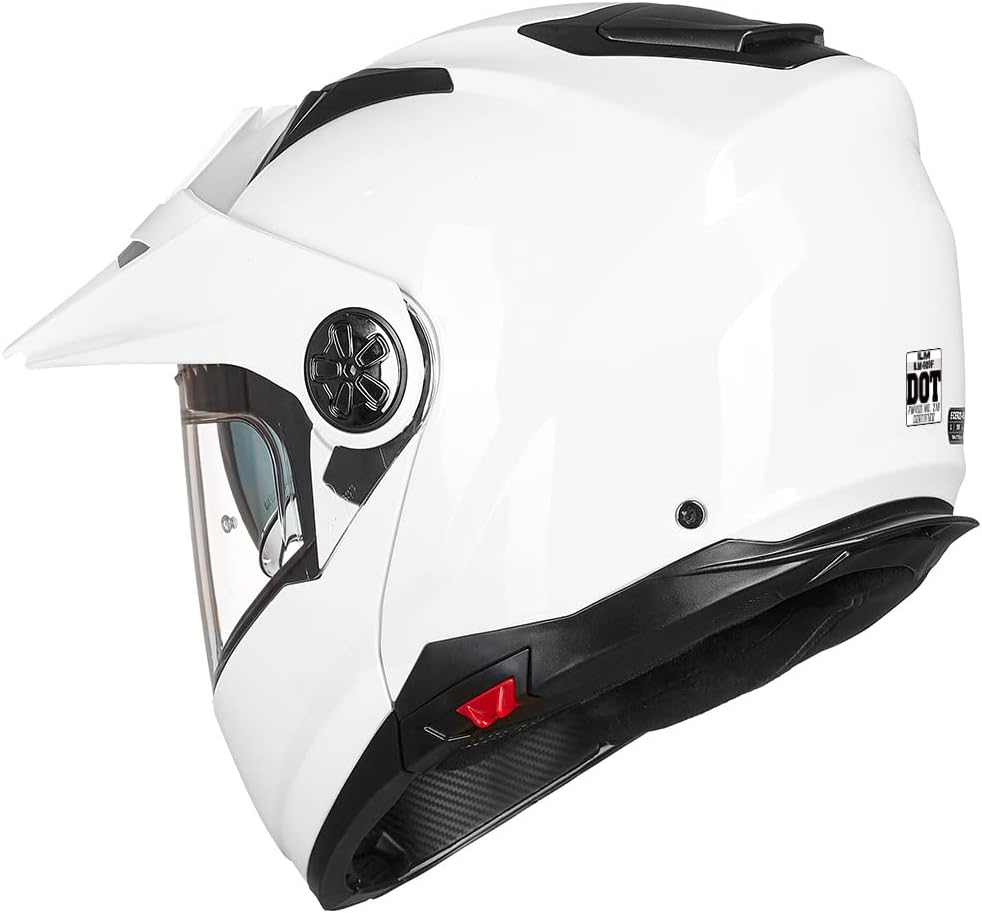
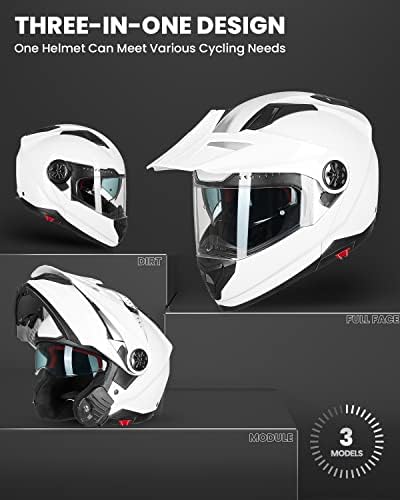
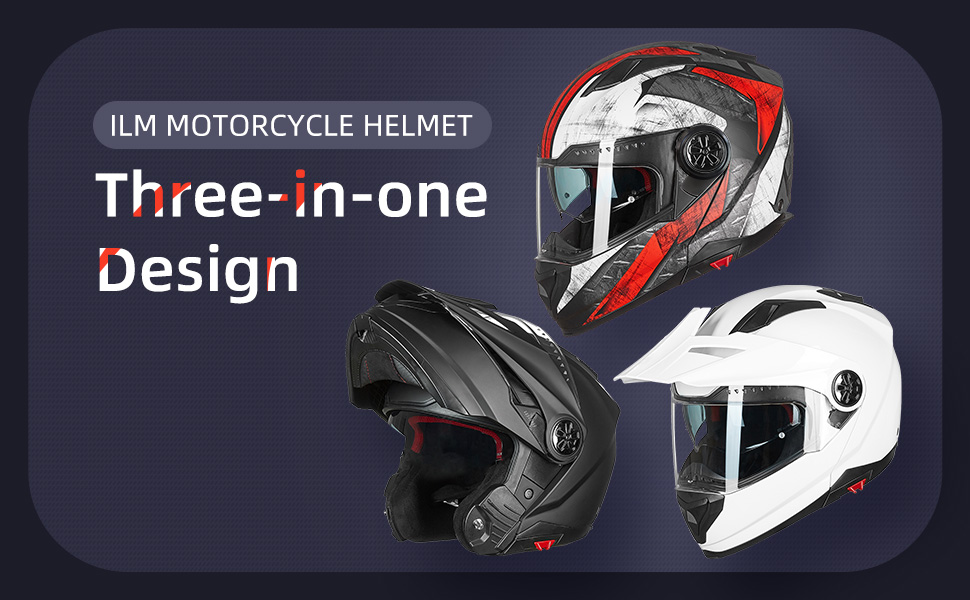
Take off the black piece when there is a need to install the up sun visor to turn the helmet into ATV/dual sport helmet.
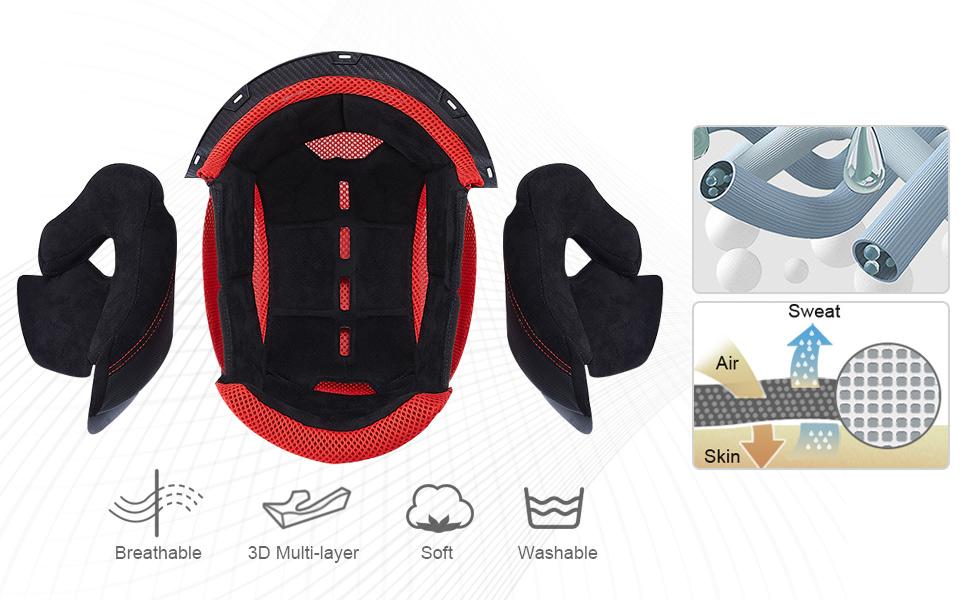
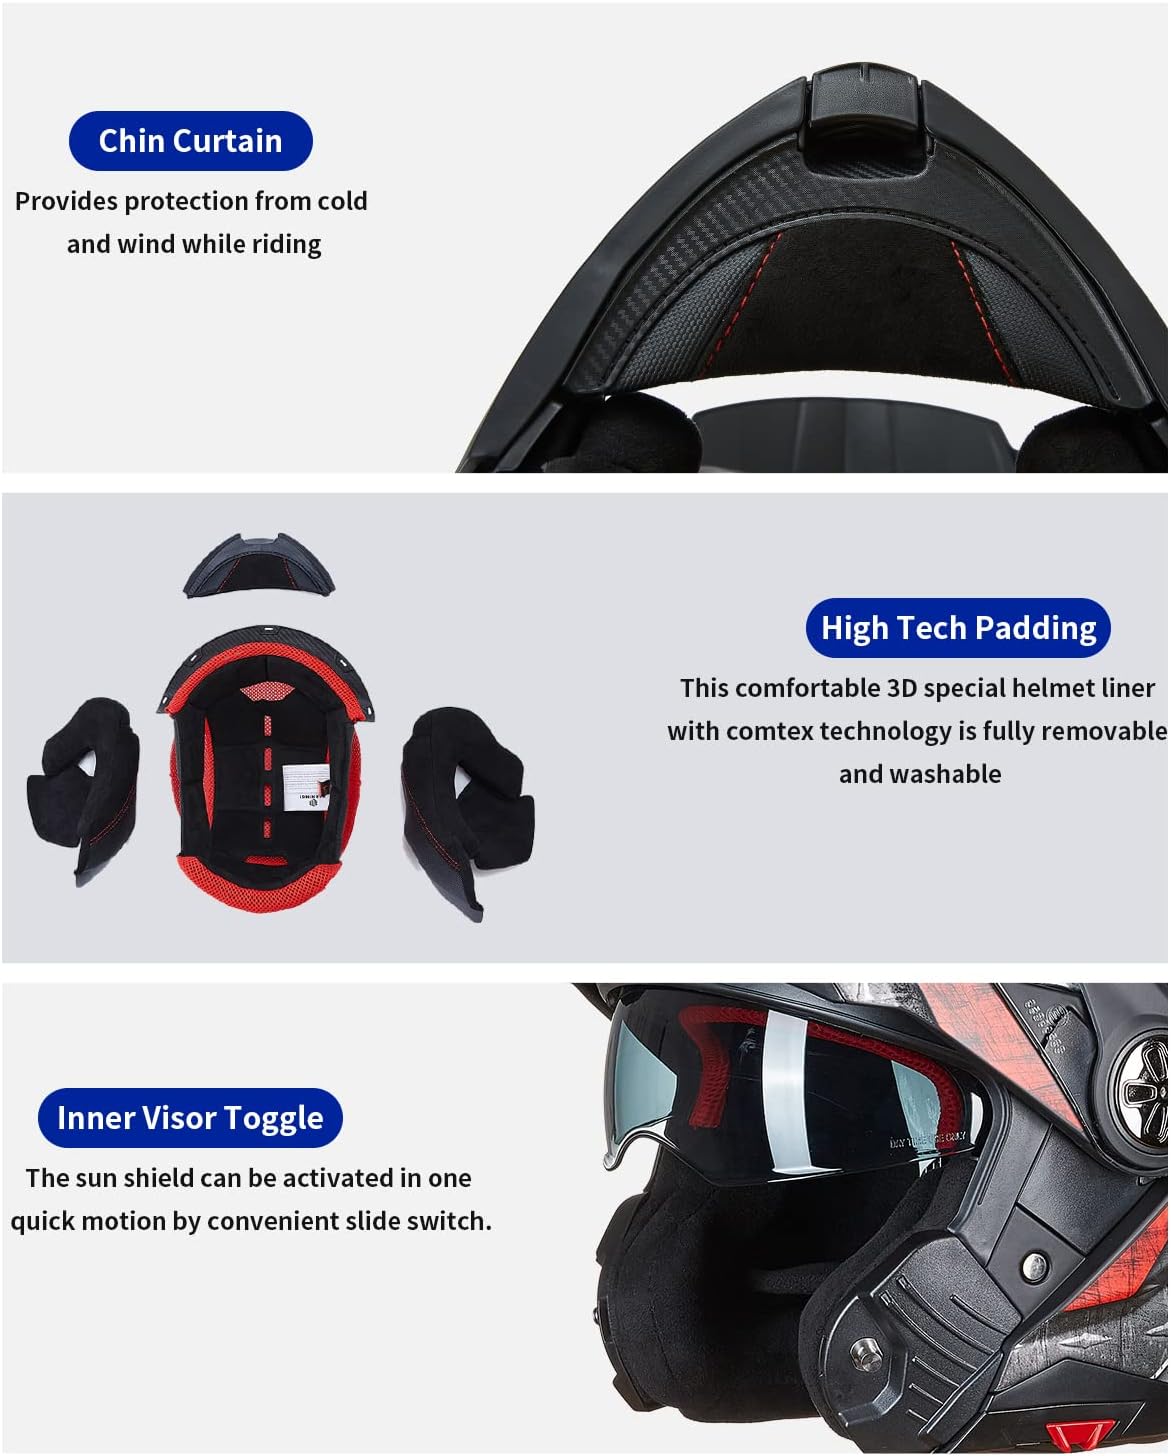
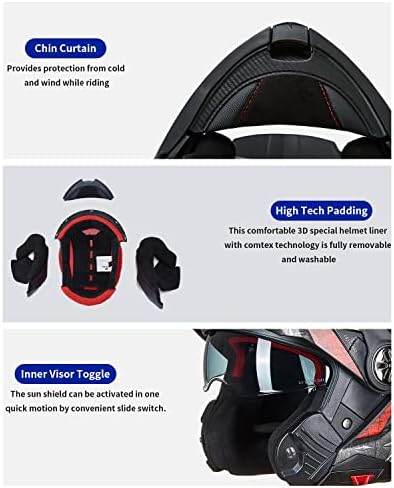
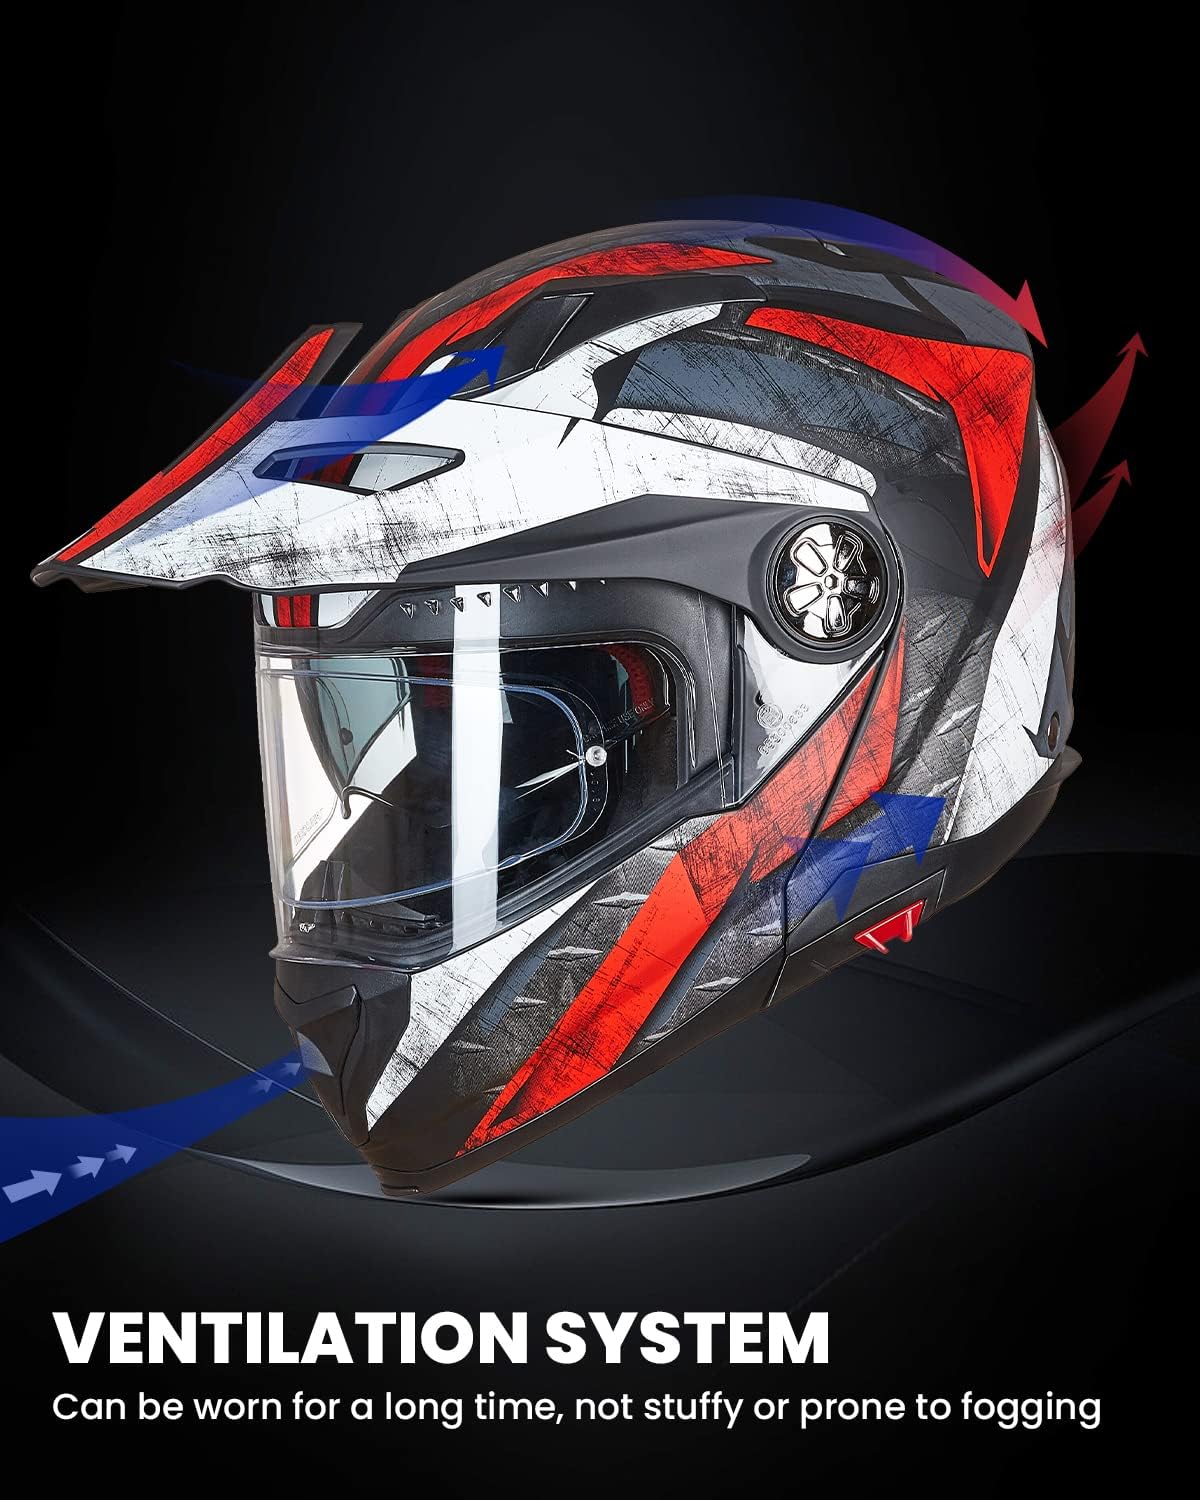
This comfortable 3D special helmet liner with comtex technology is fully removable and washable. The liner’s structure dissipates moisture and humidity out of the helmet much faster while the fiber structures provide warmth on colder days. Another unique feature is that the inner pad is surprisingly soft to wear than most helmets, so it can fit better for different head shapes.
Benefits:
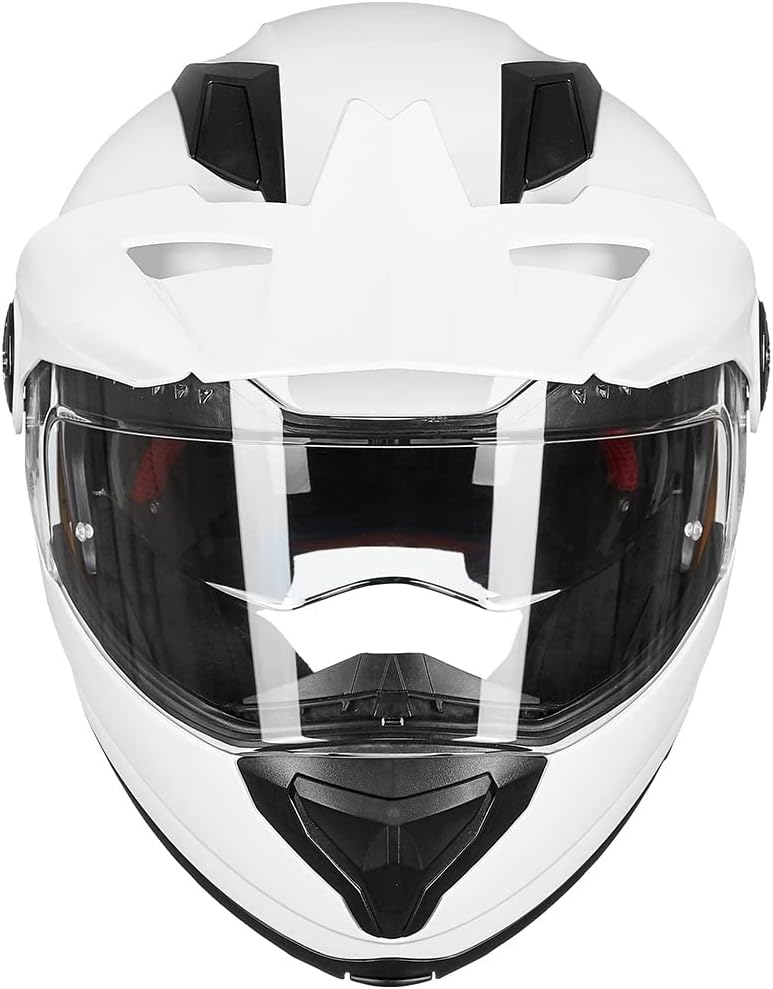
The sun shield built into the helmet allows riders to ride on hot, sunny days without worrying about the sun’s glare. The sun shield can be activated in one quick motion by a large and convenient slide switch.
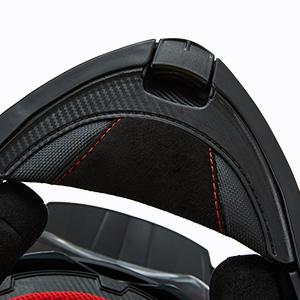
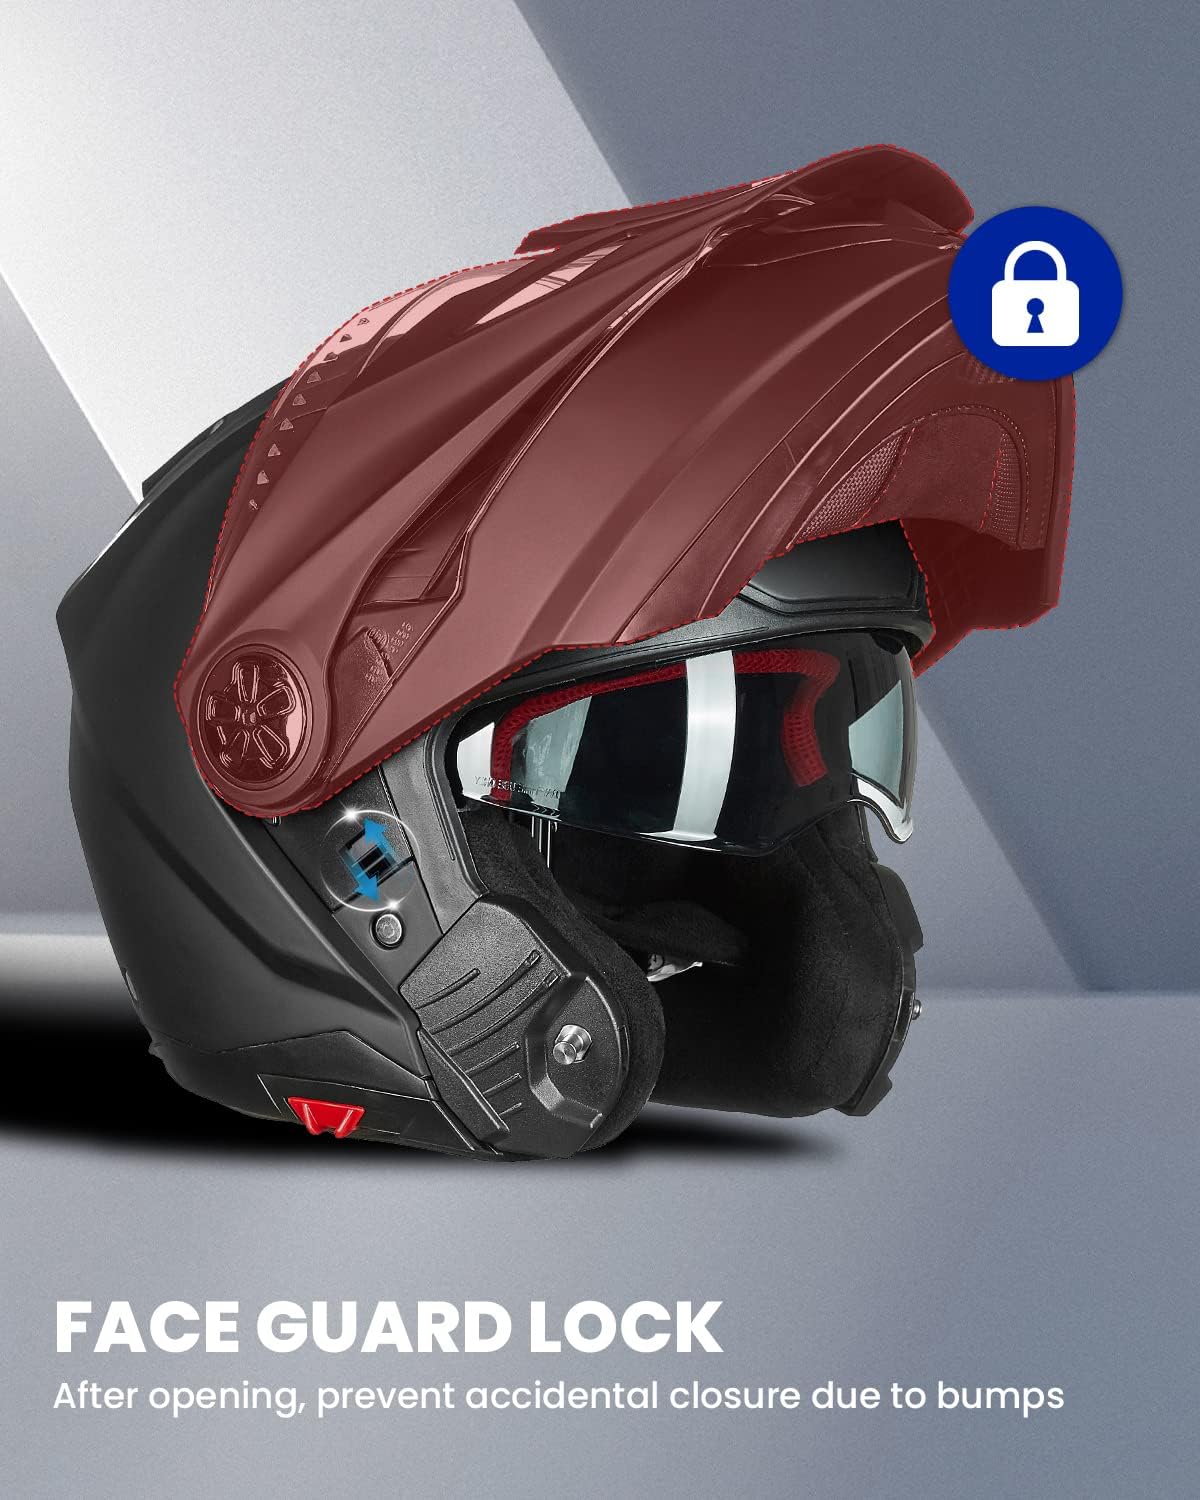
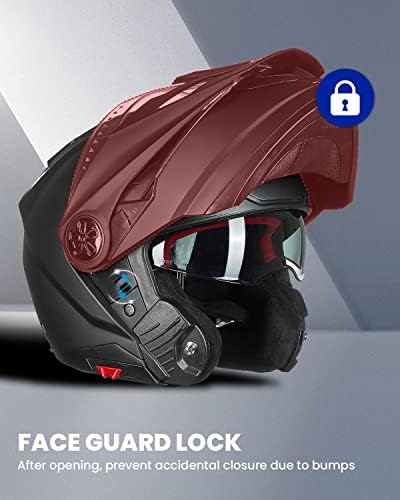
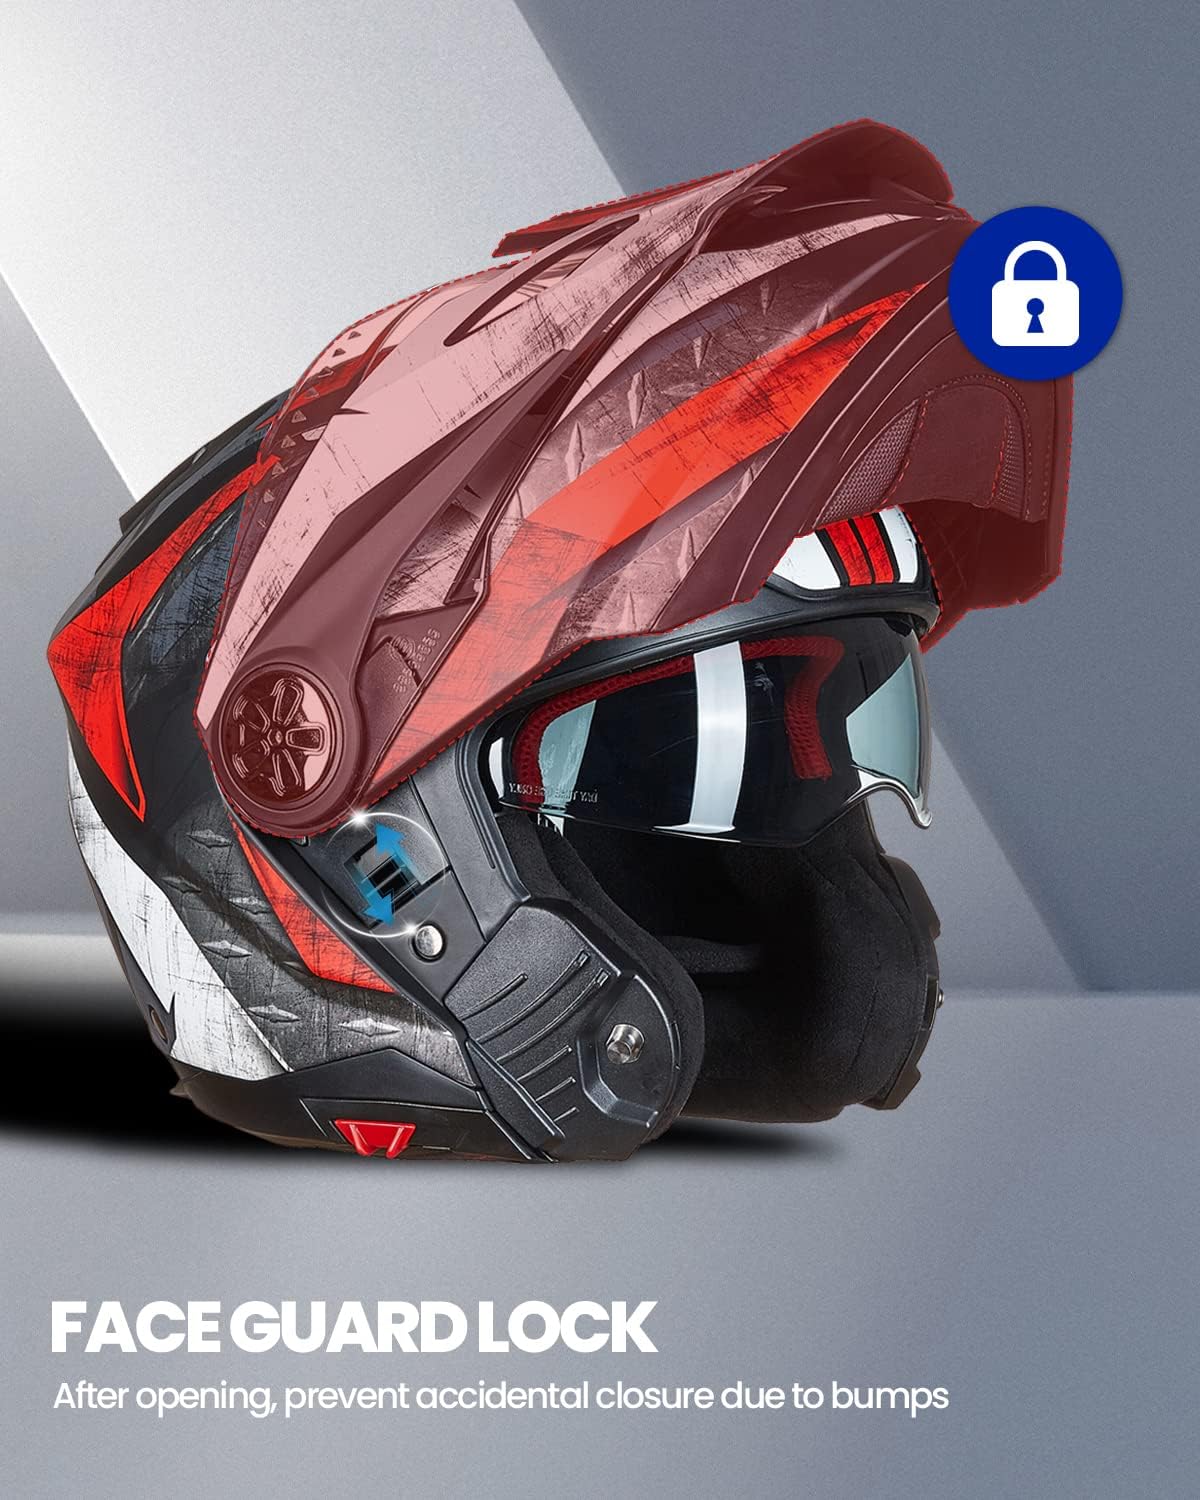
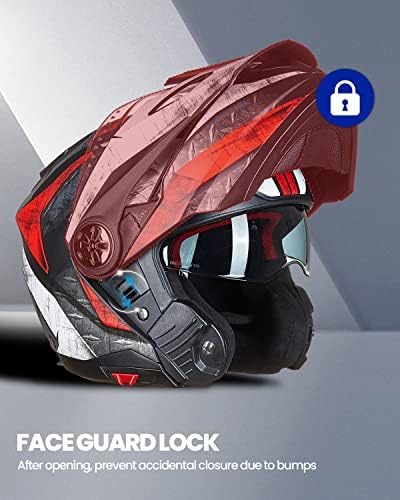
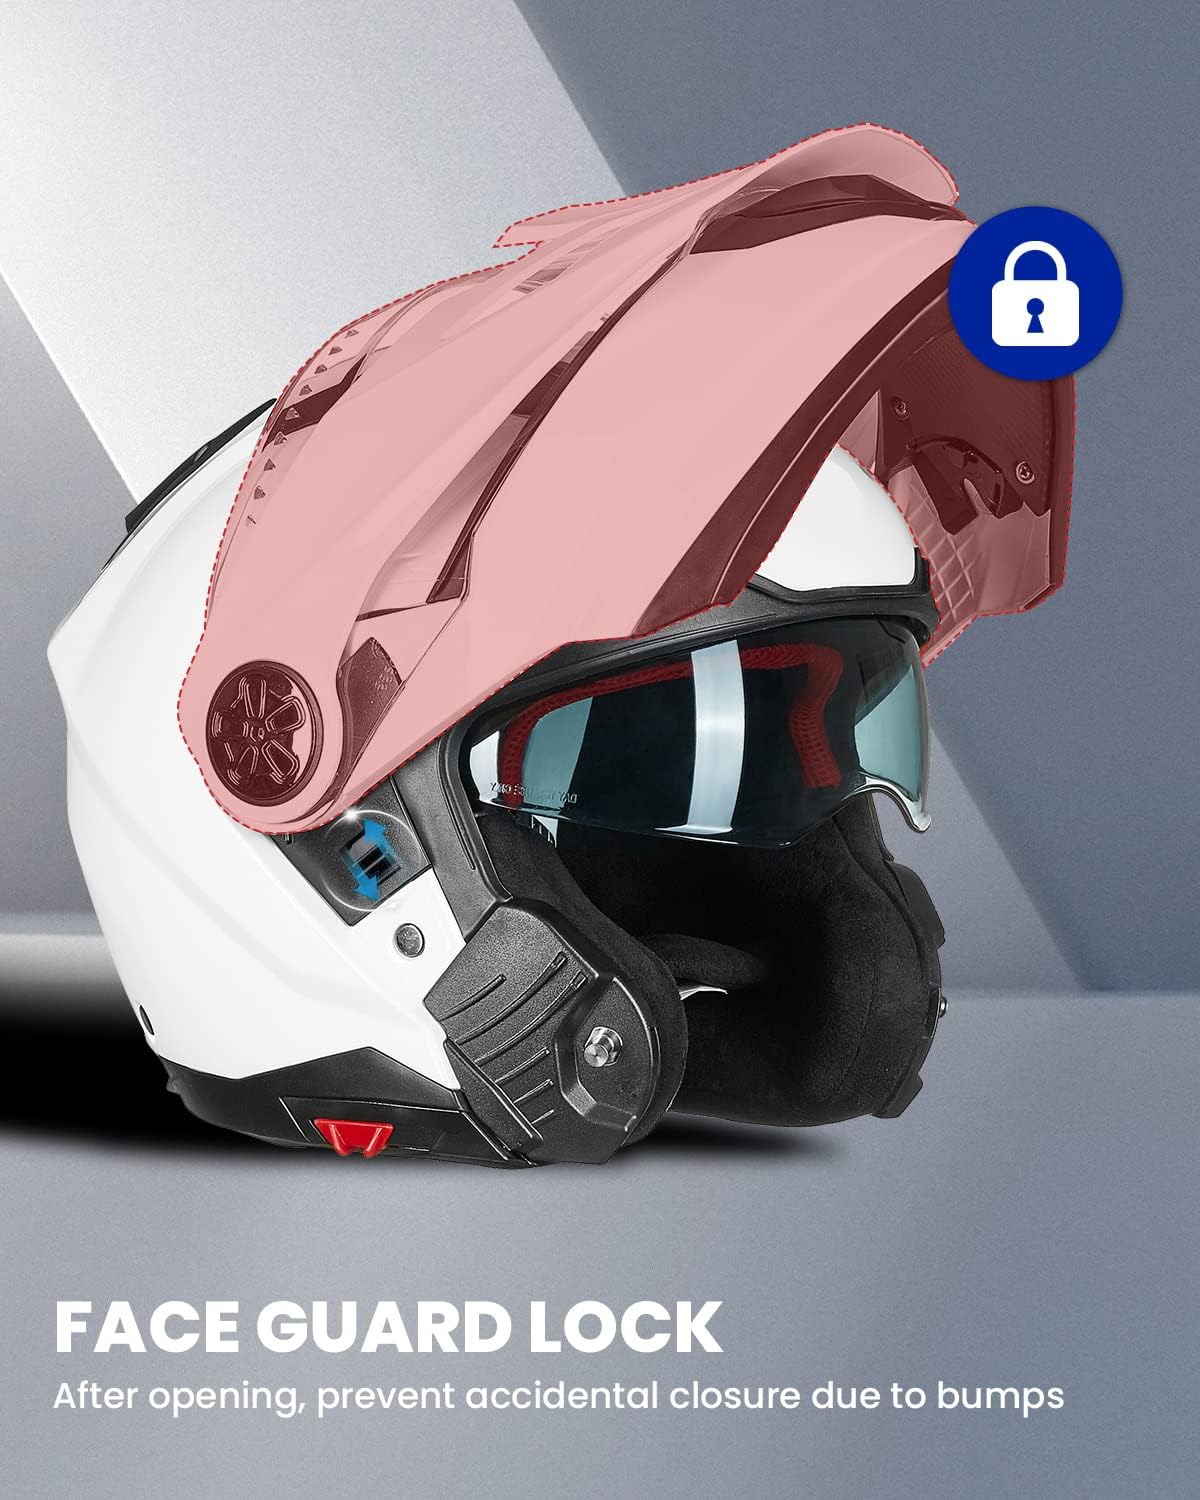
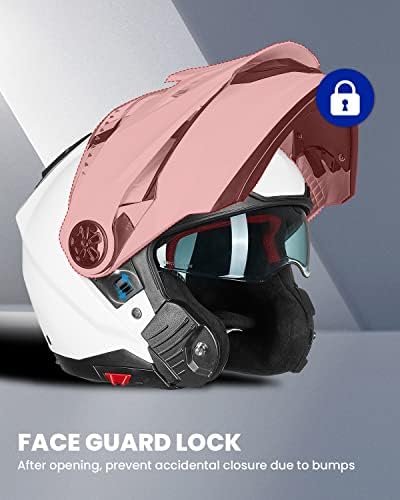
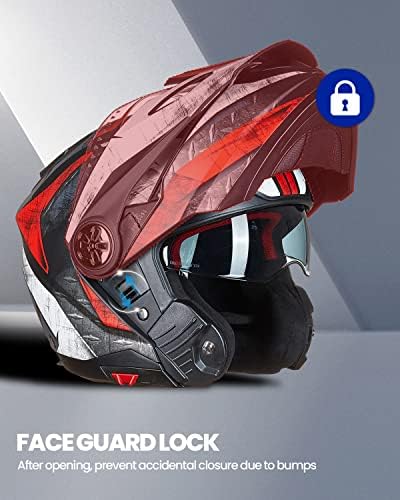
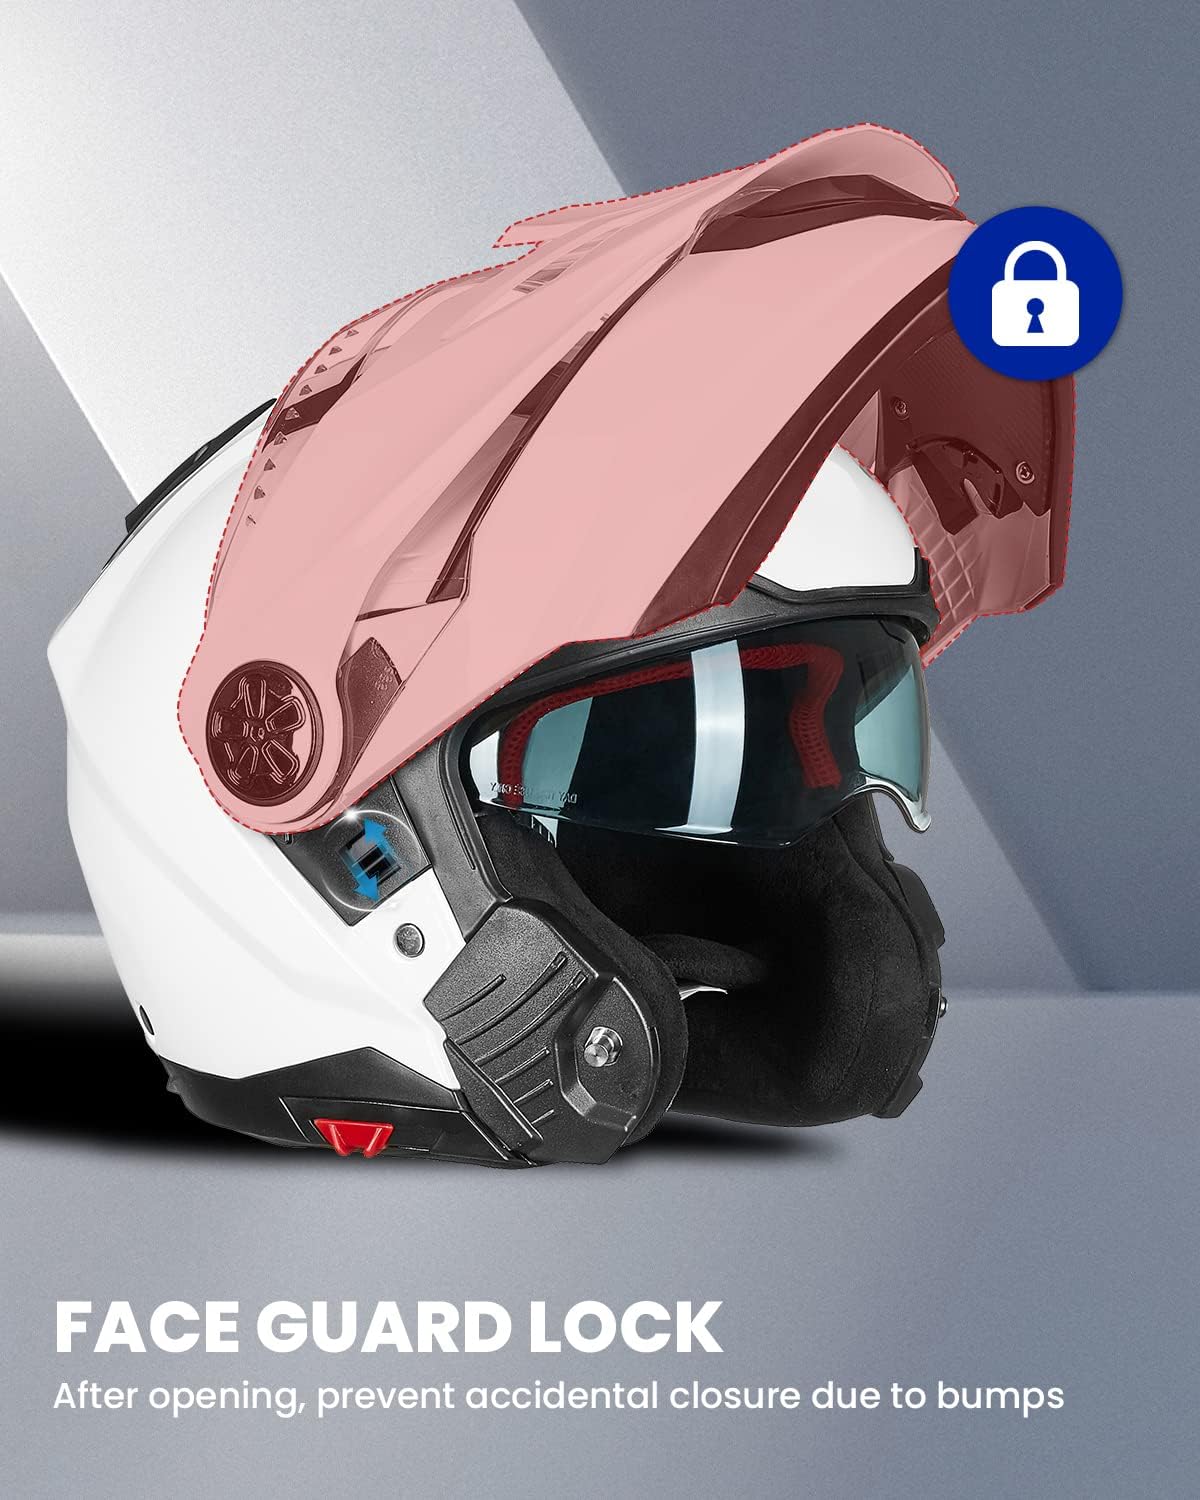
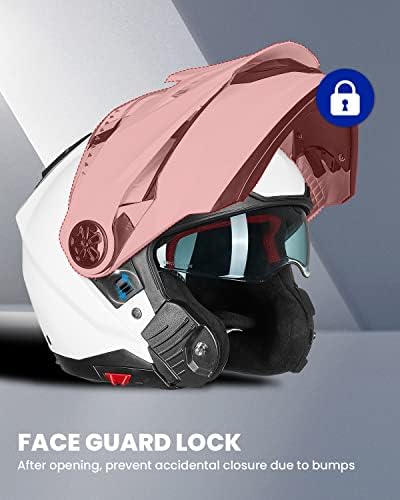
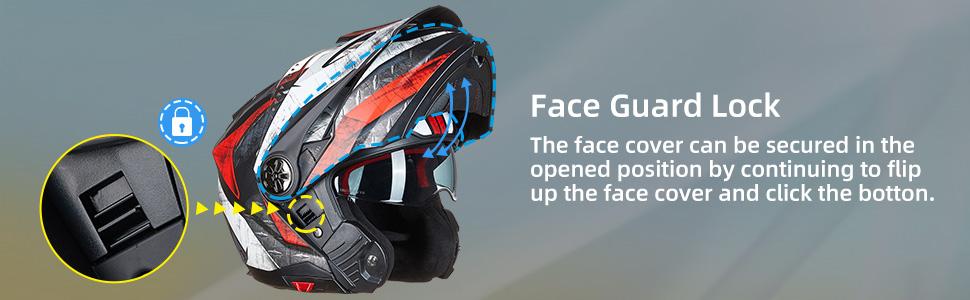
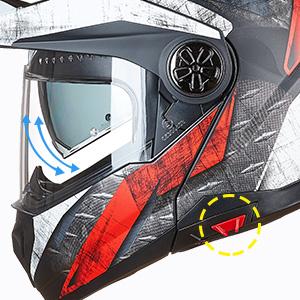
The release button is covered by the chin strap which is removable and provides protection from cold and wind while riding. By pressing the button, riders can flip up the chin guard of the helmet exposing their face.
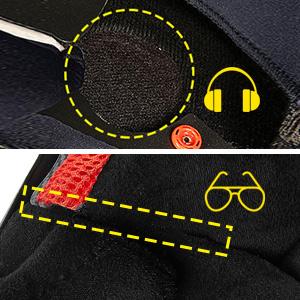
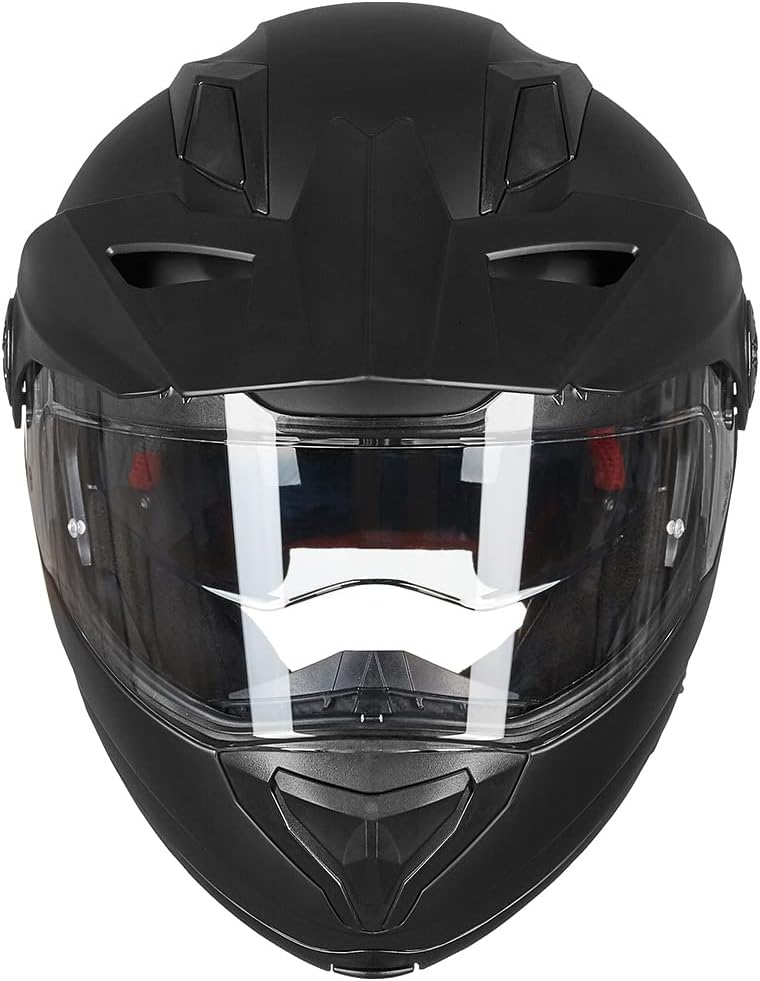
This helmet is one of the few helmets available on the market that has pockets for the communication system speaker, is eyeglasses friendly.
Note:
Wear helmet before putting on glasses.
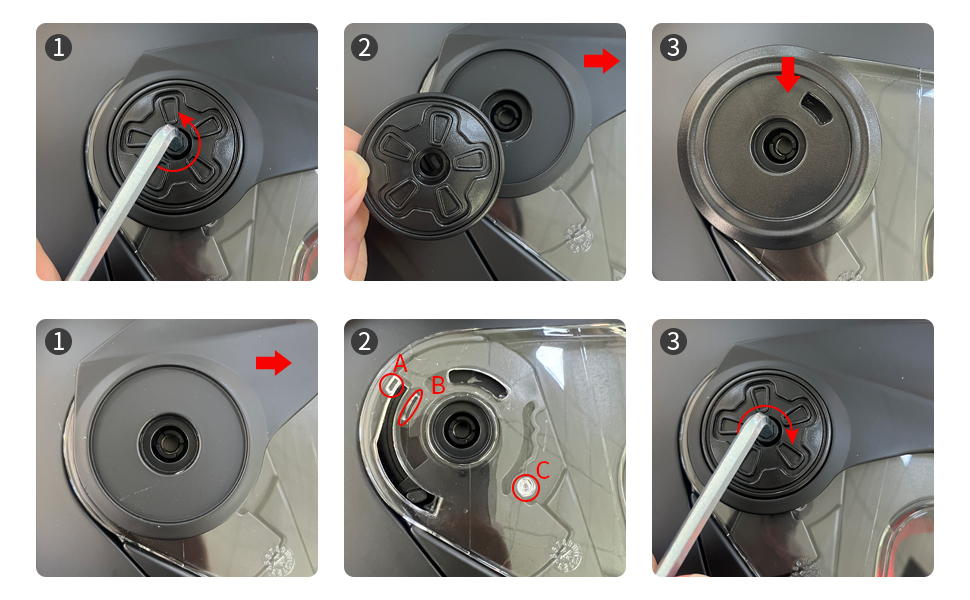
How to Remove the Peak?
1、Use the included hex wrench to unscrew the center screw.
2、Remove the visor panel and the helmet peak.
3、Place the included visor base as shown in the diagram, then put the visor panel back and tighten the screw.
How to Remove/Install the Outer Visor?
1. First, remove the helmet peak. Then pull the outer visor upward to remove it.
2. When installing the outer visor, expose and keep it lifted, align points A, B, and C to fit into the corresponding slots.
3. Install the helmet peak or the included visor base, then place the cover panel and tighten the screw.
Note: For your safety, check that the visor base screws are securely tightened and the cover plates are firmly in place before every ride.
loading