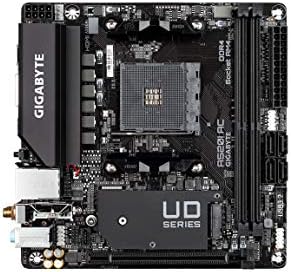
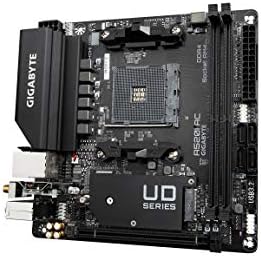
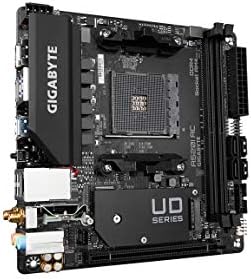
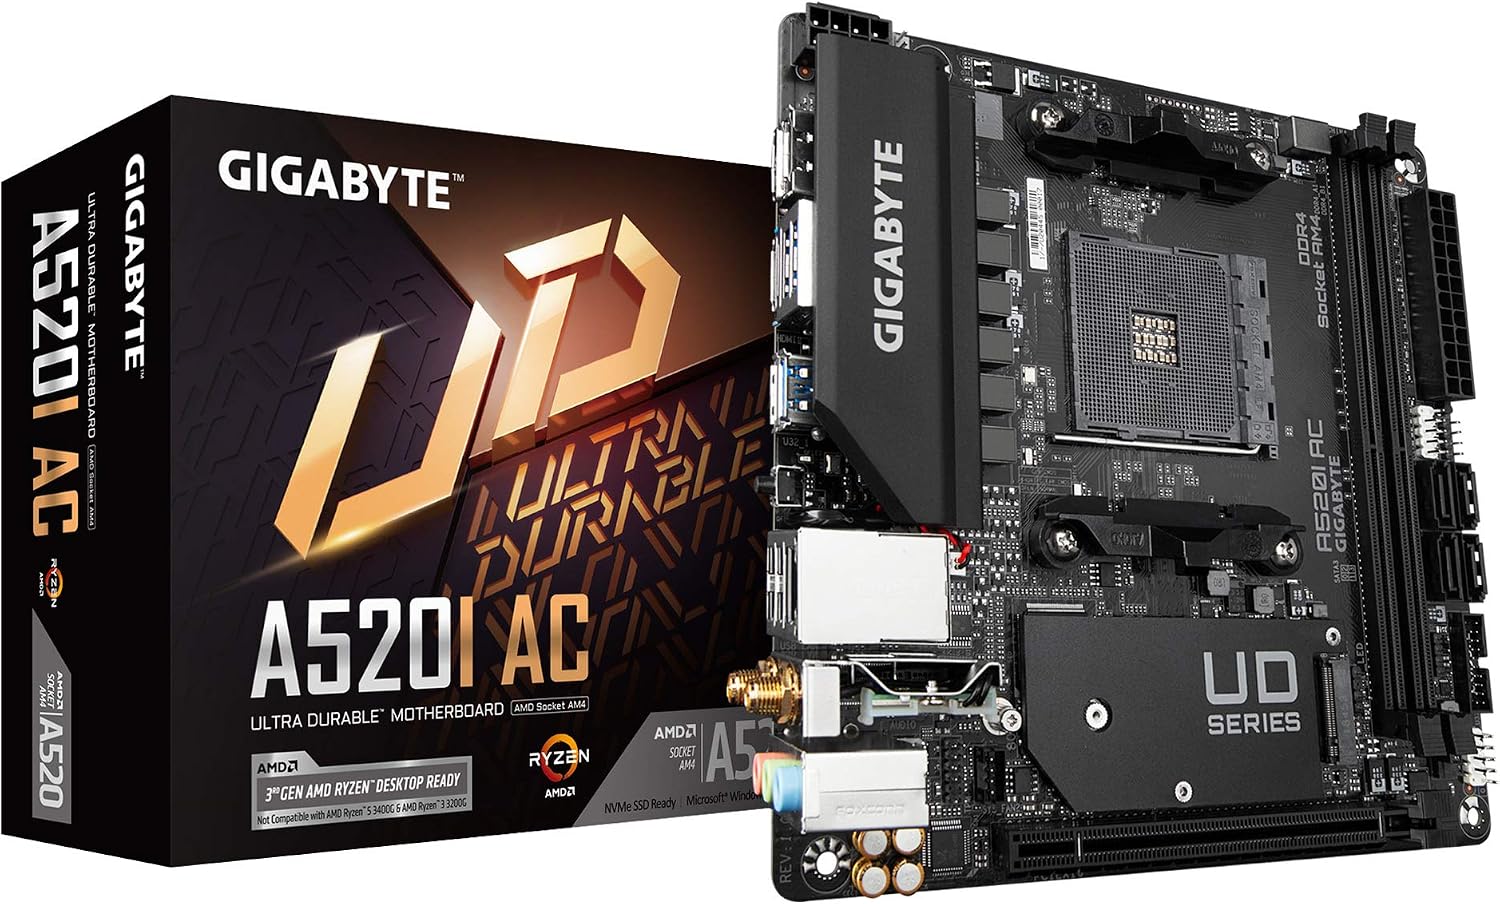
Gigabyte A520I AC (AMD Ryzen AM4/Mini-ITX/Direct 6 Phases Digital PWM with 55A DrMOS/Gaming GbE LAN/Intel WiFi+Bluetooth/NVMe PCIe 3.0 x4 M.2/3

$36.00 USD
Shipping fees will be calculated at checkout.
  • Free worldwide shipping

  • Free returns

  • Carbon neutral

  • Secure payments

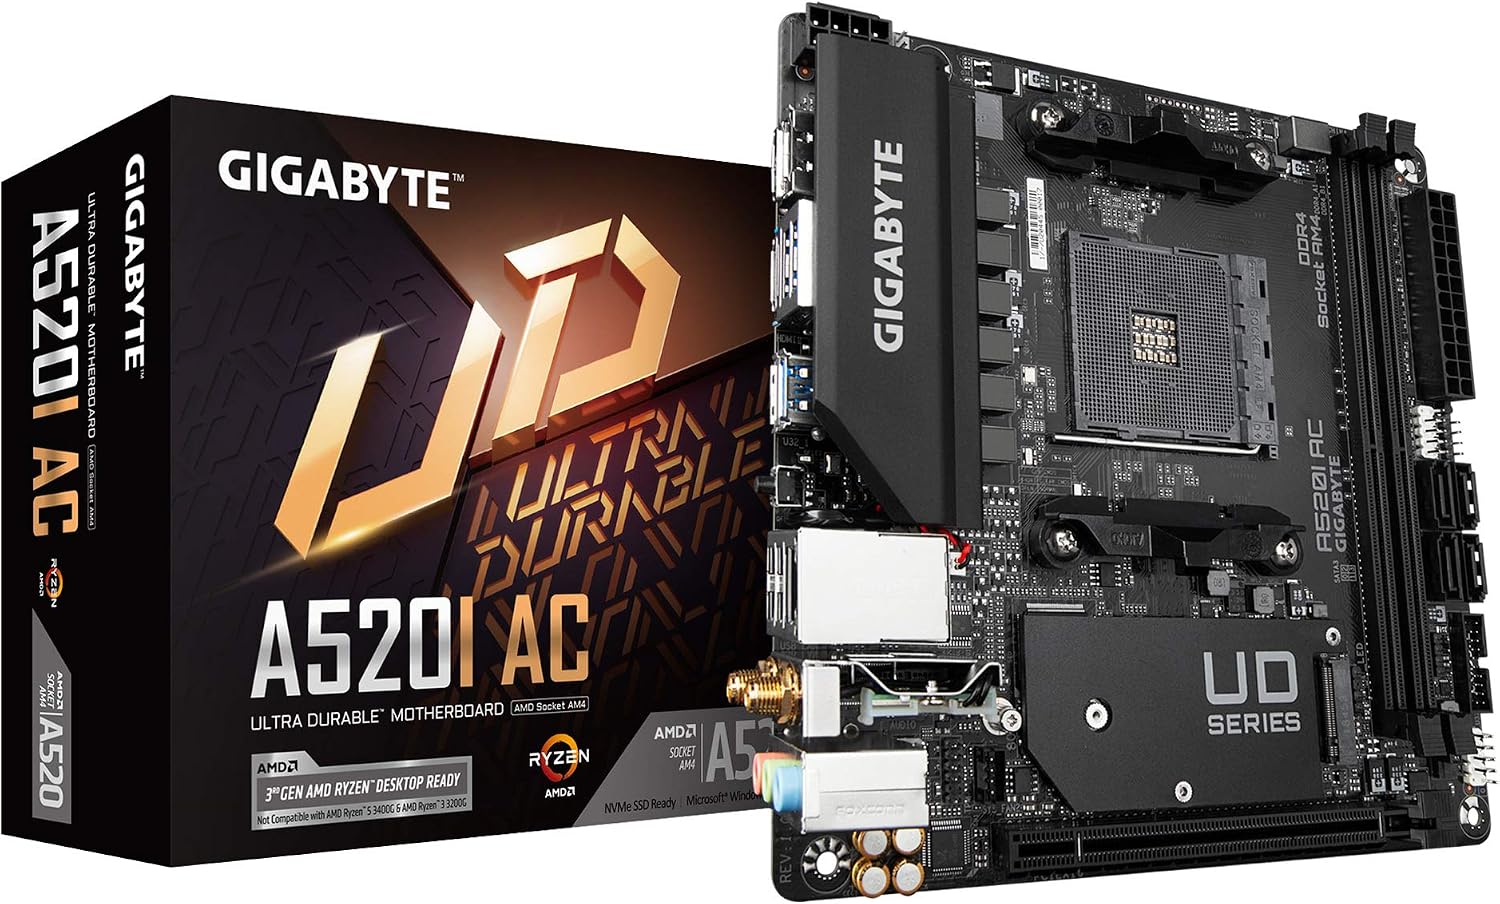
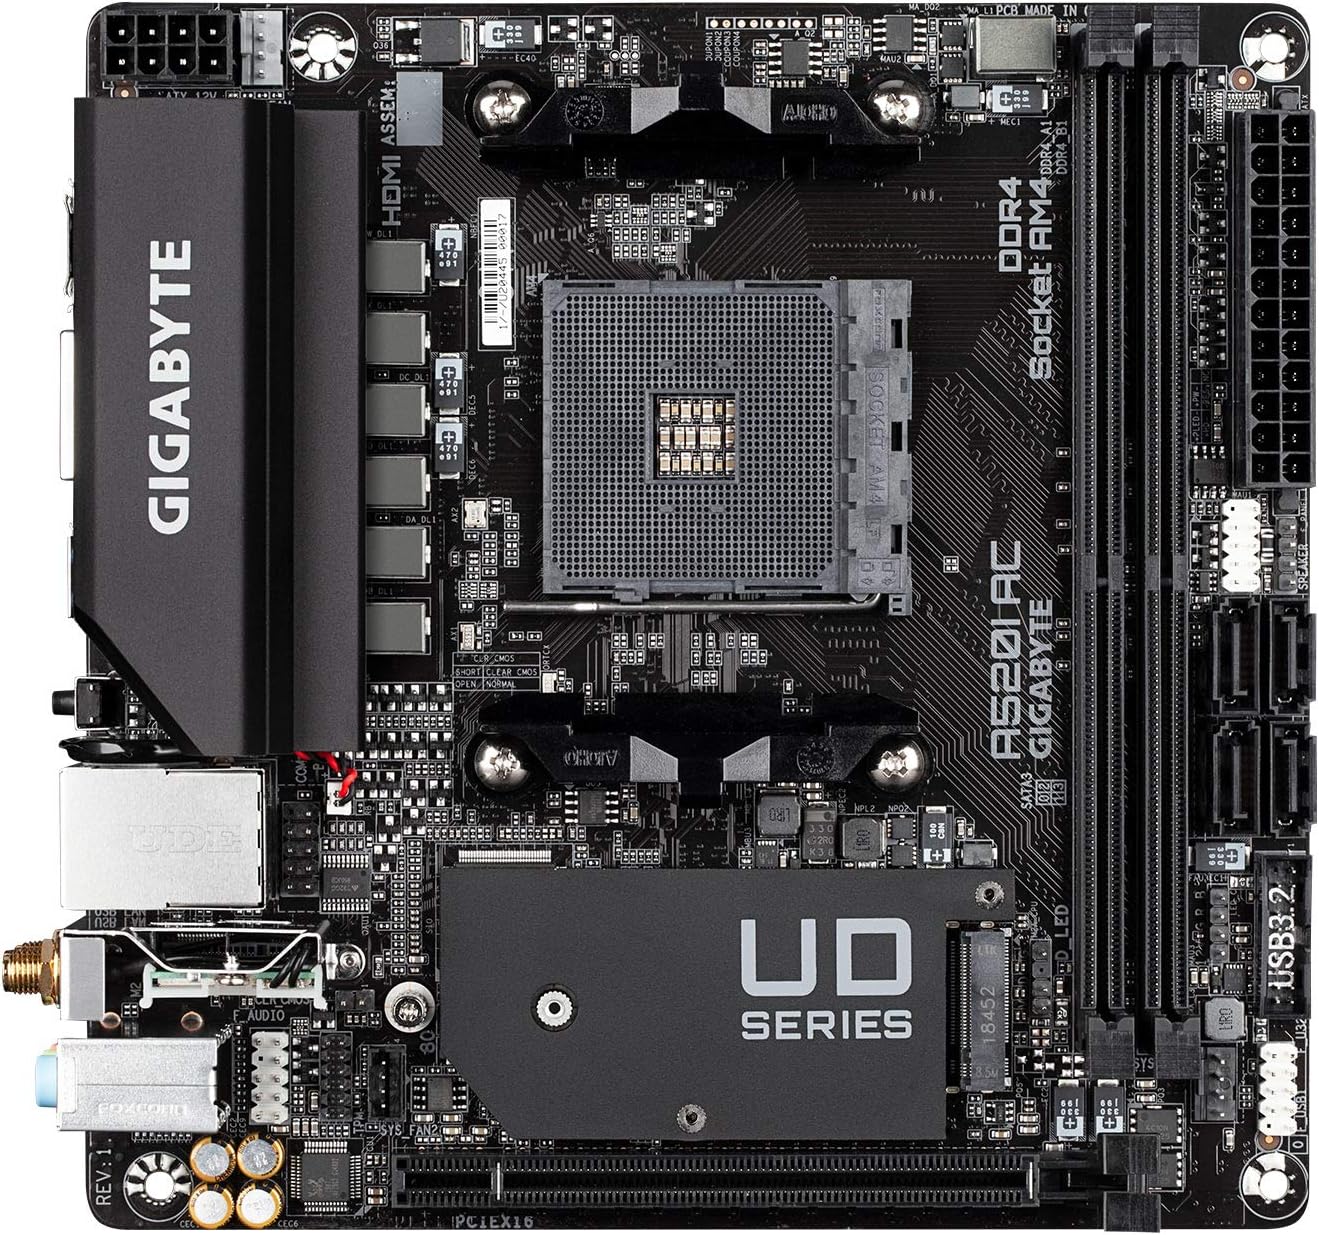
  • Supports 3rd Gen AMD Ryzen Processors AMD AM4 Socket
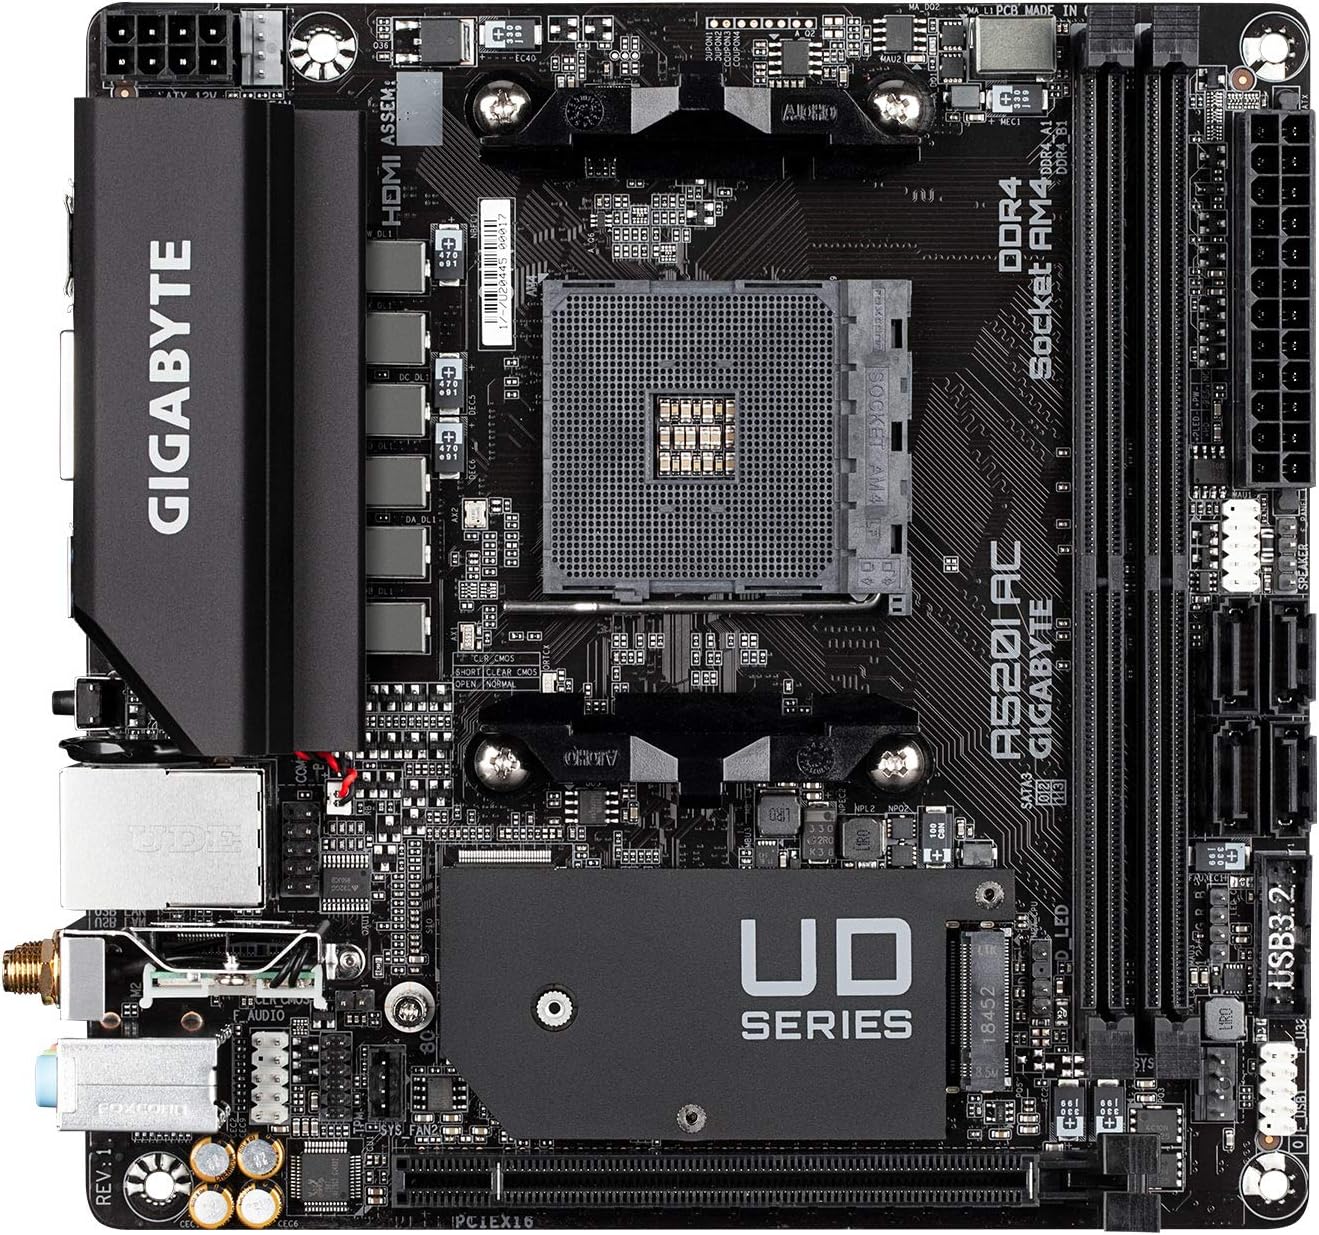
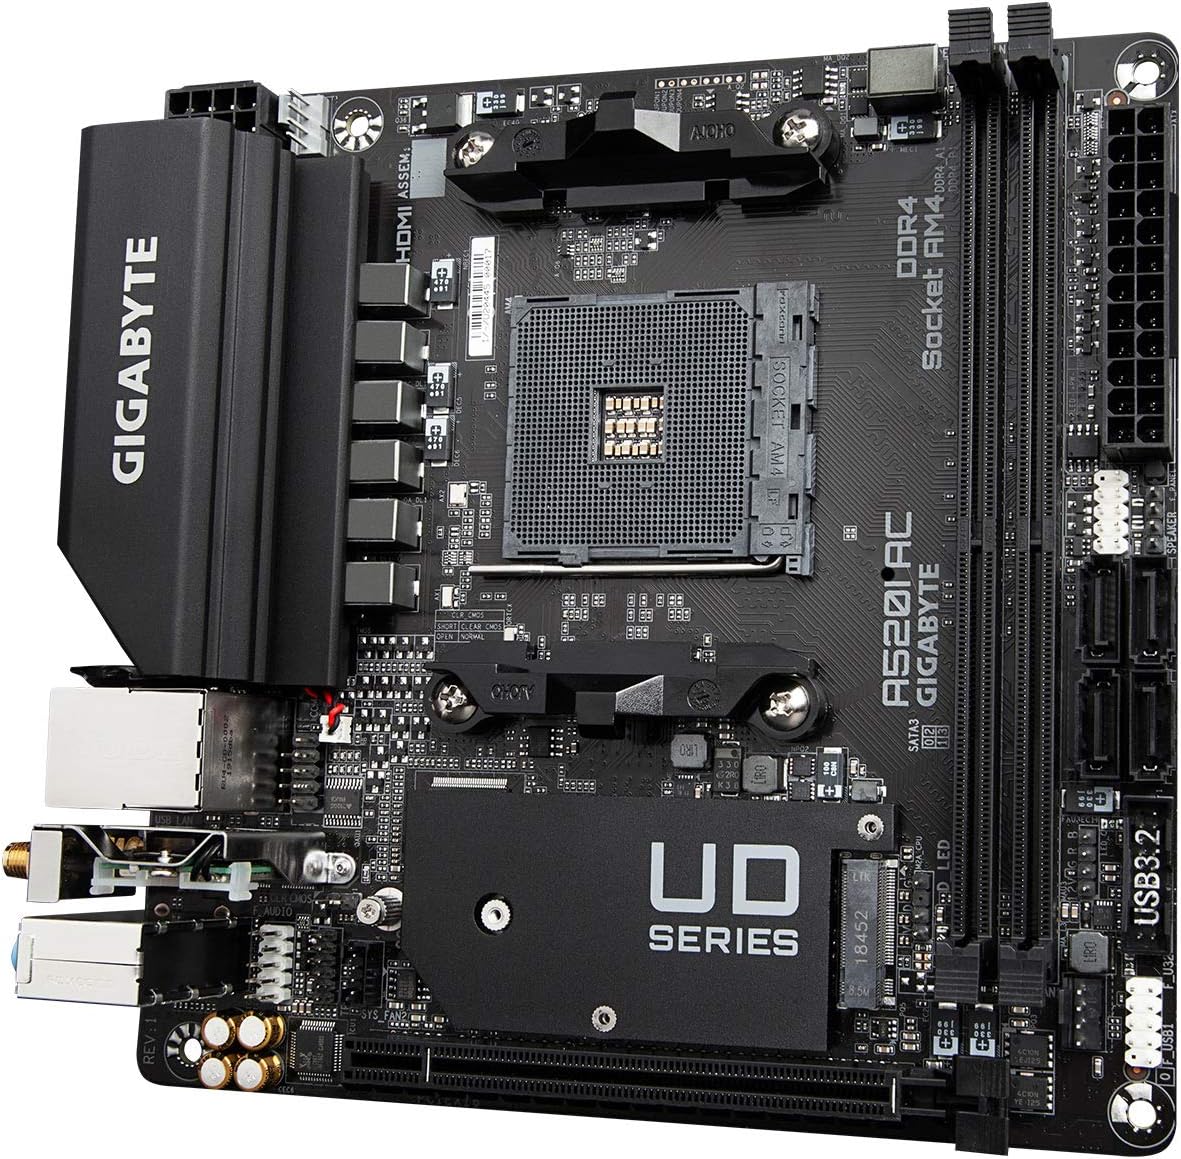
  • Dual Channel DDR4, 2 DIMMs
  • Optimized VRM Heatsink
  • Direct 6 Phases Digital PWM with 55A DrMOS
  • PCIe 3.0 x16 Slot
  • 1x NVMe PCIe 3.0 x4 M.2 Slot
  • ALC887 Audio Codec
Processor SocketSocket AM4
Compatible DevicesDesktop, Laptop
RAM Memory TechnologyDDR4
Compatible ProcessorsAMD 3rd Generation Ryzen
Chipset TypeAMD A520
PlatformWindows 10
CPU ModelRyzen 3
Memory Storage Capacity1 GB
Ram Memory Maximum Size64 GB
Main Power Connector Type24-Pin
Graphics Card InterfacePCI Express
Memory Slots Available2
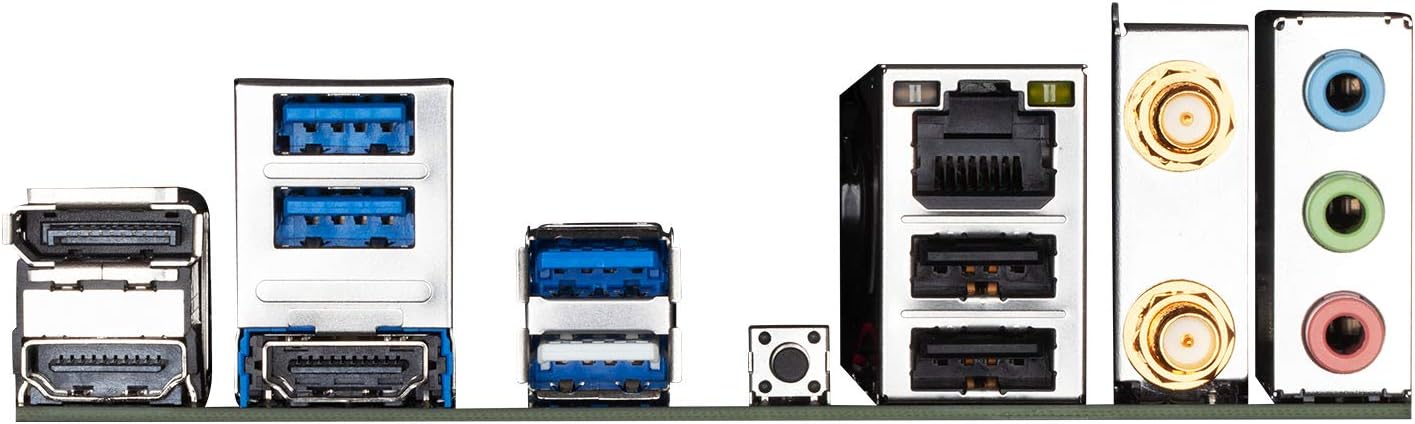
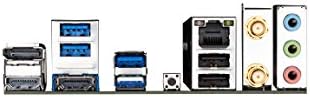
Number of Ports5
S/PDIF Connector TypeOptical
System Bus Standard SupportedSATA 3
Total SATA Ports4
USB 2.02
Number of Ethernet Ports1
Total Number of HDMI Ports2
Total PCIe Ports2
Chipset FamilyAMD A520
Model NameGigabyte A520I AC
Model NumberA520I AC
ManufacturerGIGABYTE
Unit Count1 Count
Number of Items1
UPC889523023785
Item Weight1 g
Mfr Part NumberGA-A520I-AC
Warranty Description3
Item Dimensions L x W x H7.44"L x 3.07"W x 8.74"H
Cpu ModelSocket AM4
Ram MemoryDDR4
Compatible Processor TypesAMD 3rd Generation Ryzen
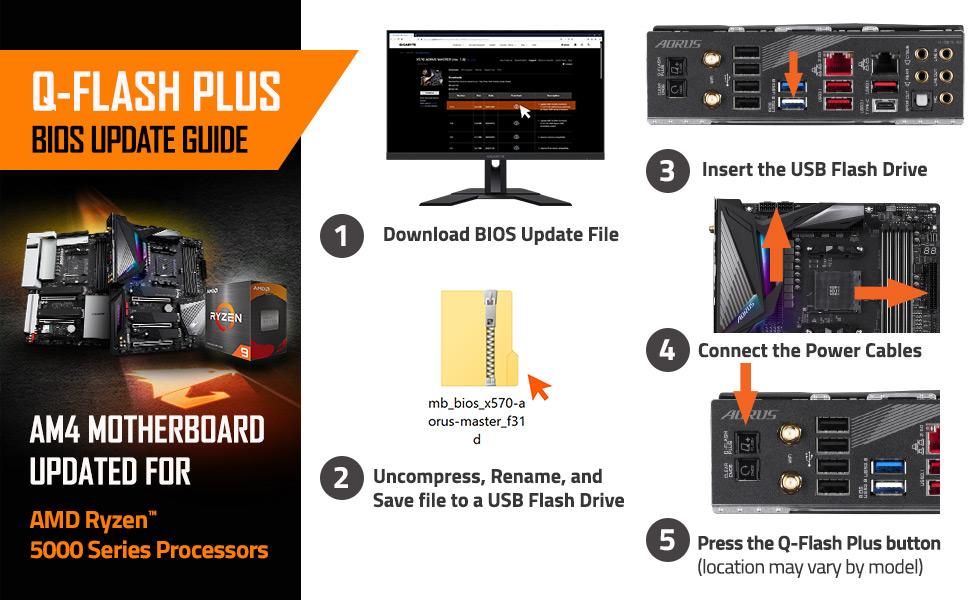
Motherboard BIOS update for AMD Ryzen 5000 series processors

Motherboard BIOS update for AMD Ryzen 5000 series processors

  1. From GIGABYTE’s website, download the latest compressed BIOS update file that matches your motherboard model from its product page.
  2. Uncompress the downloaded BIOS file, save it to your USB flash drive, and rename it to GIGABYTE.bin. Note: The USB flash drive must use the FAT32/16 file system.
  3. Insert the USB flash drive into the white USB port or BIOS Q Flash port on the back panel of your motherboard (USB port may not be labelled on all models, checking the user manual is recommended)
  4. Connect the power cables to the CPU 8 Pin power connector (connect either one if there are two) and mainboard 24 Pin power connector.
  5. Press the Q-Flash Plus button (location may vary by model) and the system will automatically search and match the BIOS file in the USB flash drive on the white USB port. The QFLED and the Q-Flash Plus button on the rear panel will flash during the BIOS matching and flashing process. Wait for 2-3 minutes and the QFLED will stop flashing when the BIOS flashing is complete.

Example title

Recently viewed

Cart

loading