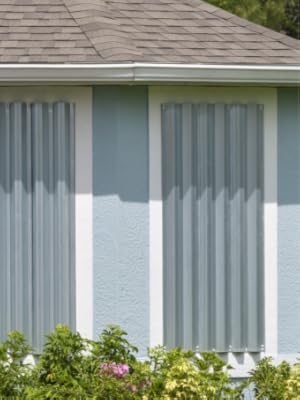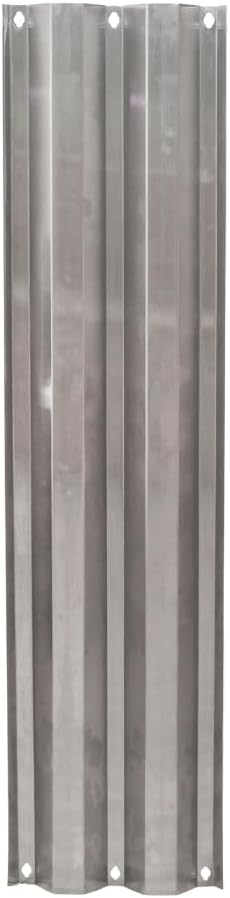
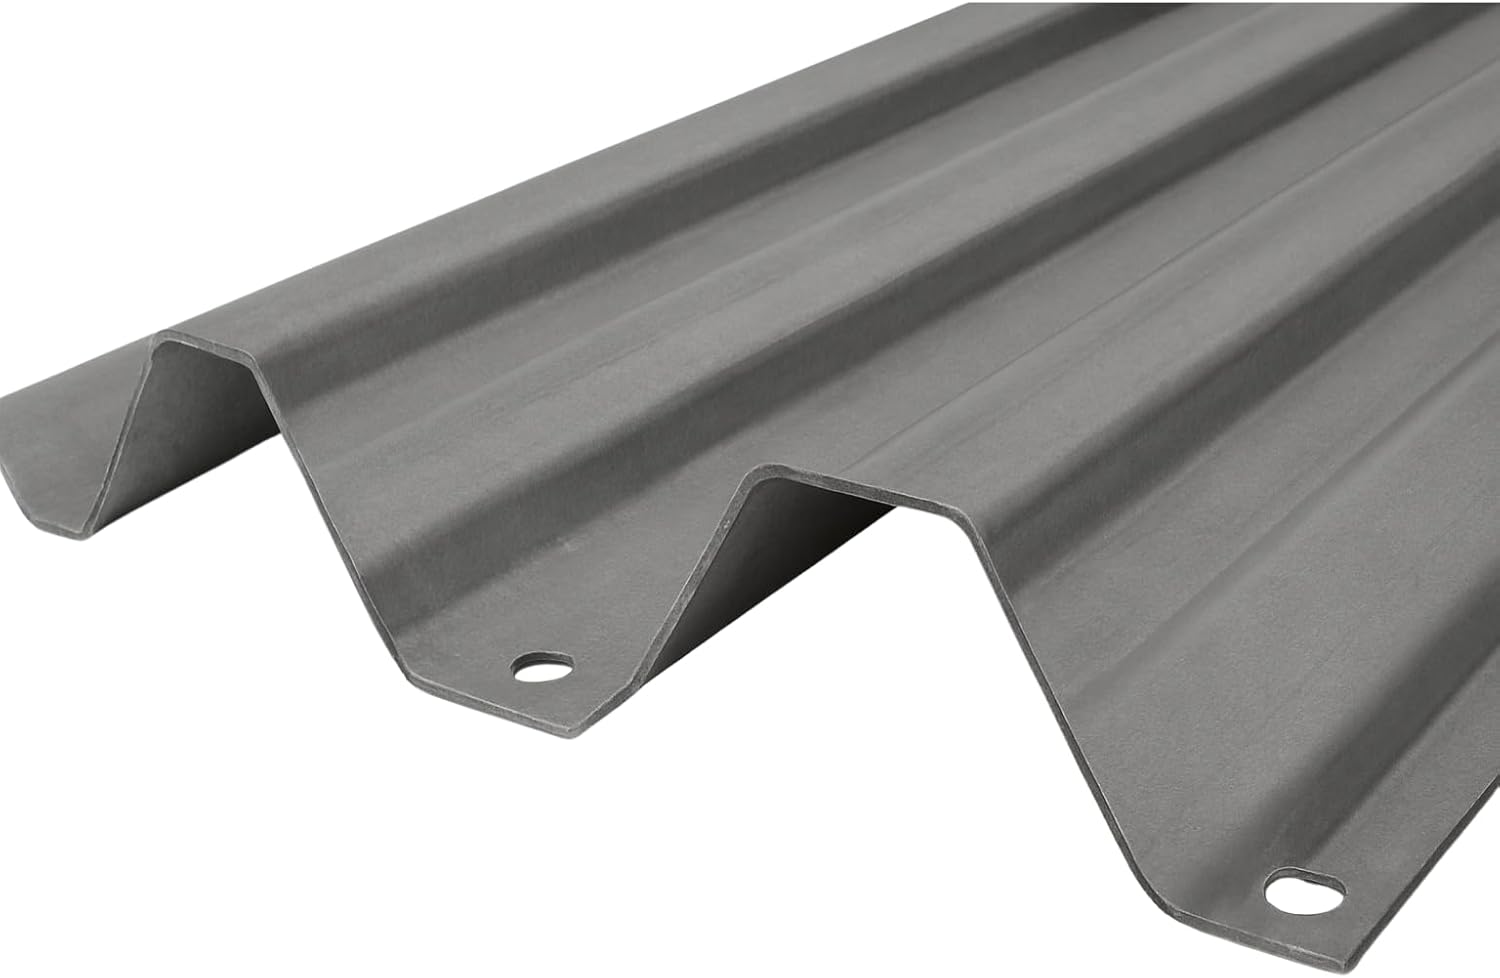
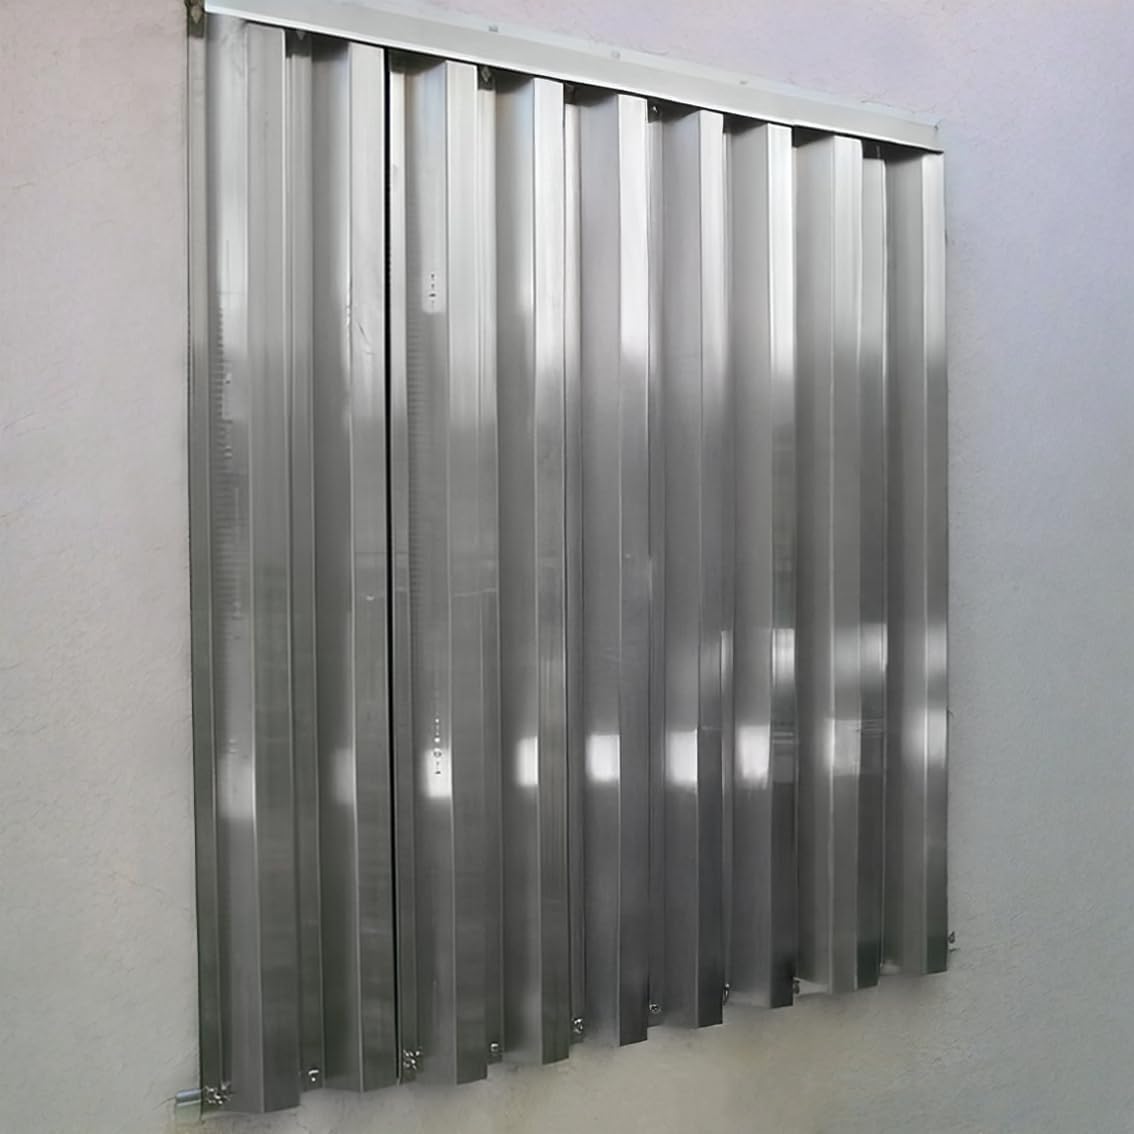
Custom DIY Hurricane Shutter Panels - Custom Length x Custom Height, Overlapping Storm Panels for Window & Door Protection, Easy DIY Installation

$25.60 USD
Shipping fees will be calculated at checkout.
  • Free worldwide shipping

  • Free returns

  • Carbon neutral

  • Secure payments

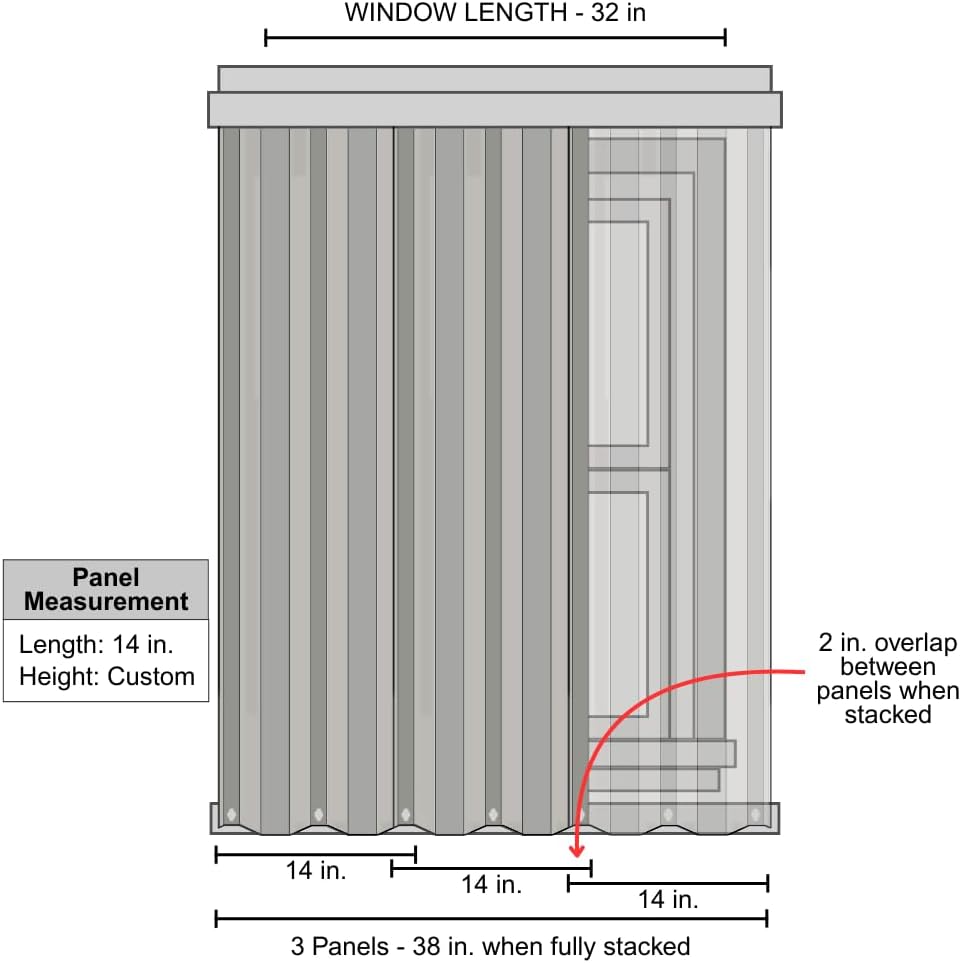
  • One panel per order. If you need more, add additional panels to your cart. Panels MUST overlap the window by at least 3 inches on each side. Keep in mind that stacking panels will reduce the width by 2 inches.
  • DIY Installation - Install with simple tools and no professional help required
  • Custom Fit - Made to order for your exact window and door dimensions
  • 14" (L) x Custom Height - Panels overlap by 2 inches. Stack as many as you need. Just keep in mind that you will lose 2 inches per panel when stacked.
  • Customizations is just for ONE panel. If you need more panels, please add the required panels into your cart.
  • Wind-Resistant - Engineered to endure hurricane-force winds up to 150 mph
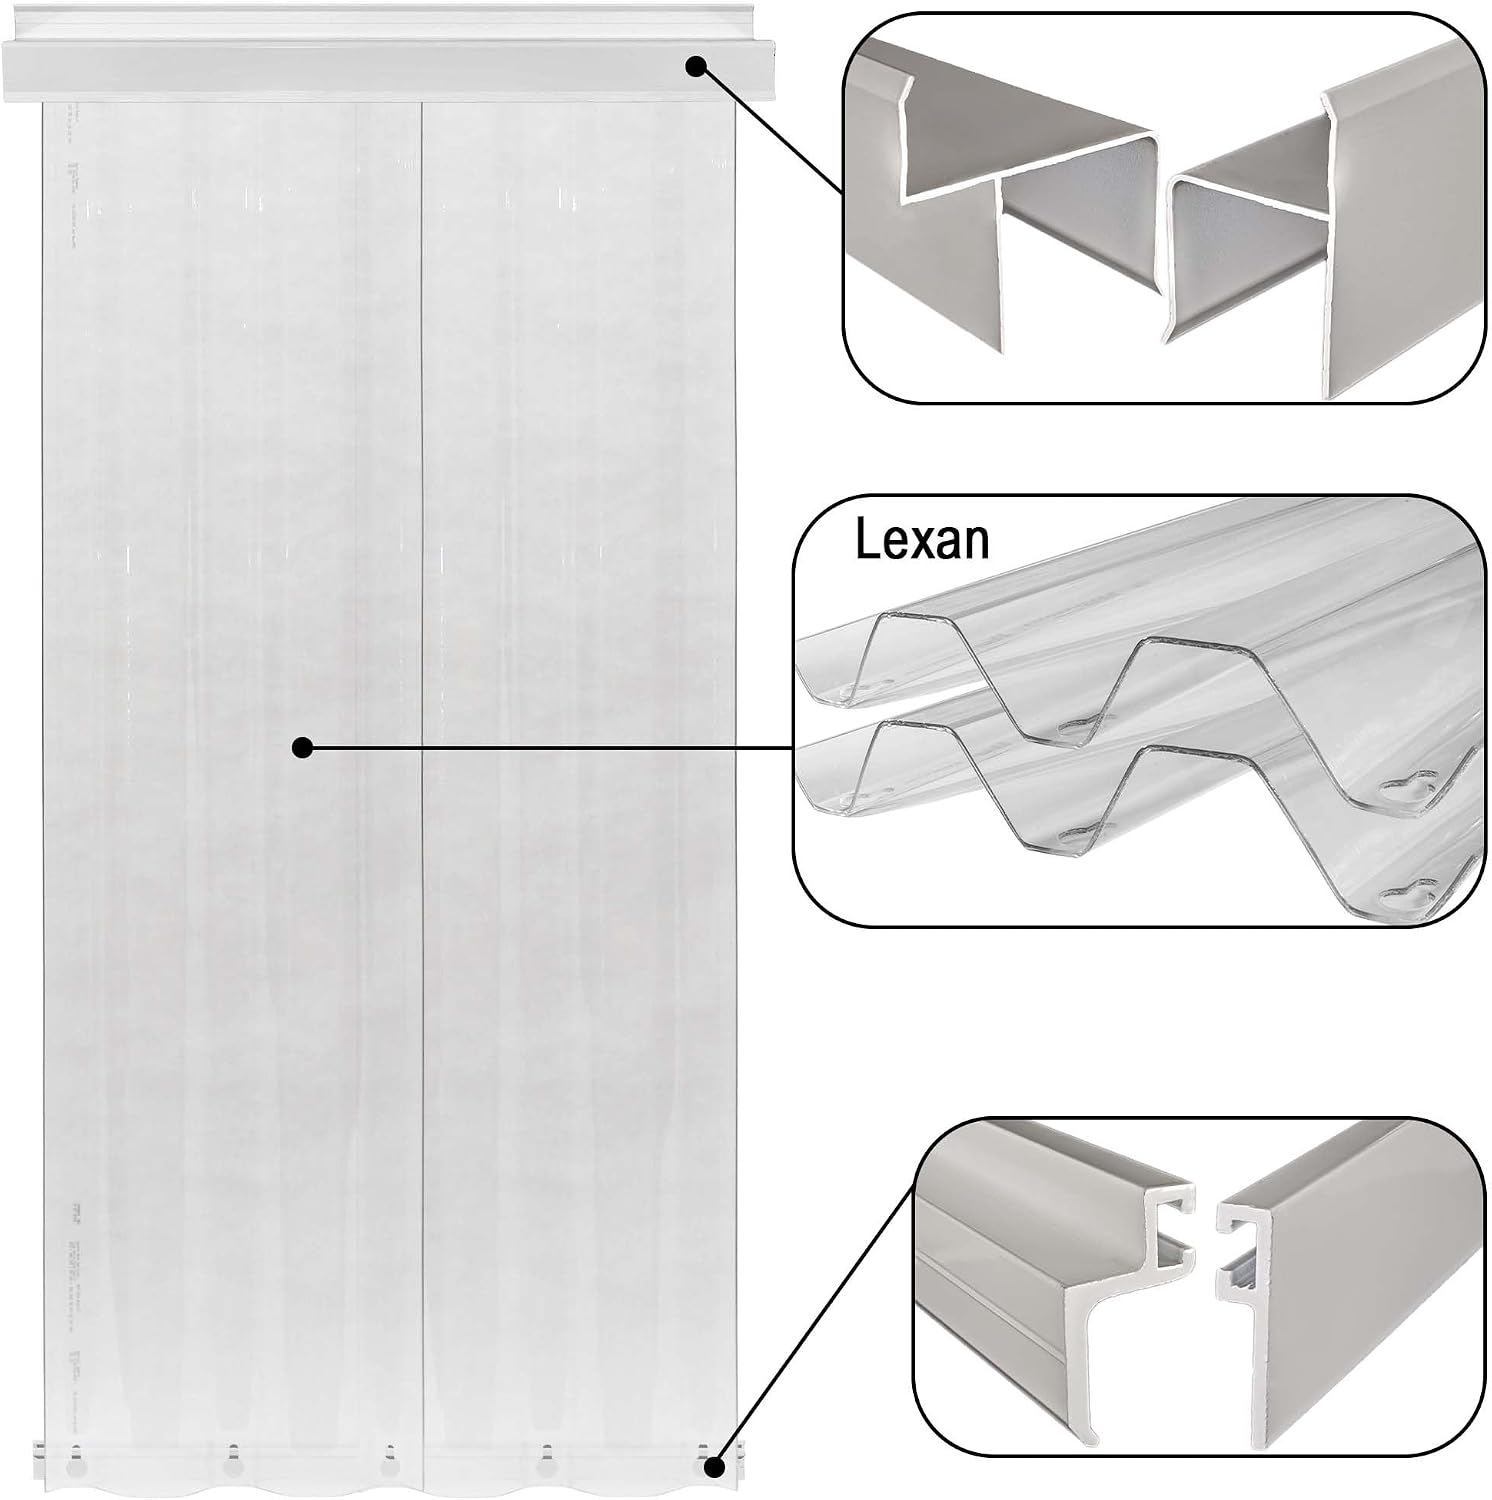
  • Natural Light Access - Lexan panels allow visibility during power outages
Manufacturer‎DIY Hurricane Supply
Item Weight‎15 pounds
Product Dimensions‎14 x 3 x 24 inches
Item model number‎DIY-HP
Color‎Clear & Gray
Material‎Aluminum
Included Components‎Hardware
diy hurrican supply banner
hurricane panel
diy hurricane supply logo
DON'T WAIT! IT COULD BE TOO LATE

Hurricane shutters are designed to enhance the safety of your home during these disasters, but no product can keep your safety. You should follow all law enforcement directives regarding evacuation.

  • Wind Resistance
  • Superior Strength
  • UV & Light Protection

Hurricane Panels for Windows and Doors

Aluminum/Polycarbonate

DIY Hurricane Supply offers affordable, high-quality hurricane preparation products. Our customized questionnaire ensures you only buy what you need, saving money and reducing waste. We also provide shutters for both doors and windows, offering full home protection. Direct shipping from the manufacturer keeps prices low, and DIY installation means no extra costs.

  • Protect windows and doors from winds up to 150 mph
  • Lightweight, corrosion-resistant
  • Installation Hardware kit is included

hurricane panel

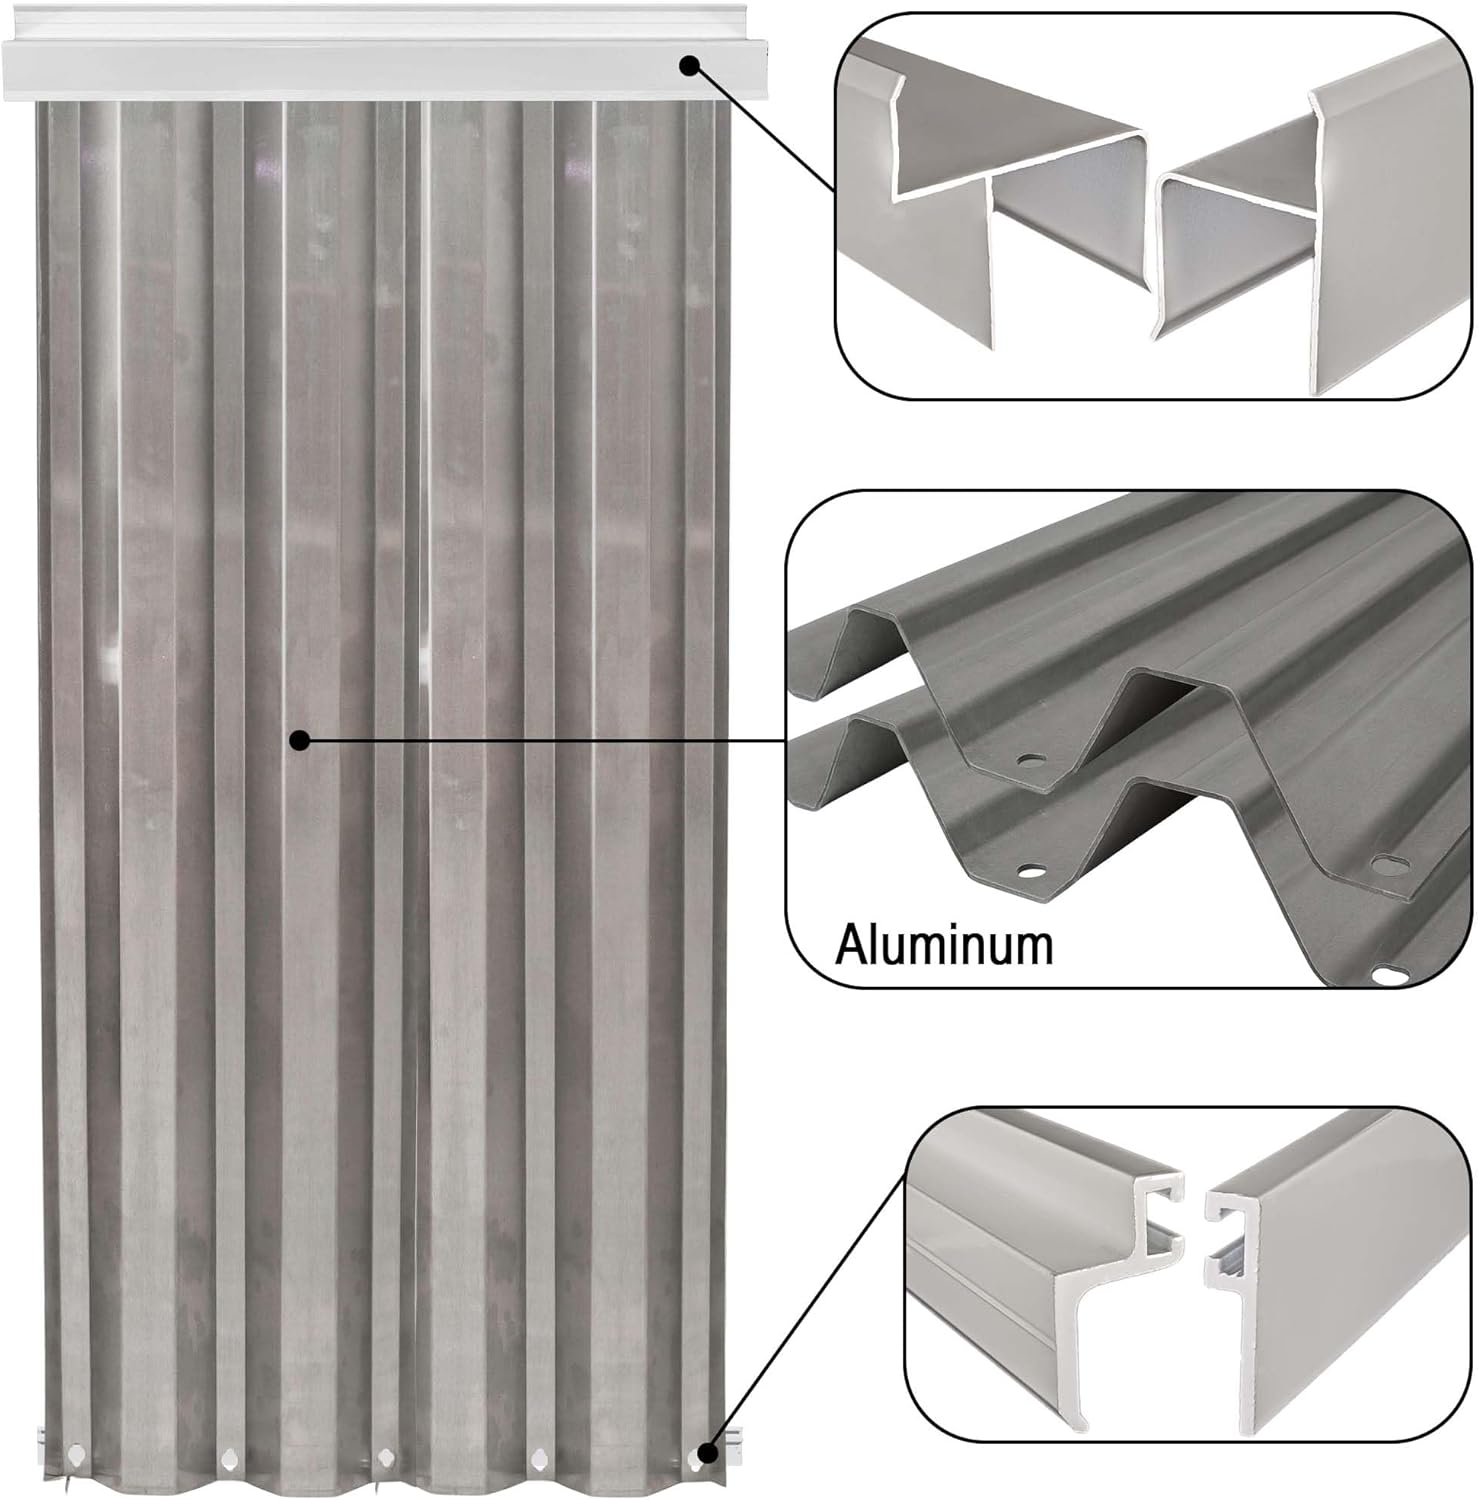
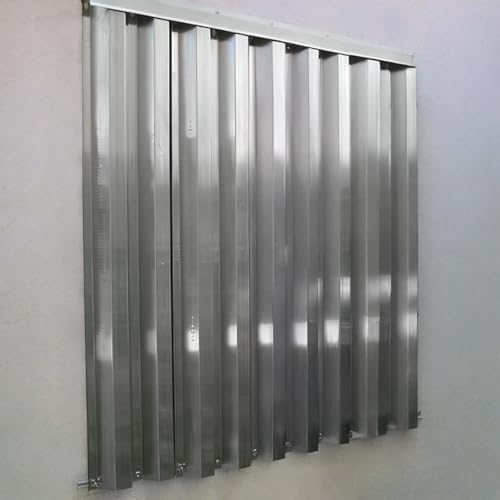
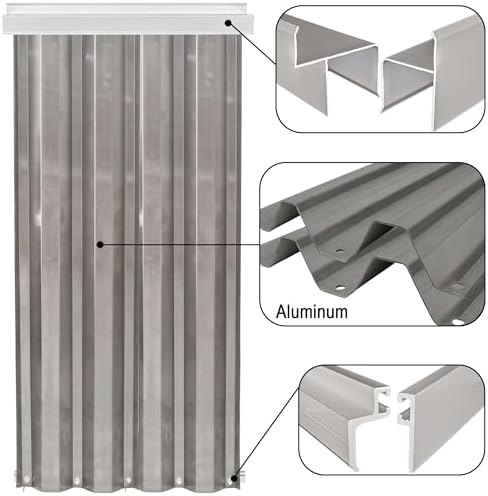
Aluminum

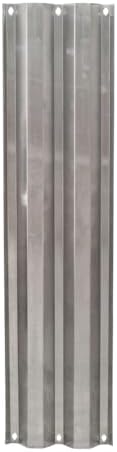
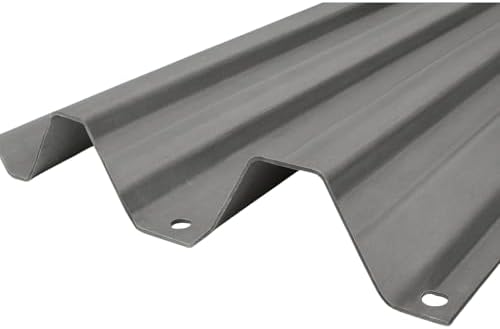
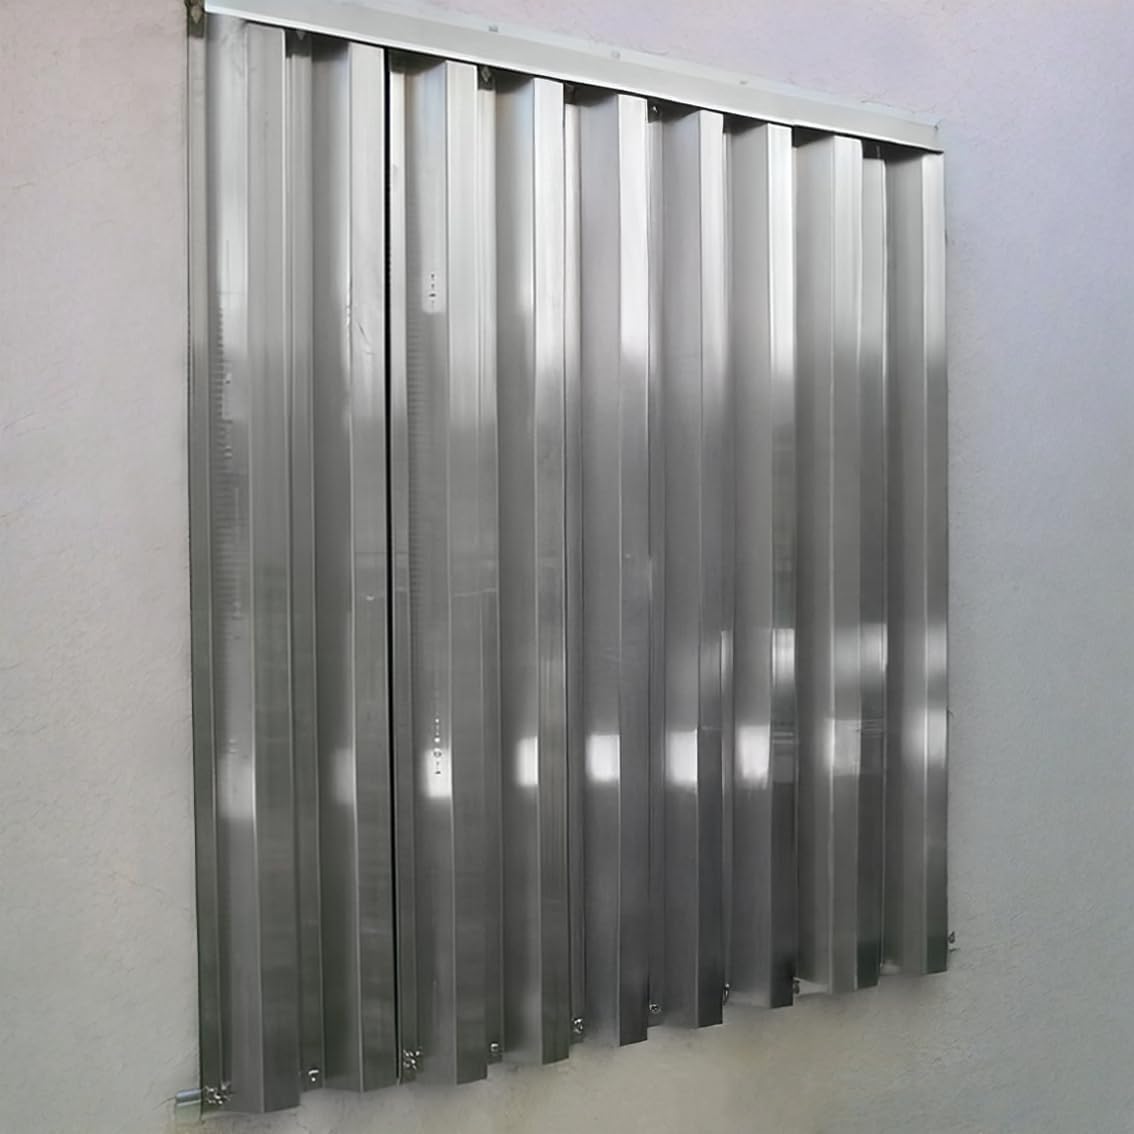
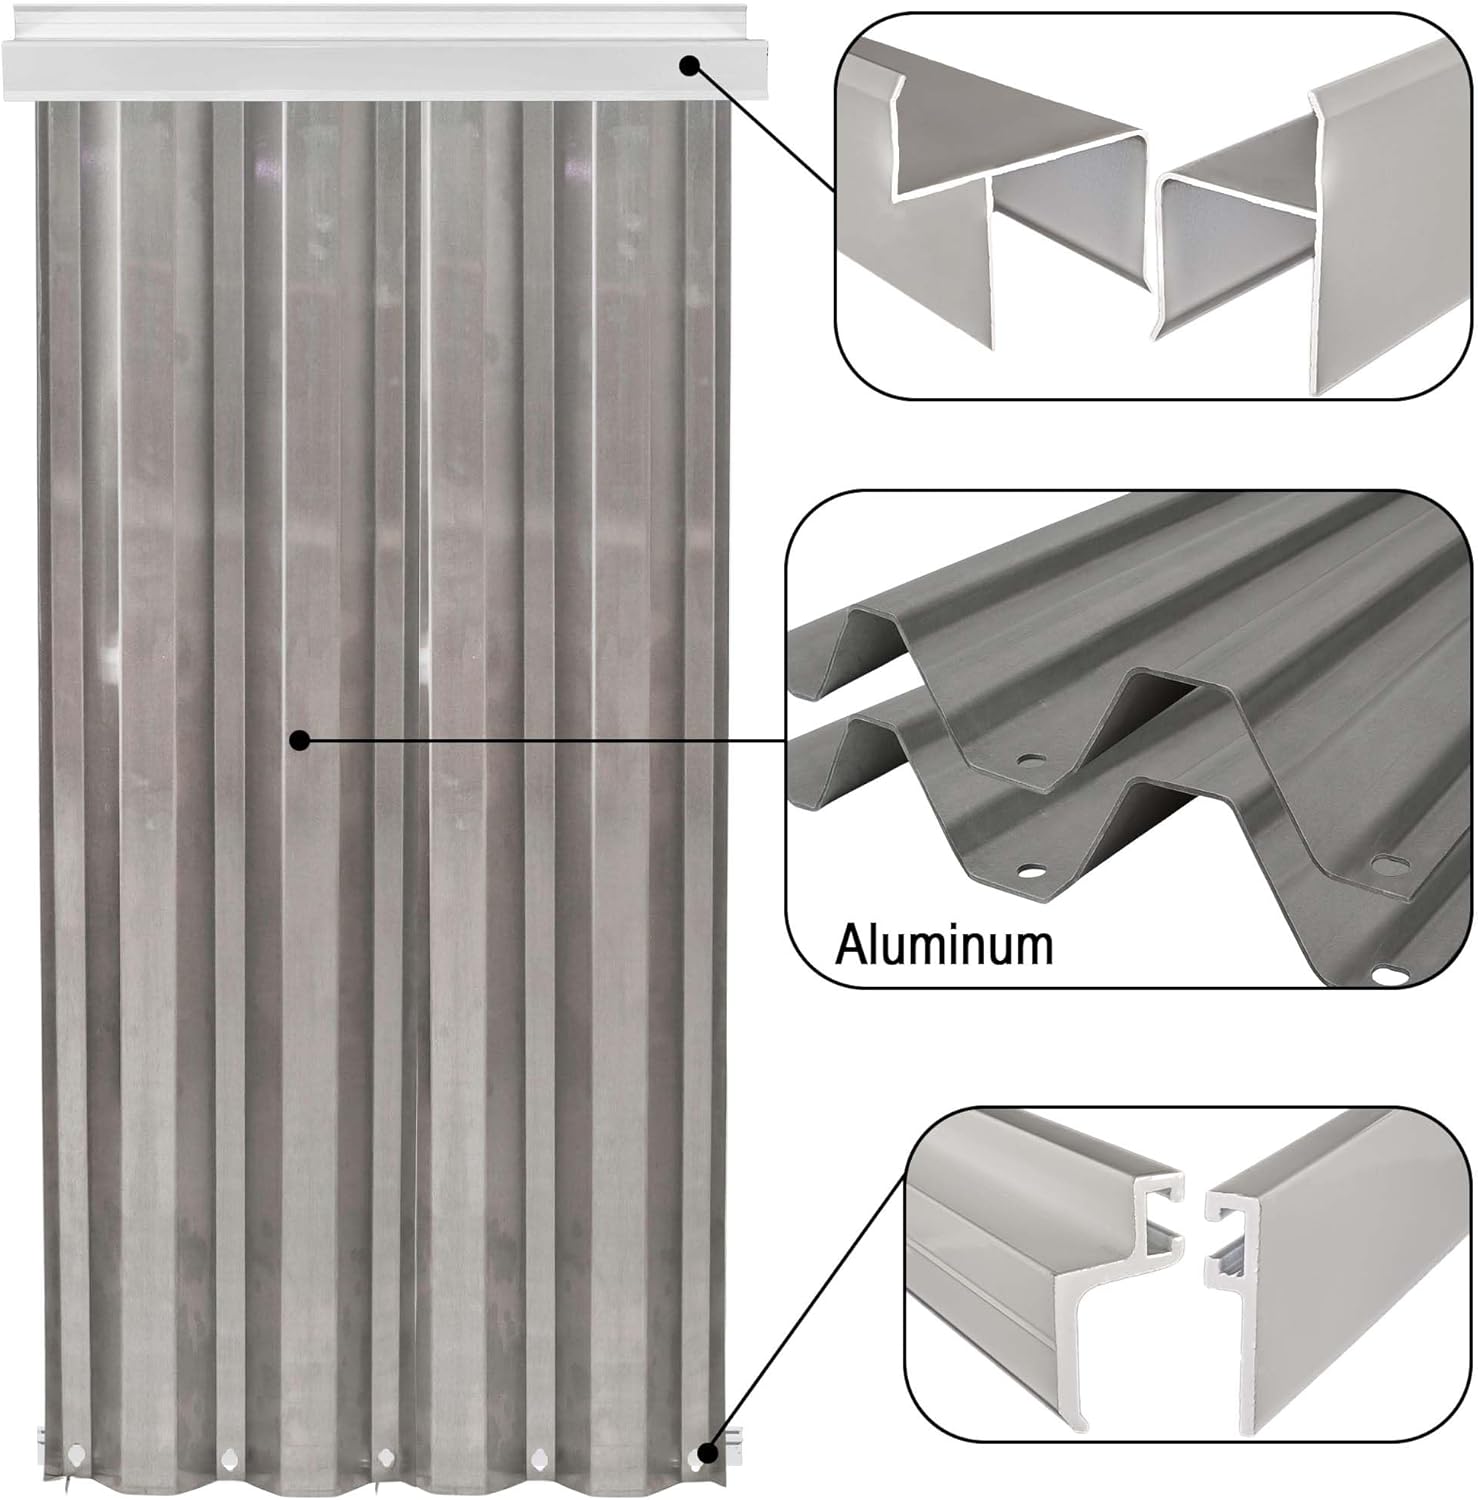
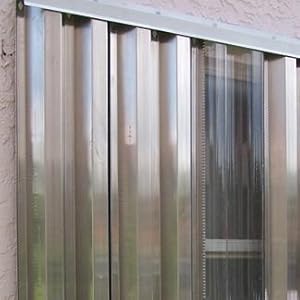
Our All Aluminum Shutter Panels (.050") protect windows and doors from winds up to 150 mph. Lightweight, corrosion-resistant. Made from durable aerospace-grade aluminum.
  • Wind Resistance: Withstands winds up to 150 mph.
  • Corrosion Resistance: Natural resistance to corrosion ensures durability and longevity
  • Lightweight: Easy to handle and install.
  • Durable: Built to endure extreme weather with minimal maintenance.

clear

Polycarbonate

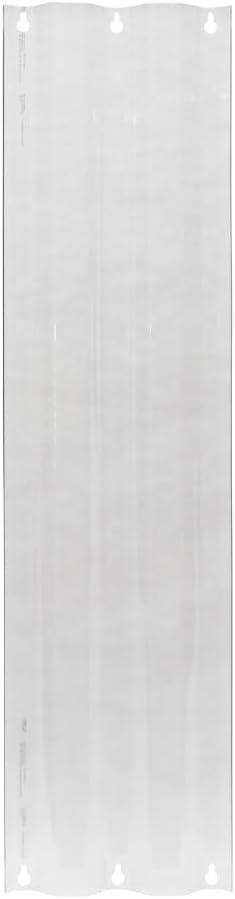
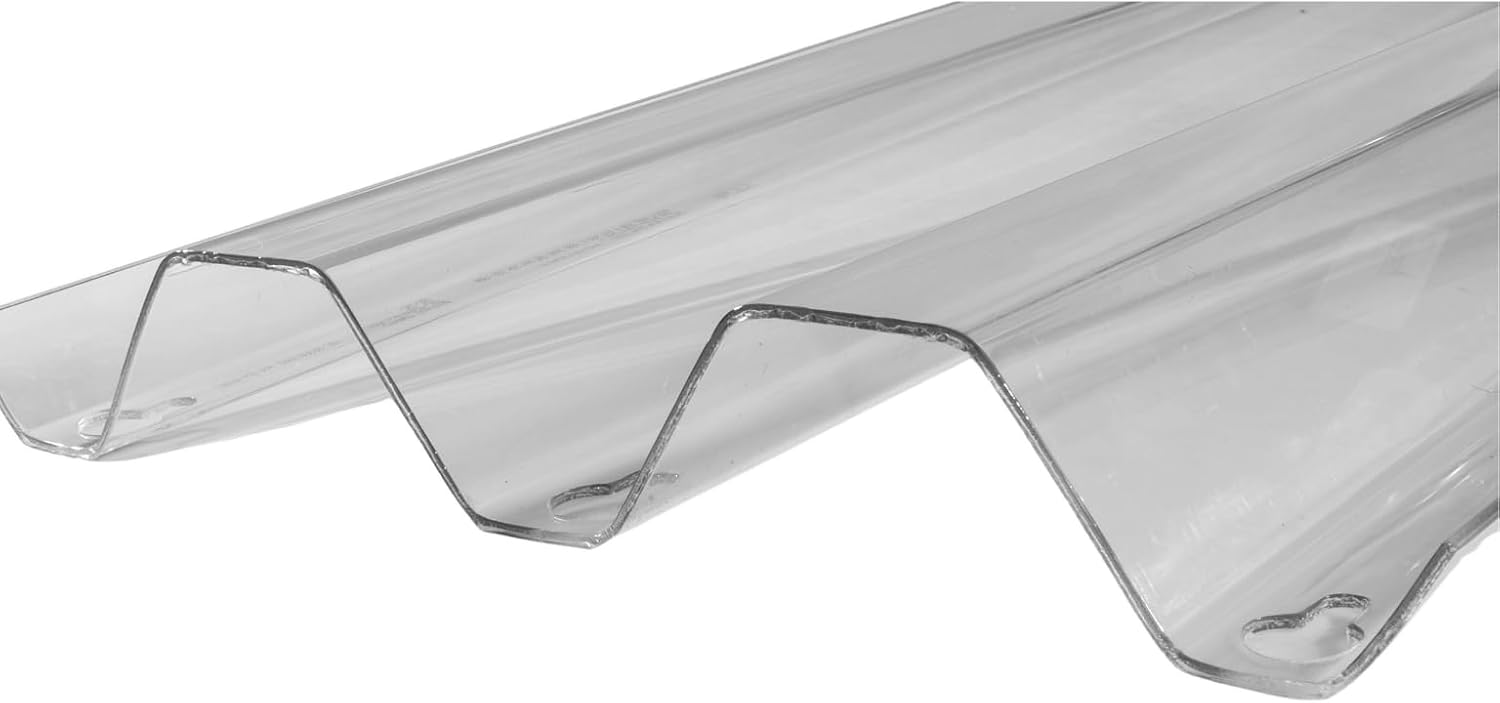
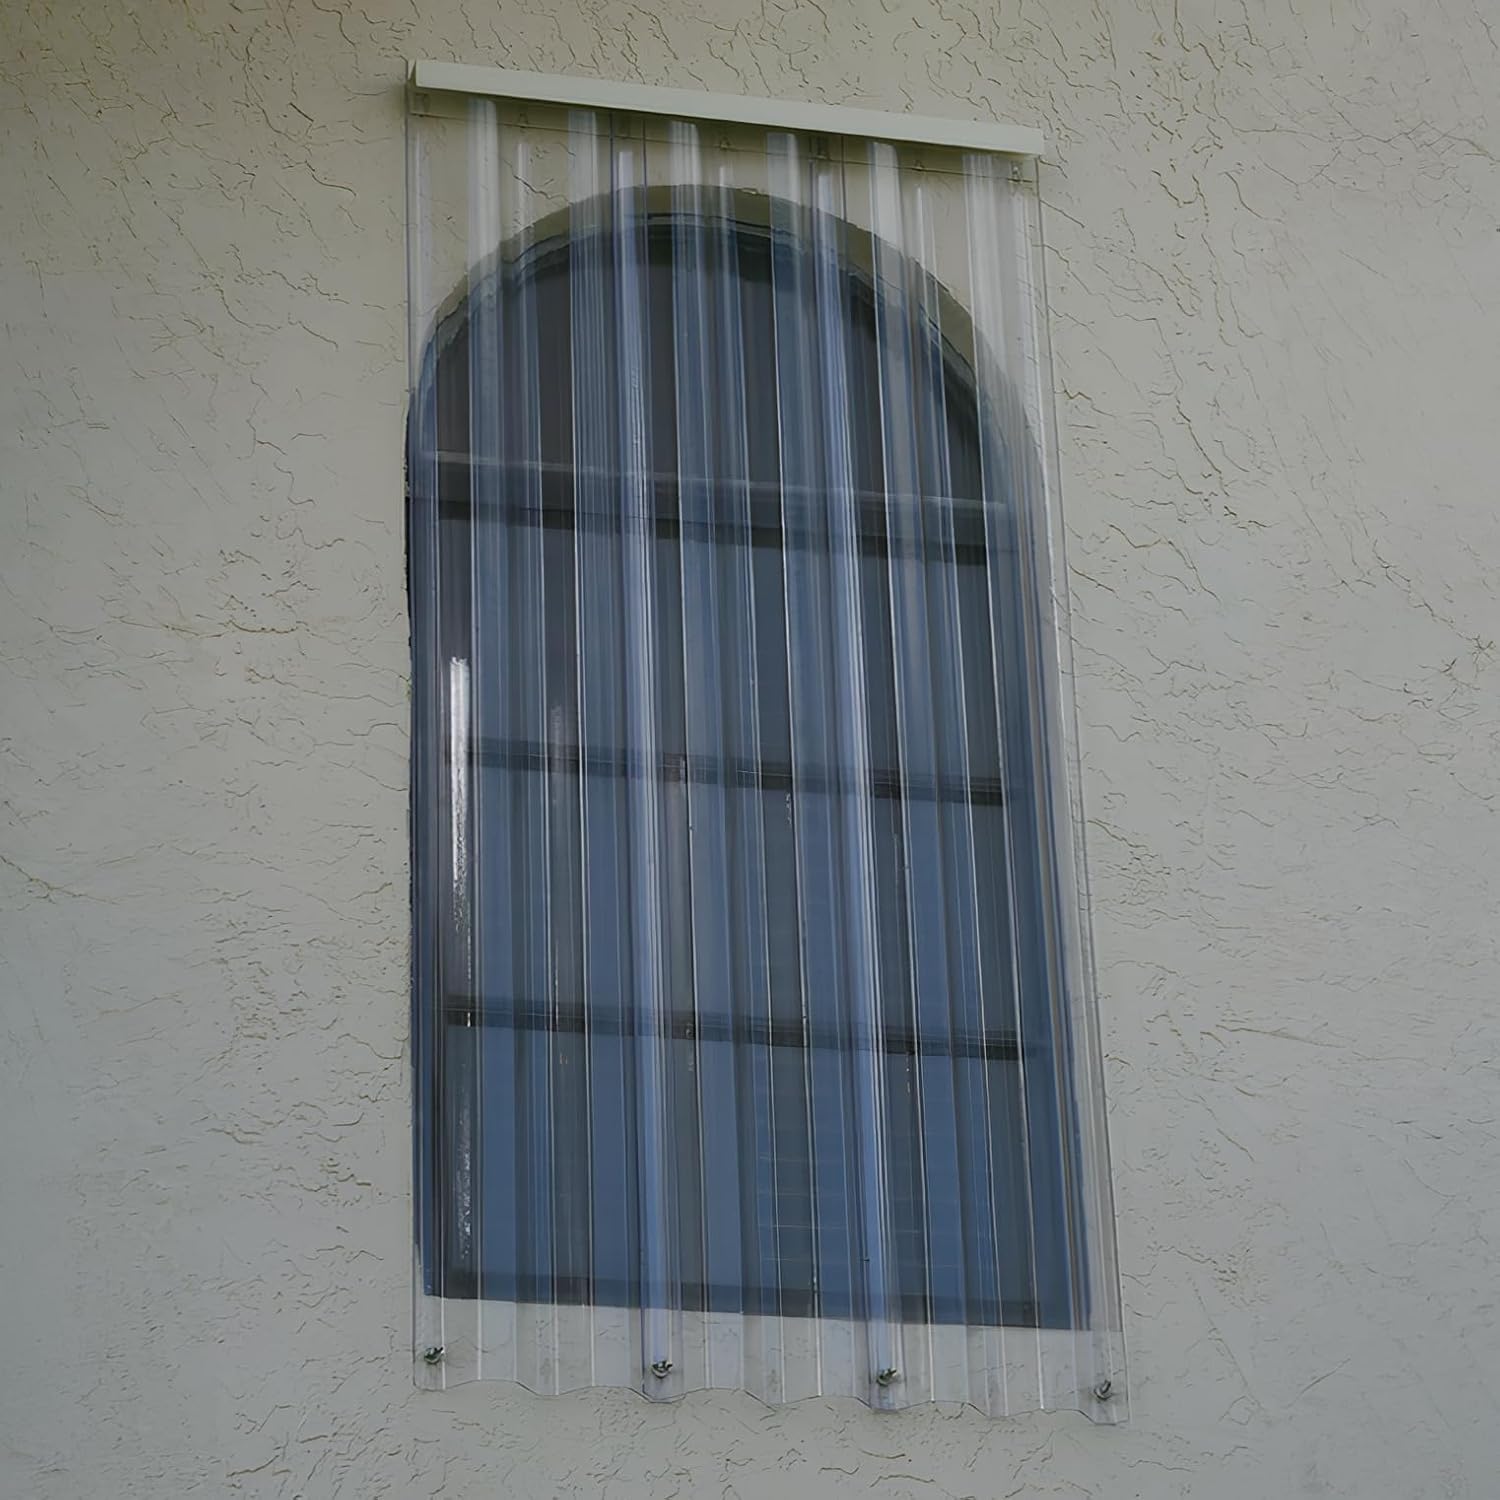
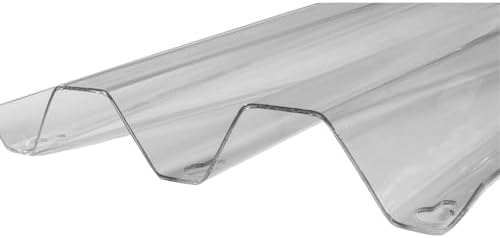
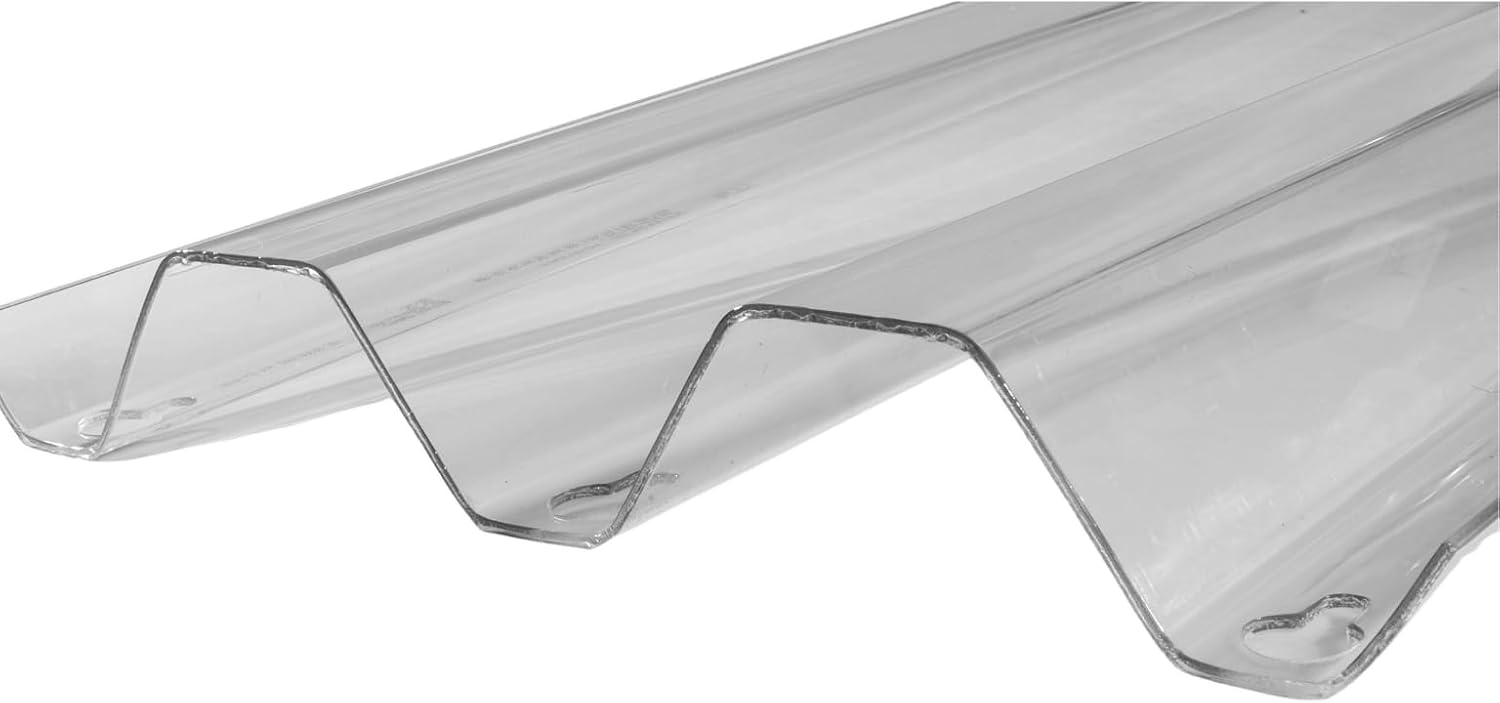
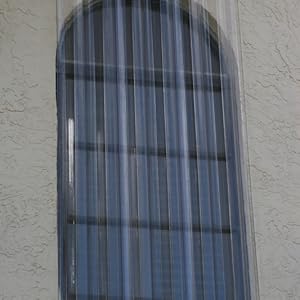
Our clear Polycarbonate/Lexan Shutter Panels protect windows and doors from winds up to 150 mph, and allows natural light in during outages. Lightweight and safe.
  • Wind Resistance: Withstands winds up to 150 mph.
  • Superior Strength: Four times the impact strength of 1/2" plywood
  • UV & Light Protection: Shields against UV light degradation while allowing natural light, especially useful during power outages.
  • Safe: No sharp edges for safer installation.

combination

Combination

Our Combination Aluminum and Lexan Shutter Panels protect against winds up to 150 mph, offering a cost-effective way to let light in. Customized panels based on your needs.
  • Wind Resistance: Withstands winds up to 150 mph.
  • Feature: Offer the cost-effective qualities of aluminum, along with the aesthetic benefits of Lexan.
  • Lightweight: Easy to handle and install, reducing labor costs.
  • UV Protection: Lexan blocks UV degradation and maintains strength.
  • Natural Light: Lexan allows light to enter, useful during power outages.

Horizontal Mounting

Horizontal Mounting

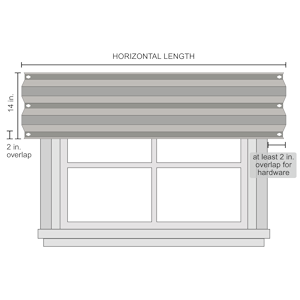
Size: Each Panel will be 14 inches in height with a 2-inch overlap.

Hardware: Horizontal Direct Mount Fasteners

This process mounts shutters directly to your home (wood, siding, or concrete). Panels attach to windows or doors using screws and wing-nuts. Screws stay in place for easy reinstallation.

This hardware kit is for direct mount removable aluminum wafer hurricane panels. The studs are embedded in the wall with the machine screw portion protruding from the wall. When not in use they are covered with paintable rubber covers to protect the machine screws from corrosion. Covers are removed prior to the installation of the aluminum wafer panels, the large washer wing nuts secure the panels to the wall.
Vertical Mounting

Vertical Mounting

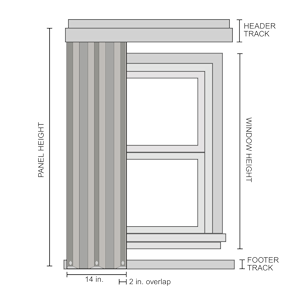
Size: Each Panel will be 14 In wide with 2 2-inch overlap.

Hardware: Header Track and Footer Track will be needed.

This process mounts shutters directly to your home (wood, siding, or concrete). Panels attach to windows or doors using screws and wing-nuts. Screws stay in place for easy reinstallation.

Multiple Storm Panels sit Overtop the door

Horizontal Installation Guide

  1. Locate any obstructions (such as overhangs or protruding windowsills) that may interfere with the installation of the shutters. You may need to position the H Channel or F Track around the obstruction.
  2. Drill holes (if they are not already pre-drilled) into the H Channel (top) to secure it to the building.
  3. Measure the height of the panels and determine the necessary distance between the H Channel (top) and F Track (bottom).
  4. Determine the location of the F Track below the window or door. (It may need to be secured to an obstruction. If the obstruction protrudes 1" or more, you may need to secure a piece of wood below the obstruction to attach the F Track.) Attach the F Track to the building with ONE screw as close to the center of the F Track as possible.
  5. Ensure the F Track is level, then attach additional screws, starting at the center and moving outward. Secure with wing nuts. Match up the panels with the track and slide the F Track bolts into the track at each of the pre-drilled holes in each panel. Overlap the panels by at least one rise. Secure with wing nuts.
  6. Determine the location of the H Channel above the window or door. (It may need to be secured to an obstruction.) Attach the H Channel to the building with ONE screw as close to the center of the H Channel as possible.
  7. Ensure the H Channel is level, then finish inserting screws. Secure with wing nuts.
  8. Insert the top of the panels into the H Channel.

Removal: Remove wing nuts and panels, then slide the bolts out of the F Track. Store the pieces together for easy reinstallation.

Reinstallation: Match up the panels with the track and slide the F Track bolts into the track. Overlap the panels by at least one rise and secure with wing nuts. Insert the top of the panels into the H Channel.

Vertical Installation Guide

  1. Locate any obstructions (such as overhangs or protruding windowsills) that may interfere with the installation of the shutters. You may need to locate the H Channel or F Track near the obstruction.
  2. Drill holes (if not already pre-drilled) into the H Channel (top) to secure it to the building.
  3. Measure the height of the panels and determine the distance needed between the H Channel (top) and the F Track (bottom).
  4. Determine the location of the F Track below the window or door. (It may need to be secured to an obstruction. If the obstruction protrudes 1" or more, you may need to secure a piece of wood below the obstruction to attach the F Track.) Attach the F Track to the building with ONE screw, as close to the middle of the F Track as possible.
  5. Ensure the F Track is level, then attach additional screws, starting at the center and moving outward. Secure with wing nuts. Match the panels with the track and slide the F Track bolts into the track through the pre-drilled holes in each panel; overlap the panels by at least one rise. Secure with wing nuts.
  6. Determine the location of the H Channel above the window or door. (It may need to be secured to an obstruction.) Attach the H Channel to the building with ONE screw, as close to the middle of the H Channel as possible.
  7. Ensure the H Channel is level and finish inserting the screws. Secure with wing nuts.
  8. Insert the top of the panels into the H Channel.

Removal: Remove the wing nuts and panels, then slide the bolts out of the F Track. Store them together for easy reinstallation.

Reinstallation: Match the panels with the track and slide the F Track bolts into the track. Overlap the panels by at least one rise and secure with wing nuts. Insert the top of the panels into the H Channel.

Example title

Recently viewed

Cart

loading