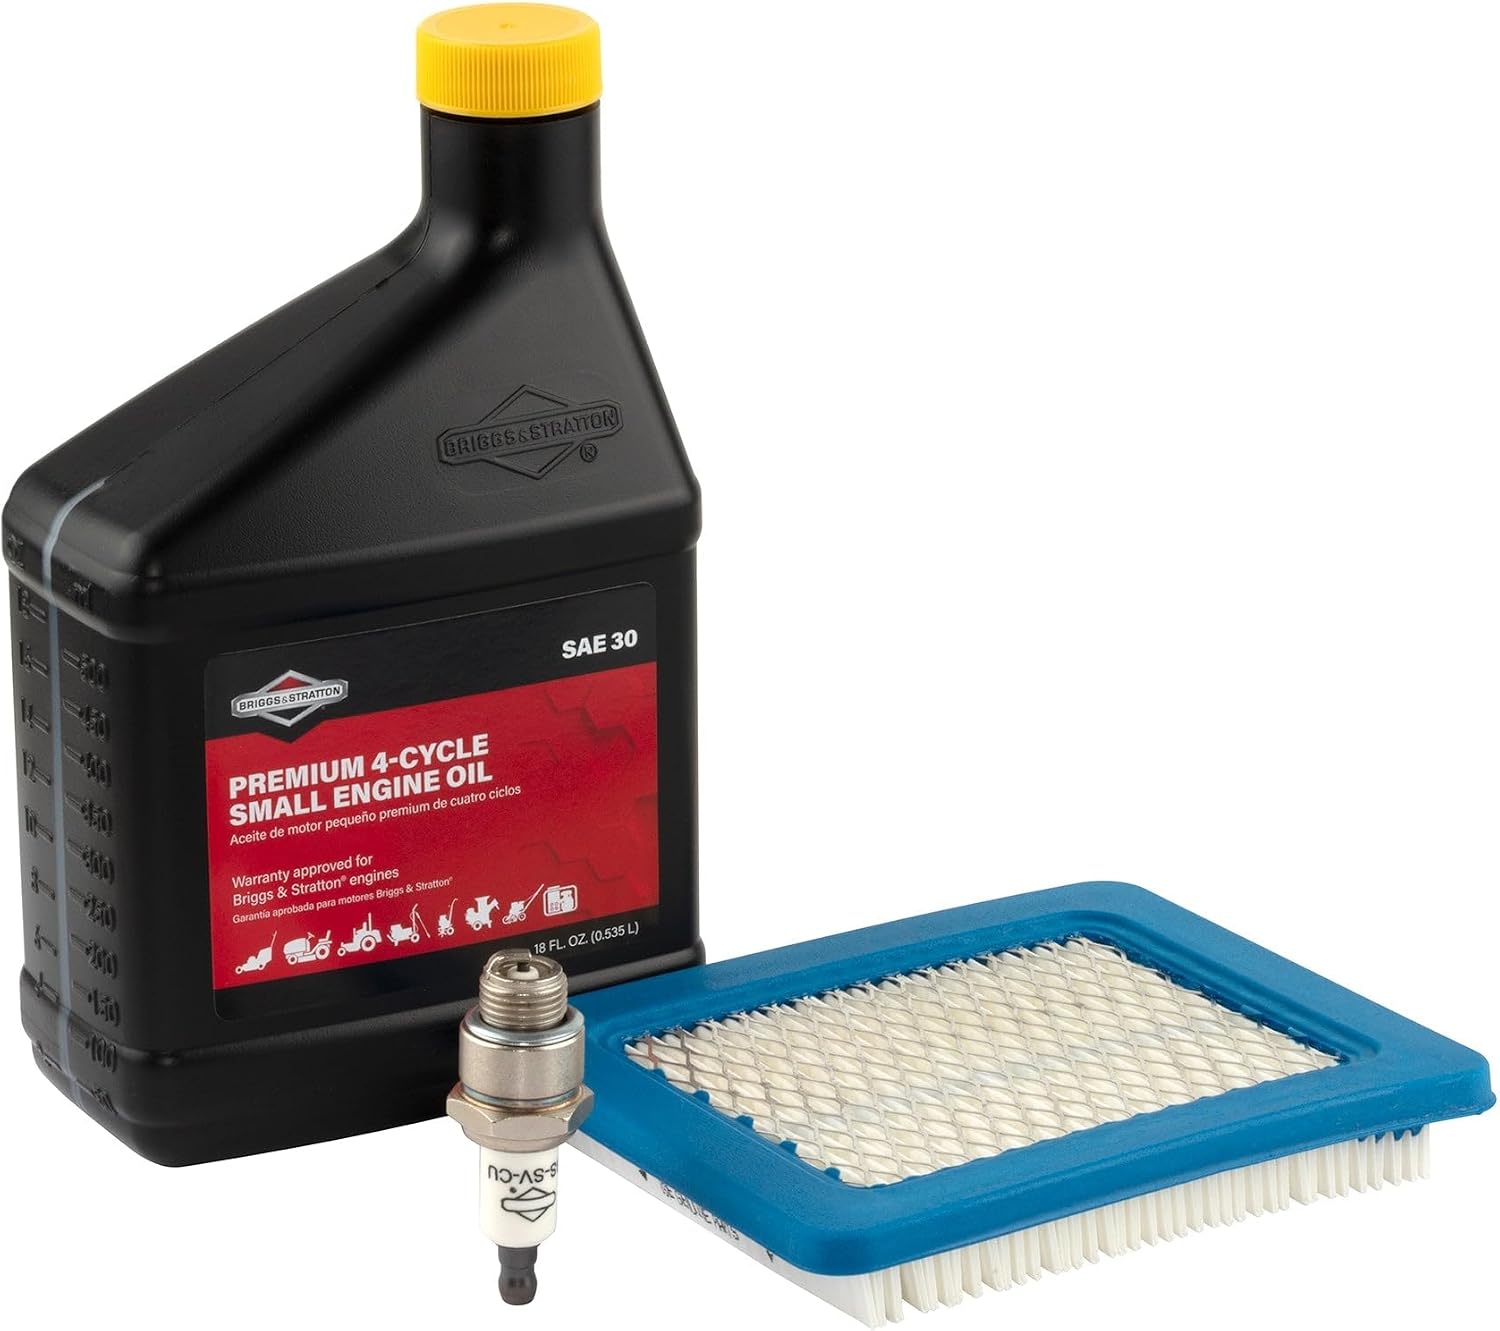
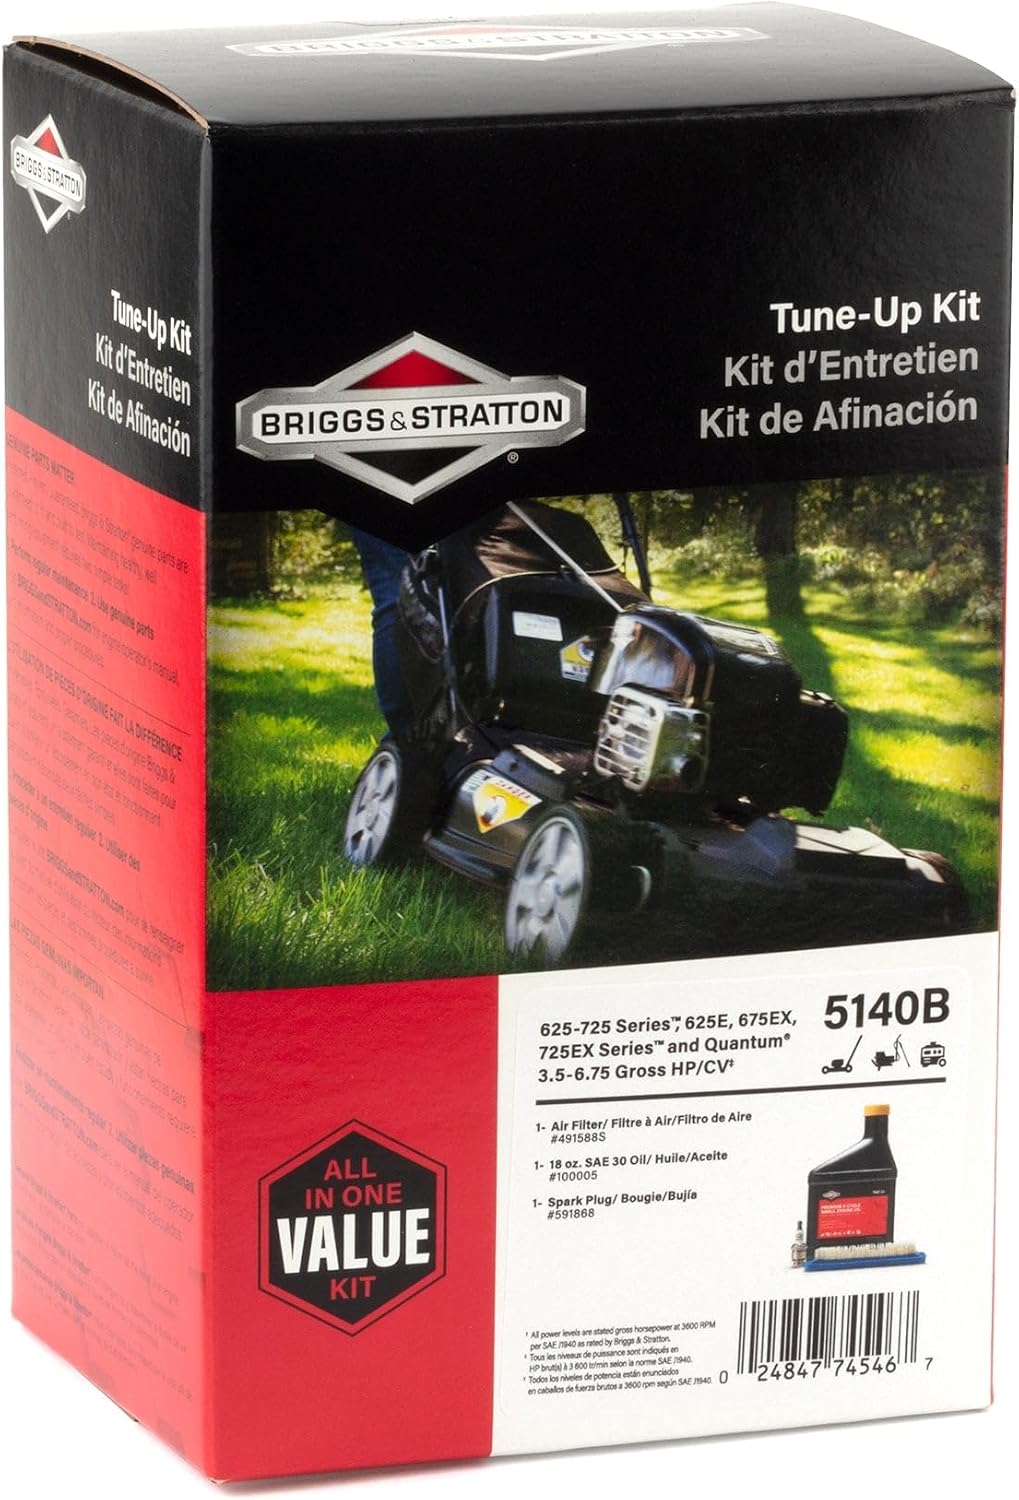
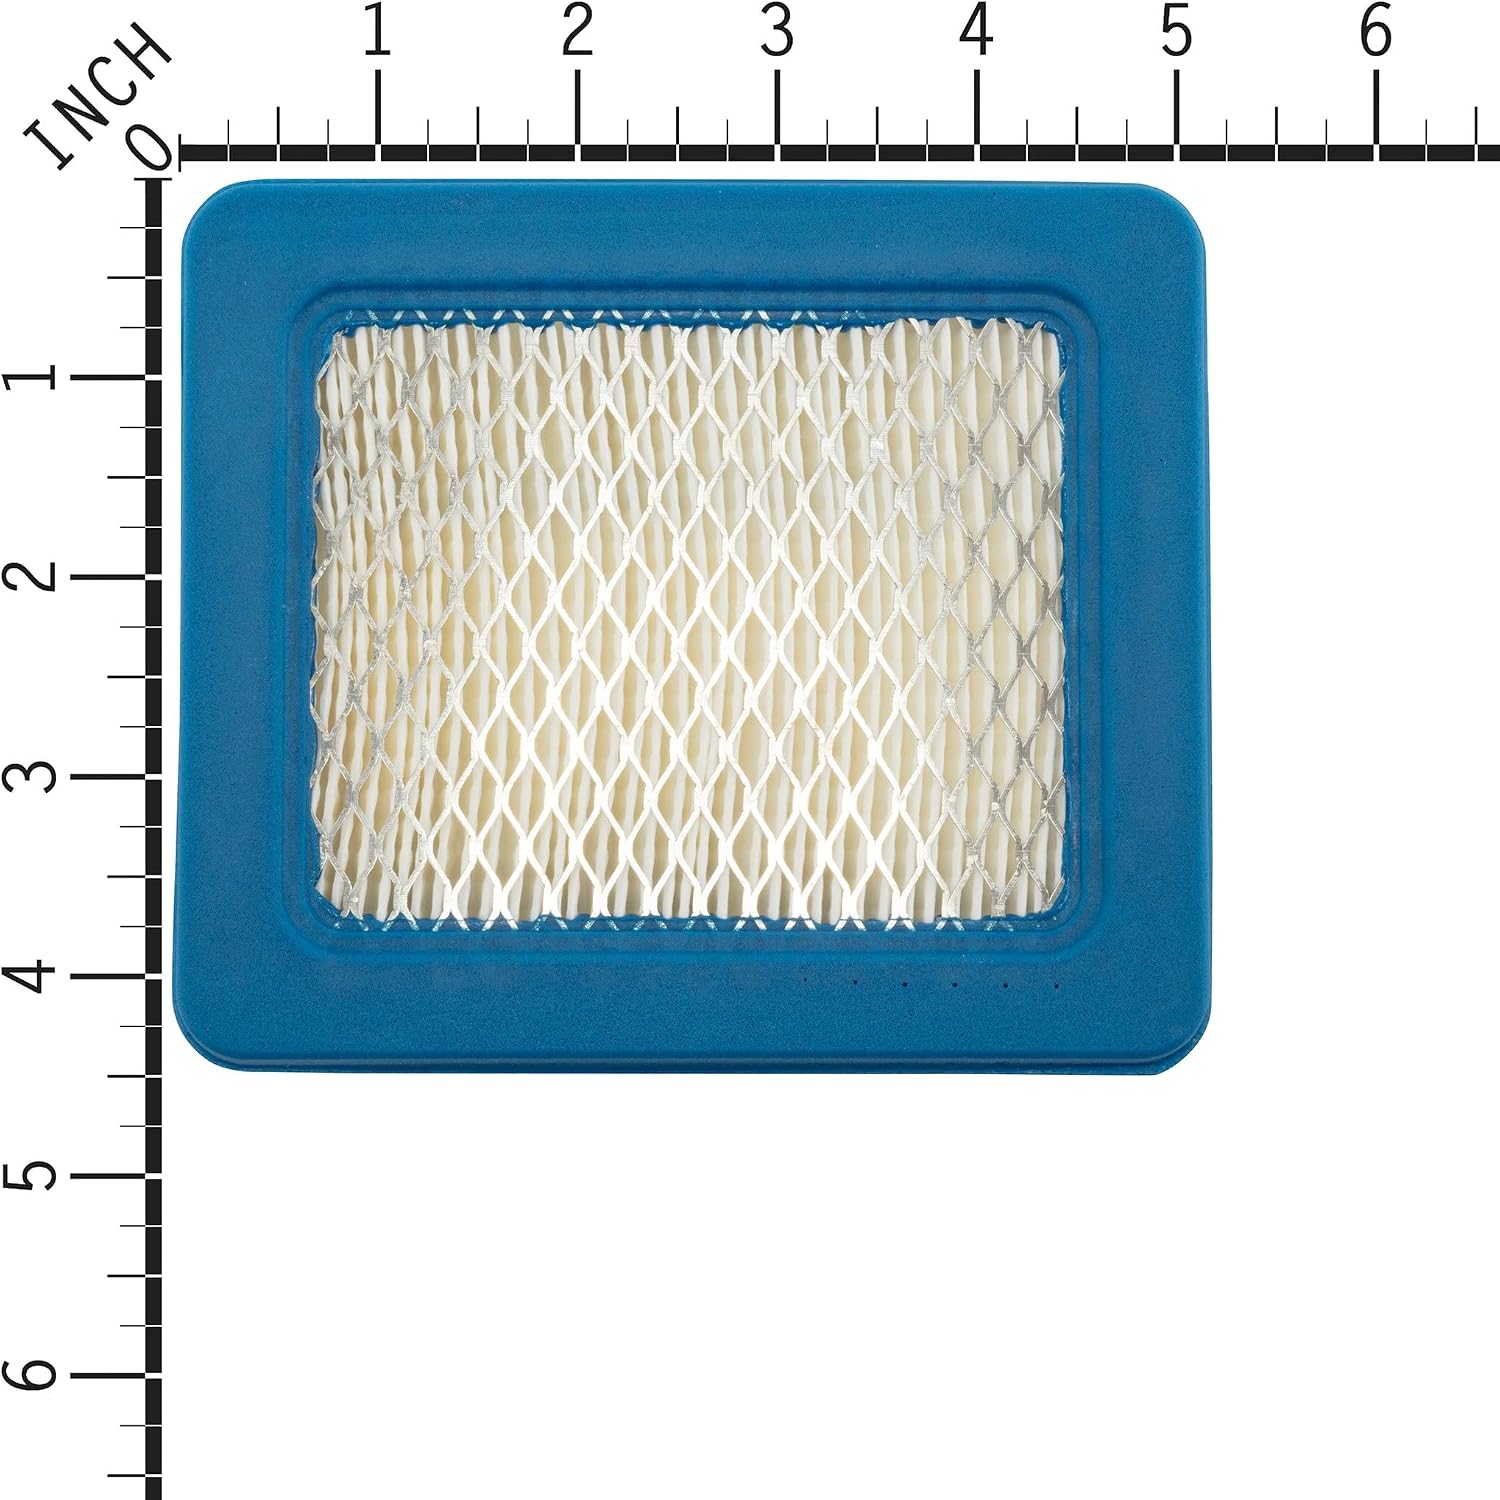
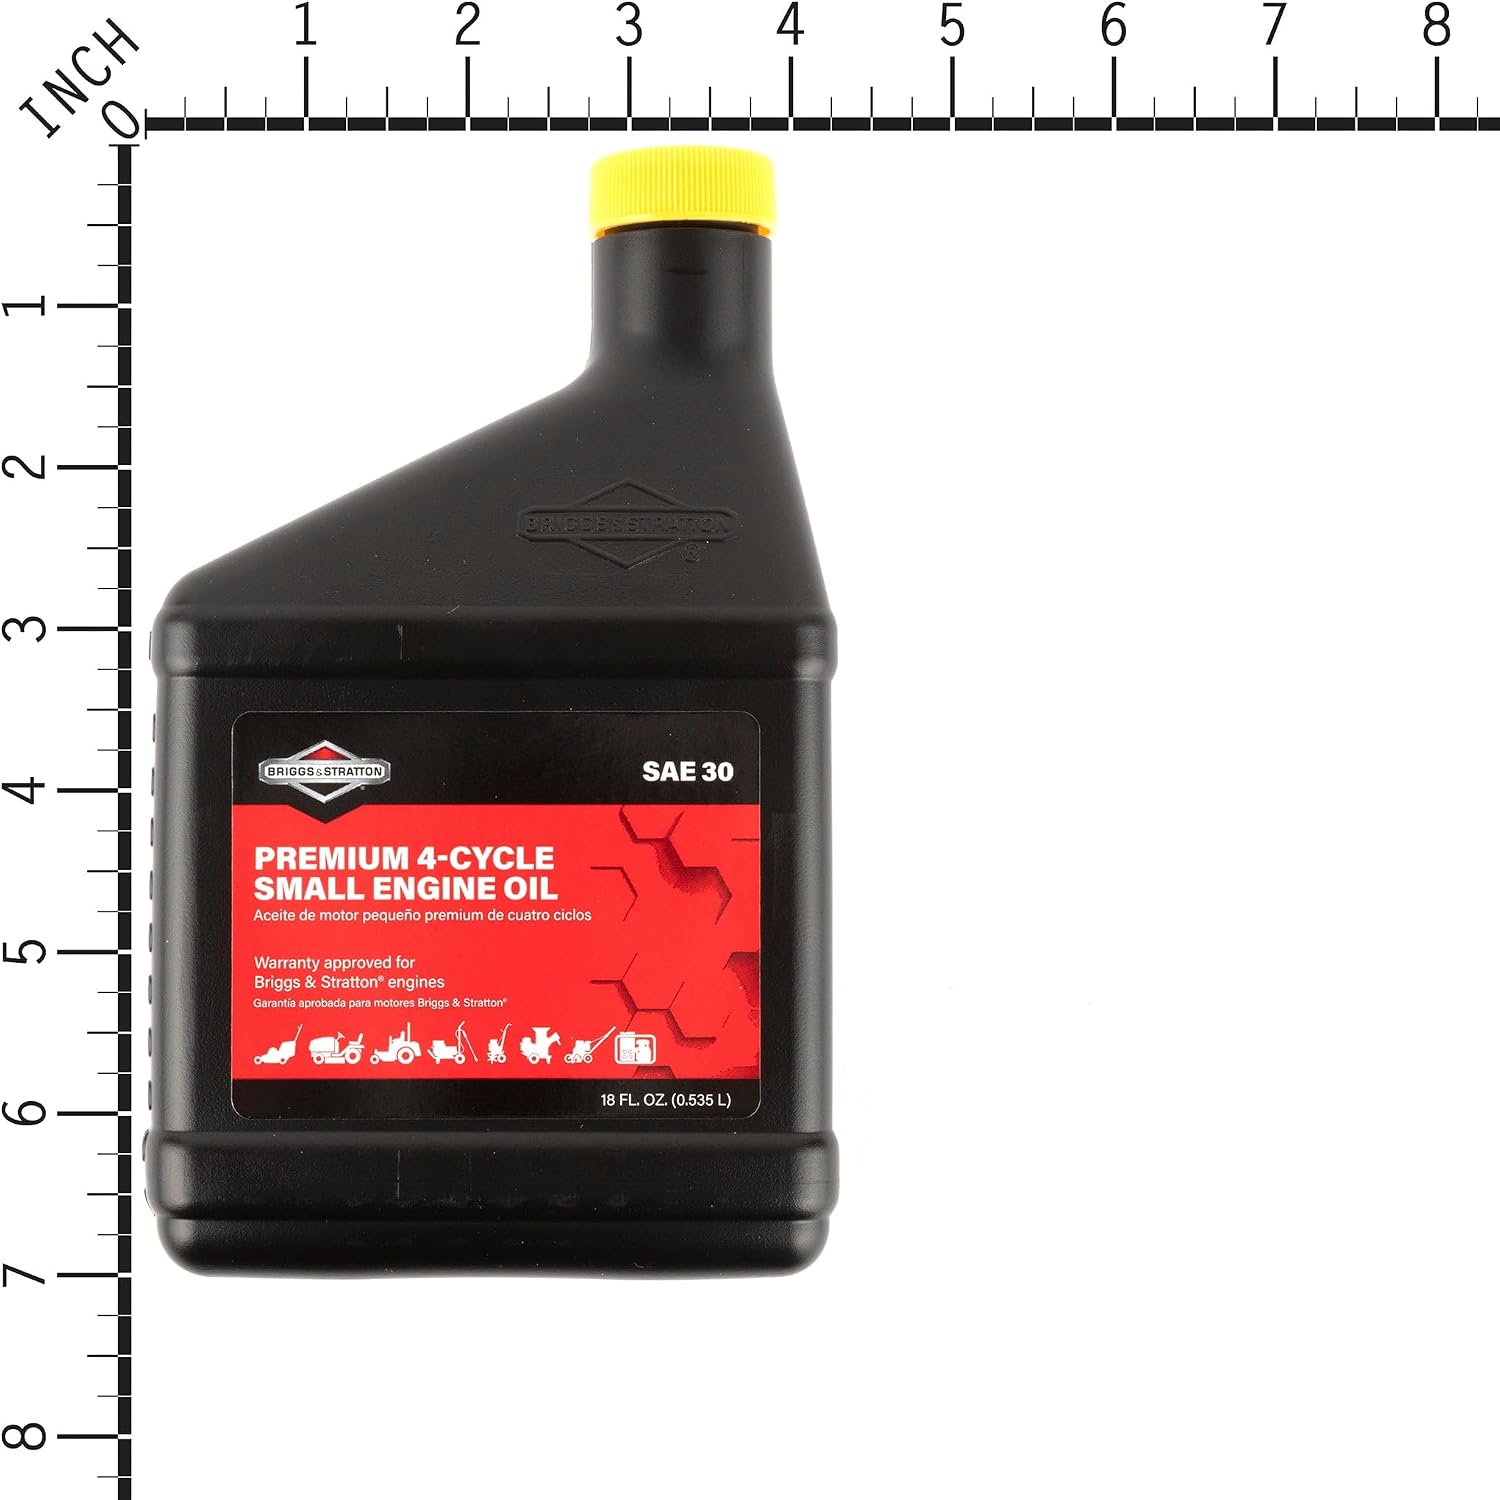
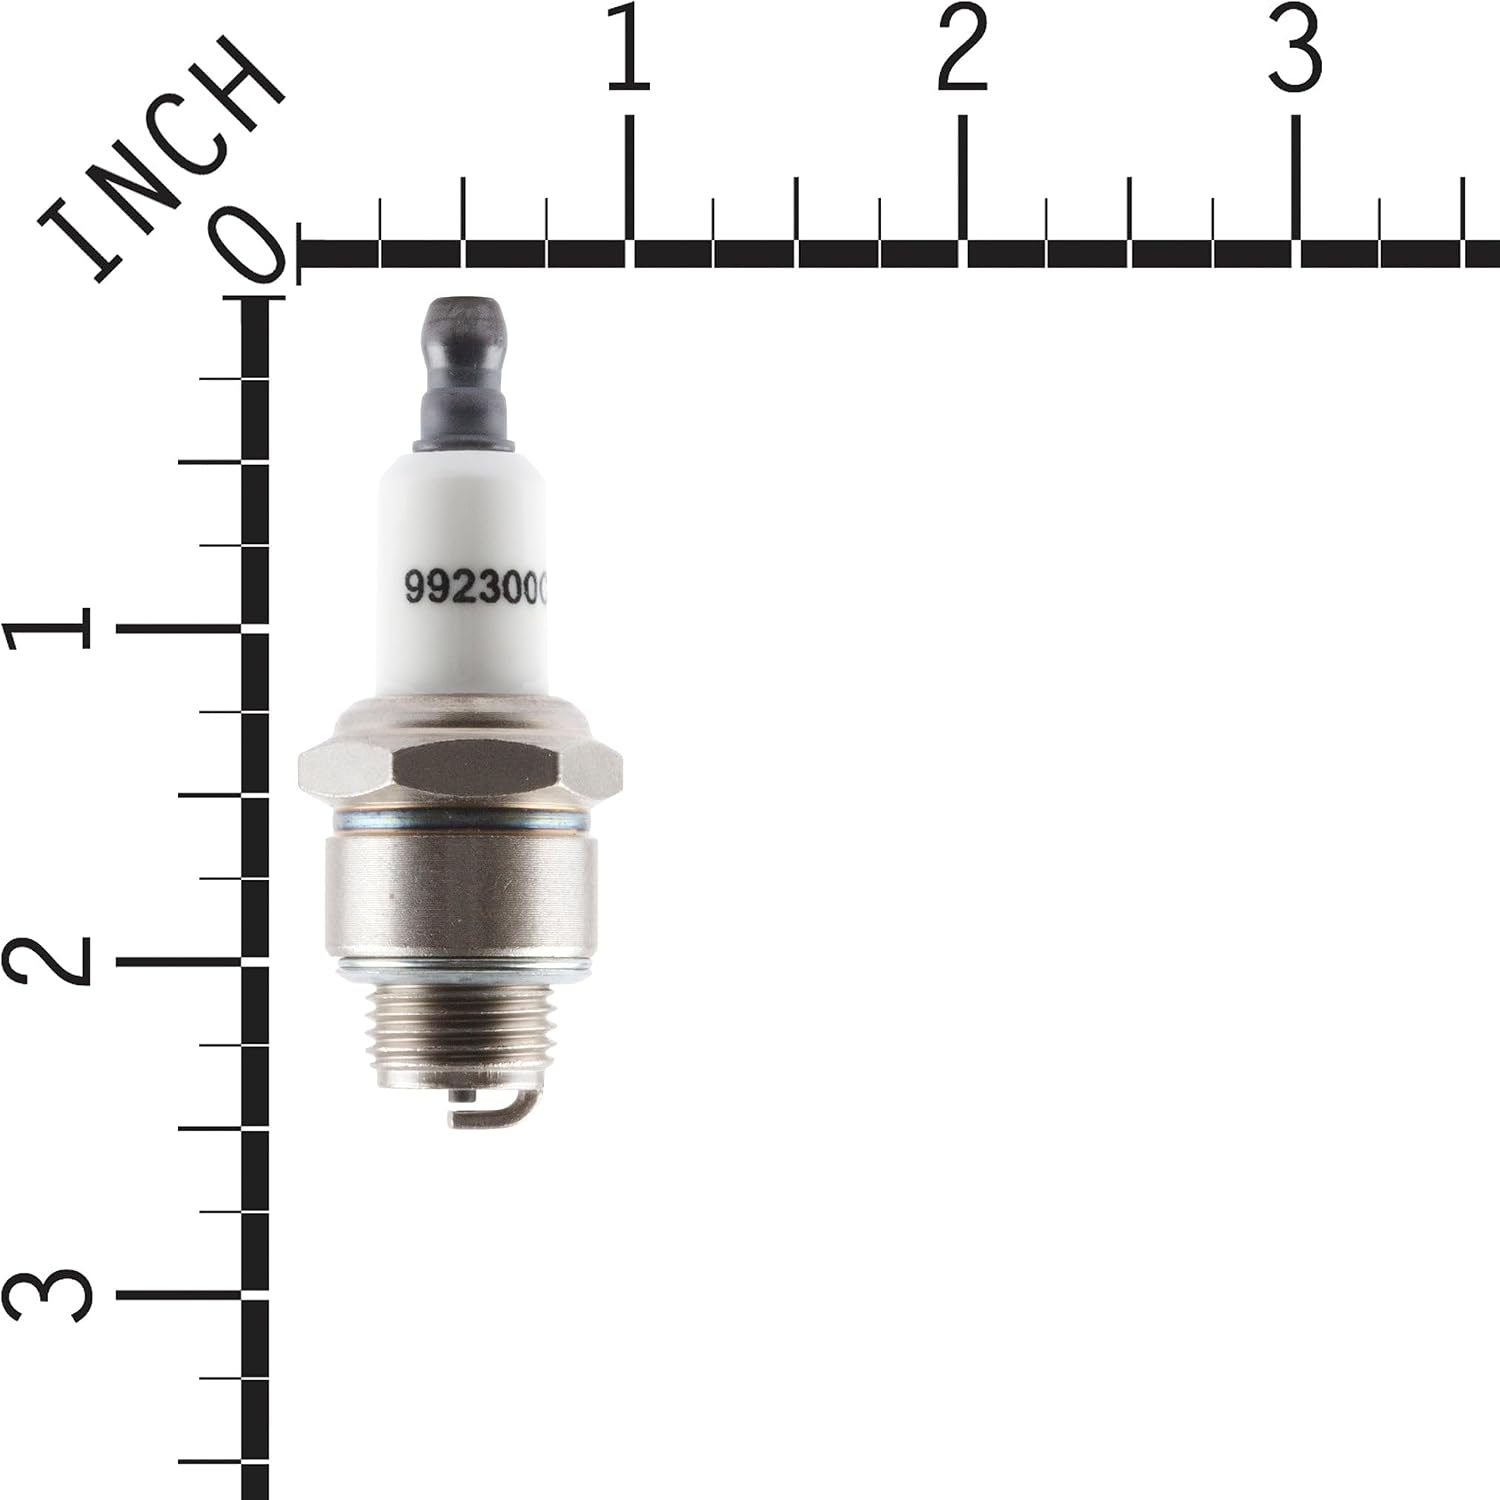
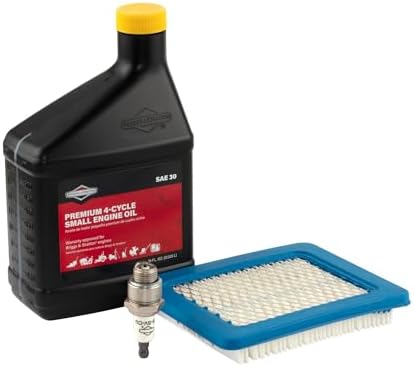
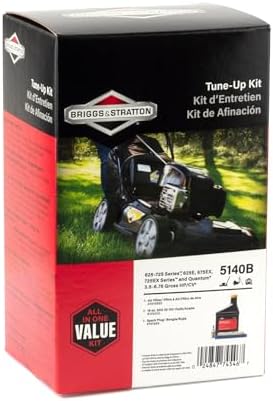
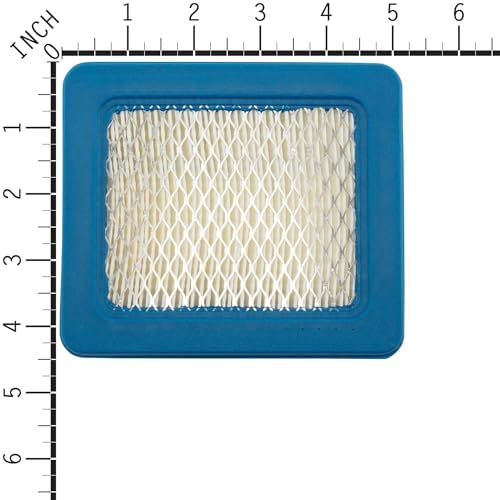
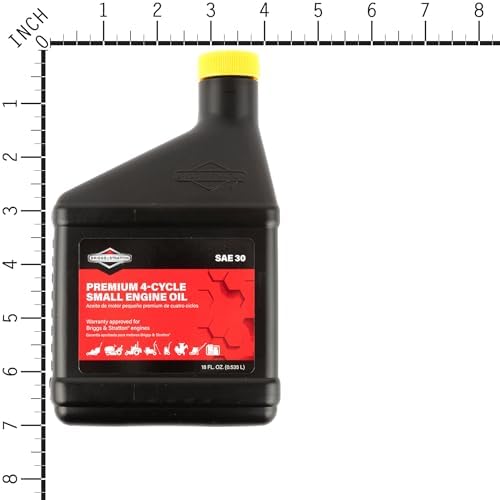
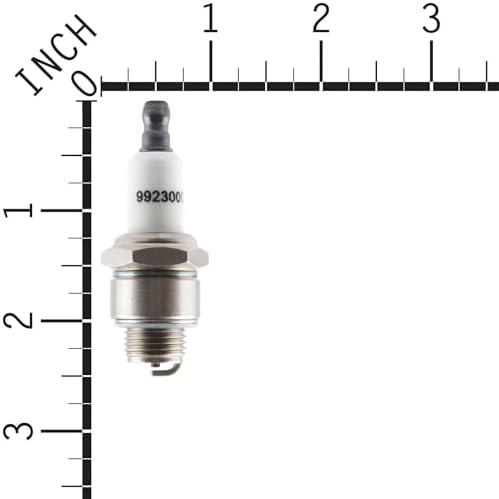


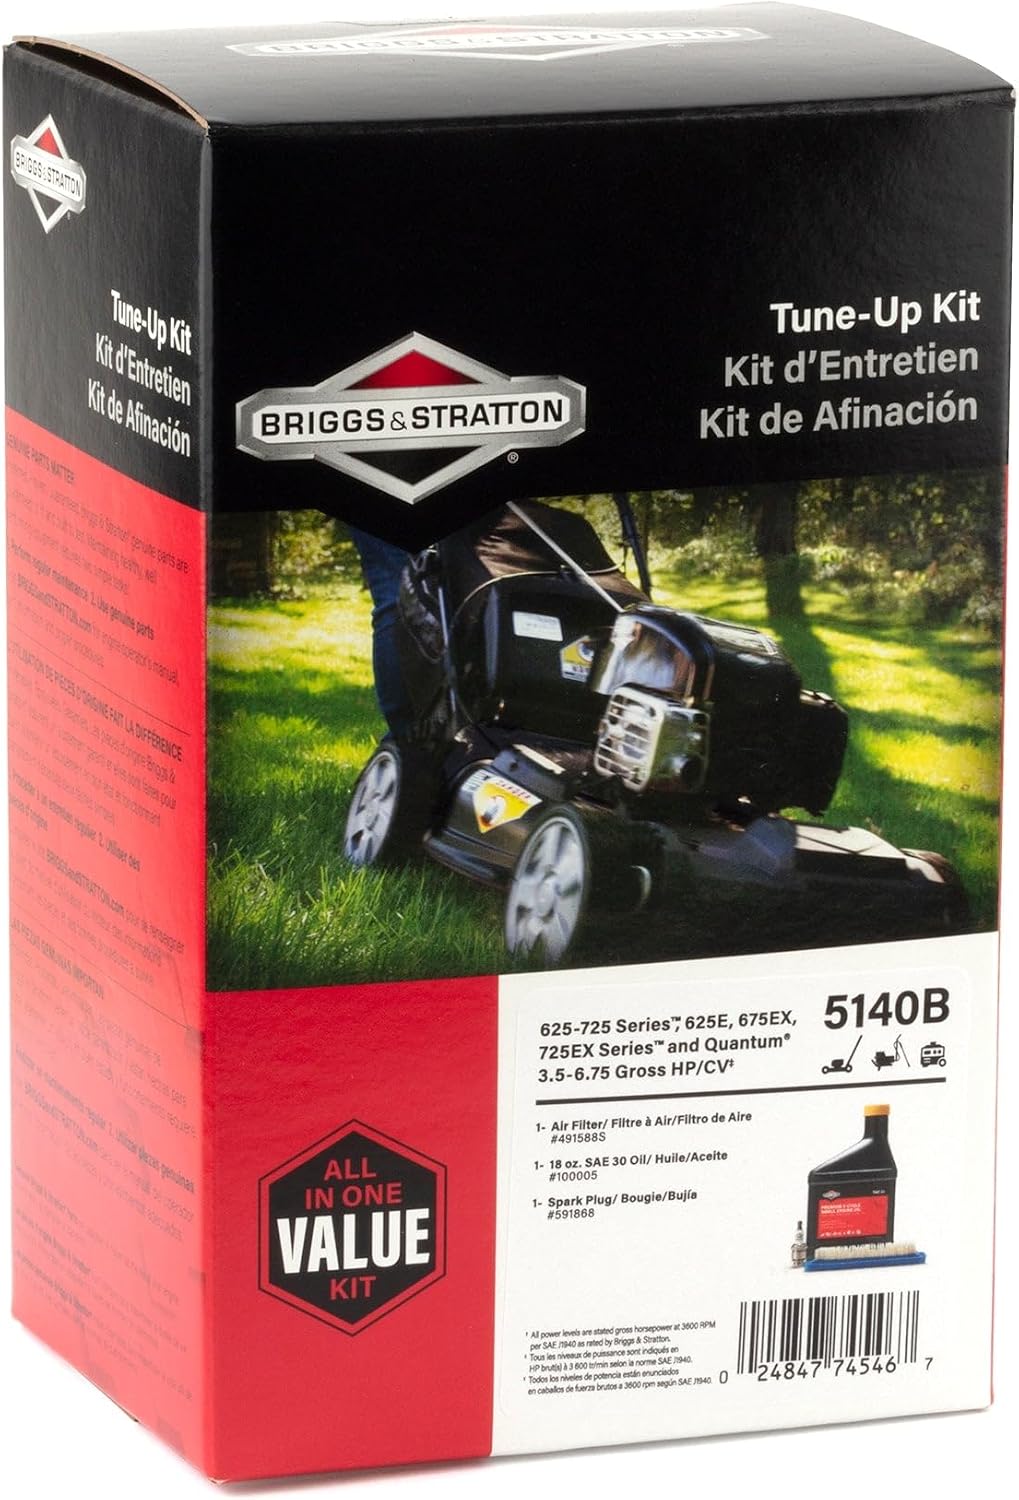
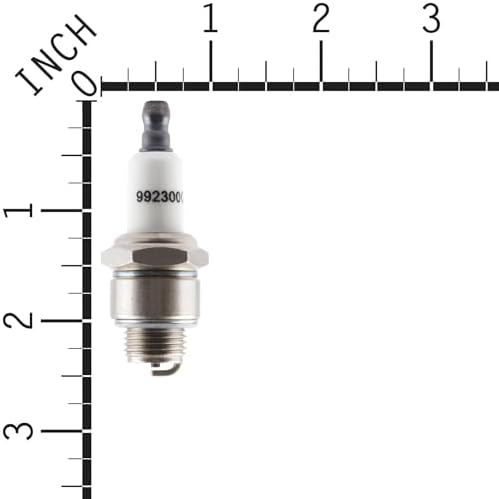

Briggs & Stratton 5140B Genuine Engine Tune-Up Kit | Fits Quantum 3.5-6.75 HP, 625E, 675EX, 725EX & 625-675 Series

$8.99 USD
Shipping fees will be calculated at checkout.
  • Free worldwide shipping

  • Free returns

  • Carbon neutral

  • Secure payments

  • MAINTENANCE FIT: Compatible with select (3.5–6.75 HP) and 625-725 Series. Confirm your model and engine fitment before ordering.
  • ENGINE FITMENT: Push Mower Engines Quantum Series (3.5–6.75 HP) and 625-725 Series push mower engines: 086432,091202,091212,091232,091252,092202,092212,092232,092252,094202,094212,095202,095212,110402,110412,110415,110417,110432,110437,110452,110492,110602,110612,110682,111412,111432,111437,111452,115432,115437,115462,115492,117431,117432,117436,117437,117462,118432,118436,118437,11A602,11A682,11A687,11C602,120202,120212,120232,
  • CONTINUED: 120252,120292,120302,120312,120317,120332,120352,120402,120412,120413,120415,120417,120432,120452,120492,120602,120607,120609,120612,120682,120H02,120H07,120K02,121002,121003,121012,121032,121052,121132,121162,121212,121232,121236,121237,121252,121302,121307,121312,121317,121332,121336,121337,121352,121392,121402,121412. REPLACEMENT PART NUMBERS: 491588S,59185B,100005. Verify engine model and part number before ordering.
  • SEASONAL SERVICE SUPPORT: Helps refresh key maintenance components so your lawn mower or outdoor power equipment is ready for regular use.
  • VALUE FOR DIY SERVICE: Brings the parts needed for routine maintenance together in one genuine Briggs & Stratton solution to reduce guesswork.
  • GENUINE BRIGGS & STRATTON PARTS: OEM components designed to support proper fit, dependable service and long-term engine care.
Container TypeCan
Compatible with Vehicle TypeLawn Mower
Automotive Fit TypeUniversal Fit
Liquid Volume18 fluid ounces
Manufacturer Part Number5140B
UPC024847745467
Global Trade Identification Number00024847745467
ManufacturerBriggs and Stratton
Size1
Unit Count1 Fluid Ounces
Included ComponentsBriggs & Stratton Genuine Briggs and Stratton 650e, 650ex, 725ex & Quantum Serie
Item Type NameBriggs & Stratton Genuine Briggs and Stratton 650e, 650ex, 725ex & Quantum Serie
Item Weight16 ounces
Model Number5140B
Manufacturer Warranty DescriptionWarranty
ContainerCan
Compatible With Vehicle TypeLawn Mower
Upc024847745467
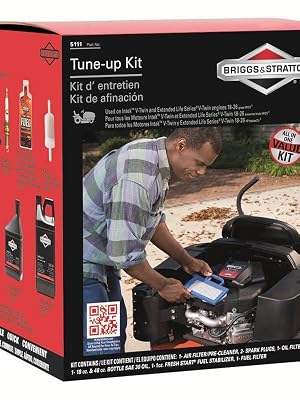
Briggs & Stratton 5111B Tune-Up Kit

5111B Tune Up Kit

Briggs & Stratton Logo
Why Briggs & Stratton OEM Parts?

There are no substitutes when it comes to keeping engine-powered equipment healthy. Our genuine parts are specifically designed to exact OEM standards, manufactured and tested to help deliver optimum performance in Briggs & Stratton engines.

Briggs & Stratton Tune-Up Kit

All In One Value Kit

You don’t have to be a mechanic to tune up your own lawn mower at home. In just half an hour and four easy steps, you can tune up your push mower with the help of a Briggs & Stratton engine tune-up kit. There are numerous benefits to tuning up your mower at home, including an easier start, a better run, and reduced emissions (which helps the environment), saving you money on the costly repairs that can result from engine deterioration.
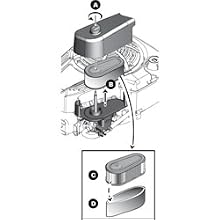
Air Filter Installation

Air Filter Installation Instructions

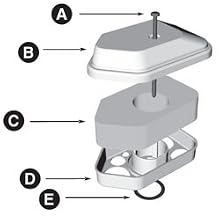
  1. Unscrew and remove cover (A).
  2. Remove air filter cartridge and pre-cleaner (B).
  3. Install dry pre-cleaner on filter cartridge (C). Do not oil the pre-cleaner.
  4. Install air filter assembly on base, then install cover and screw.

  1. Unscrew and remove cover (A).
  2. Remove air filter cartridge and pre-cleaner (B).
  3. Install dry pre-cleaner on filter cartridge (C). Do not oil the pre-cleaner.
  4. Install air filter assembly on base, then install cover and screw.

Spark Plug Removal

Changing Spark Plugs

  1. Remove spark plug by disconnecting the spark plug lead and removing the plug using a spark plug socket.
  2. Clean any deposits from the plug with a wire brush or spray-on plug cleaner.
  3. Inspect the plug for heavy deposits, cracked porcelain, or burned away electrodes. If any of these exists, replace the spark plug.
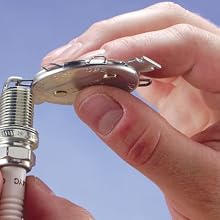
  4. Use a spark plug gauge to measure the gap between the two electrodes at the tip of your spark plug. (Many small engines require a .030" gap. Check for the specifications for your model)
  5. If necessary, use a spark plug gauge to adjust the gap by gently bending the curved electrode. When the gap is correct, the gauge will drag slightly as you pull it through the gap.
  6. Reinstall the plug, taking care not to over-tighten (15 ft. lbs. MAXIMUM ). Then, attach the spark plug lead.

Air Filter Upgrade Instructions

Air Filter Upgrade Instructions

  1. Remove and retain screw (A) for later reassembly.
  2. Remove and discard the original cover (B), filter (C), filter cup (if equipped), base (D), and gasket (E).
  3. Install new gasket on carburetor, then install new base.
  4. Saturate new filter in clean engine oil, then squeeze to remove excess oil. Place filter in base.
  5. Install cover and secure the air filter assembly to the engine with the original screw.

  1. Remove and retain screw (A) for later reassembly.
  2. Remove and discard the original cover (B), filter (C), filter cup (if equipped), base (D), and gasket (E).
  3. Install new gasket on carburetor, then install new base.
  4. Saturate new filter in clean engine oil, then squeeze to remove excess oil. Place filter in base.
  5. Install cover and secure the air filter assembly to the engine with the original screw.

Carburetor Maintenance

Cleaning & Adjusting Small Engine Carburetors

  1. Before starting any maintenance, be sure to consult your Briggs & Stratton operator's manual and follow all safety precautions.
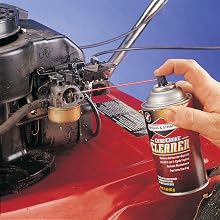
  2. Clean the main fuel jet (located in your carburetor's fuel bowl nut) with carburetor cleaner and compressed air to blow out loosened debris.
  3. After cleaning the carburetor, another key step for some float-type carburetors is adjusting the idle speed and mixture.

  1. Before starting any maintenance, be sure to consult your Briggs & Stratton operator's manual and follow all safety precautions.
  2. Clean the main fuel jet (located in your carburetor's fuel bowl nut) with carburetor cleaner and compressed air to blow out loosened debris.
  3. After cleaning the carburetor, another key step for some float-type carburetors is adjusting the idle speed and mixture.

Example title

Recently viewed

Cart

loading